I have to get acclimated. It has been 3 weeks since I last worked here. I can’t believe it. I feel like I haven’t done anything in years….and get this: I almost had to work in Queens this weekend. Thank God I didn’t. We need to pour these walls at the Hobbit house on August 10th. My son Jude starts doubles with the football team I think on the 19th of August or so and that means the hired help is not gonna be there when I need them.
What is it when you go on vacation. The first Saturday back and I wind up sleeping to 7 AM. I don’t think that has happened since before my wife and I had kids. It is nice to sleep late though. It was a very mentally stessful week at work…. But I digress.
Man do I need to figure out what the heck needs to get done over here. Like I said last time…it’s all those little things. I don’t know if I’ll get to all those little things but I’m going to try. There really are a lot of little things though.
I was just kind of walking around the site and I remembered the step footing. I sort of made a big deal out of it when I was doing it but now you can kind of see what it is all about. Take a look.

I hate to bore people with certain things but this is one of those times when you are going to have to take a deep breath and say…”Well he’s a concrete guy so he can’t help himself”…and a Lord of the Rings nerd to boot. Anyhoo you can see the step in the footing here right? Hence the name, “Step Footing”. You can also see that to the left of the footing there doesn’t seem to be any support under the footing. (Like the gravel has been undermined.) That is why step footings are engineered a certain way. The part that is unsupported,if you will, is actually what they call a simply supported beam. So there is no need to get nervous when you see something like this. I actually added extra steel over and above what was called for in the step footings. Hobbits do this all the time. Dwarves are also into over designing there structures too….and why not. We’ve only got one shot at this right?
What I really wanted to do today was start working on the close up of the retaining walls. It really isn’t that simple though. The retaining walls at the four corners of the building are all different and all involve some sort of babysitting that an experienced concrete guy has to deal with. Which means that I am going to have to do all of this work. It’s all technical concrete work and a lot of it has blow out potential galore for the pour day…and we all know that we do not need a blowout on concrete day.
So I told Jude,Terence and Ethan to get there around 11 o’clock or so. This would give me enough time to get going and figure out what they can do to help me.
I started on the bulkhead for the southwest corner of the building. A bulkhead is the termination point of a concrete wall. The ones I built were made out of 2×4’s and plywood. I also added 3/4 inch skew back on both sides so it would look nice when we were done. Check it out.
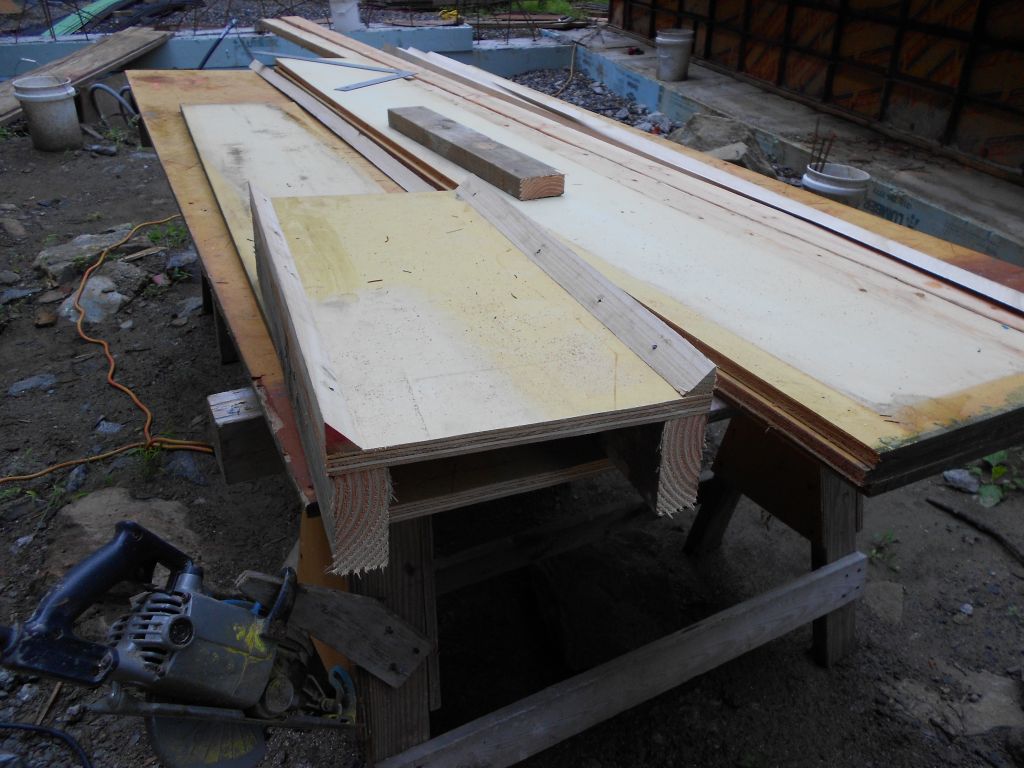
I’ve said it a million times. The odds and ends take forever. By the time I set up and got my wits about me an hour had passed by for this one little bulkhead. Oh well.Life goes on. There were a bunch of other things too that also came up but all of a sudden it was 10 o’clock and I had to start thinking about my sons getting here and getting set up for them.
The dreaded Northeast corner. I knew we had to tackle that today or we weren’t going to make the 10th. The Dwarves of old have long spoken of the dreaded Northeast corner but like a fool I did not listen…I did not see. Just like Boromir.
I think I just drifteded into Lord of the Rings stuff…Sorry.
Anyway the Northeast corner is and has always been a problem…It is our day of reckoning with the Northeastcorner.
I’m gonna start all over again. The northeast corner is where the rock is. The rock that I could not chop out. What we have to do now is pin the rock and clean it so that there will not be any soil between the rock and the concrete we are going to pour. Before we can clean this up I have to set up a scaffold so Terence can work safely getting all the stuff out. Believe it or not that scaffold took almost 40 minutes to build. But once he got started it worked out really well and I’m glad I did a decent job on the scaffold. Here’s Terence working on it.

He worked on the dreaded Northeast corner for almost 2 and a half hours.Here’s another picture showing the scaffold I built for him.
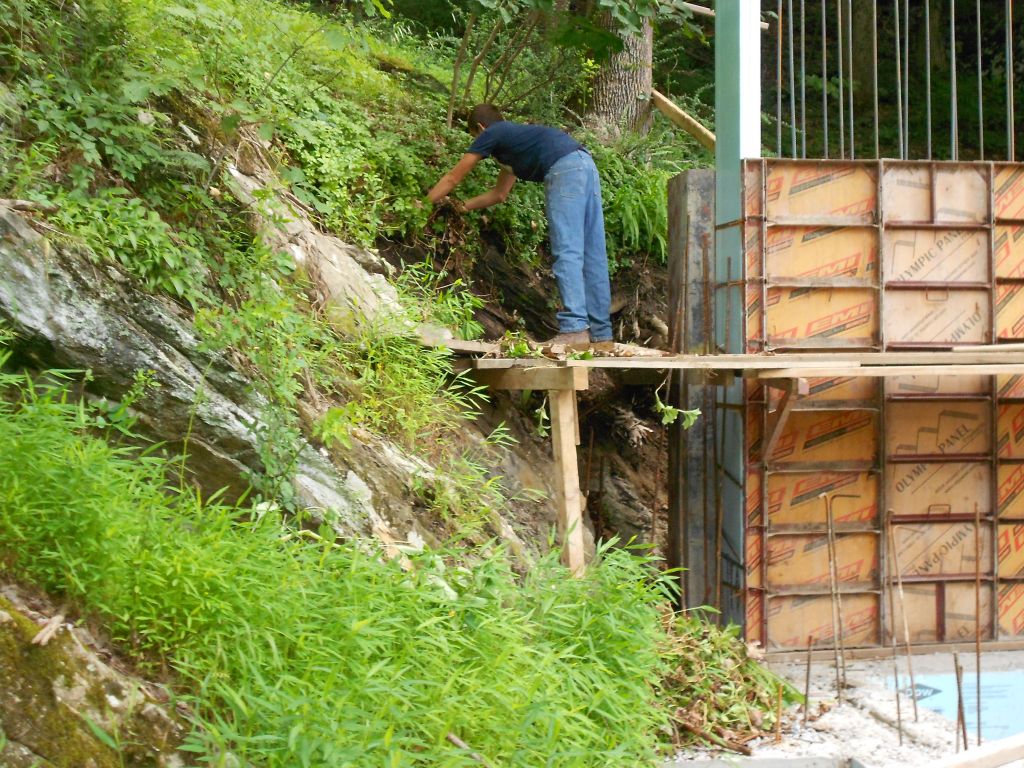
Terence did a good job. It was a lot of work and I’m glad I didn’t have to do it.
Ethan got a phone call from work to come in for the day so what I had planned for Jude and Ethan got a little scrambled. I told Jude to see if one of his friends wanted to work a couple of hours and he got a hold of his friend Zack who just got home from driving across the country. America is big and one of these years I’ve got to go out and see these giant Sequoia trees in California. Zack said it was awesome. But he said the pine cones on these trees are actually very small. I didn’t know that.
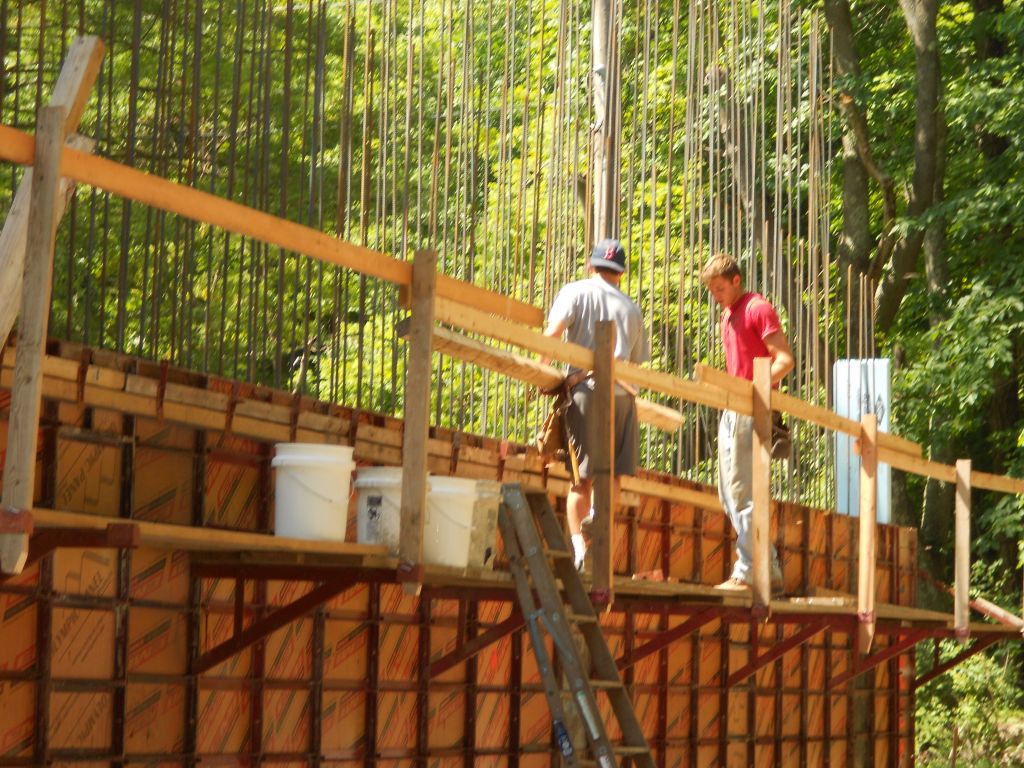
I set Jude and Zack up finishing off the scaffold on the west side. I also had them add a waler 6 inches from the top on the inside face of the wall. We have a waler on the back face but this one is going to grab the two outside corners which makes it easier to line up the top of the wall. Also the turnbuckle braces will be on the scaffold side as well when they are finished so it will be easier to make an adjustment to the wall lineup the day of the pour.
I forgot to tell Zack he couldn’t wear a Boston Redsox hat on my property….I’ll tell Jude to give him the message.
I was working on the Southwestern retaining wall pretty much all day. There are a couple of details here. One is the connection at the thermal envelope. On each side of the styrofoam we have a concrete wall. What I wanted to do here is keep that connection tight after we pour the concrete. So I added rebar at 18 inches on center to tie the two walls together. This does create a thermal bridge into the main structure but I think it will be negligible. Check it out.

The other detail is the slope of the retaining wall itself. Which poses a number of problems. The retaining wall is at an almost 45 degree angle so it will be very difficult to pour and trowel the concrete at this angle. So what I did was cap the angle with a panel and tie it down with threaded rods that I epoxied into the footing.Here’s a picture so you can get an idea of what is going on.

I didn’t really space the tie downs the way I would have liked but this configuration should be okay. What we are going to do when we pour is do this in two lifts.We’ll pour 4 feet into the wall and then go to the next wall and then top off the wall on a second pass. As the concrete fills up underneath the panel it is going to try and push the panel upward. That is the reason for the tie downs you see in the picture.
I went back Sunday and worked on the dreaded Northeast corner for an hour and a half or so. I forgot to bring my camera but I got what I wanted done.
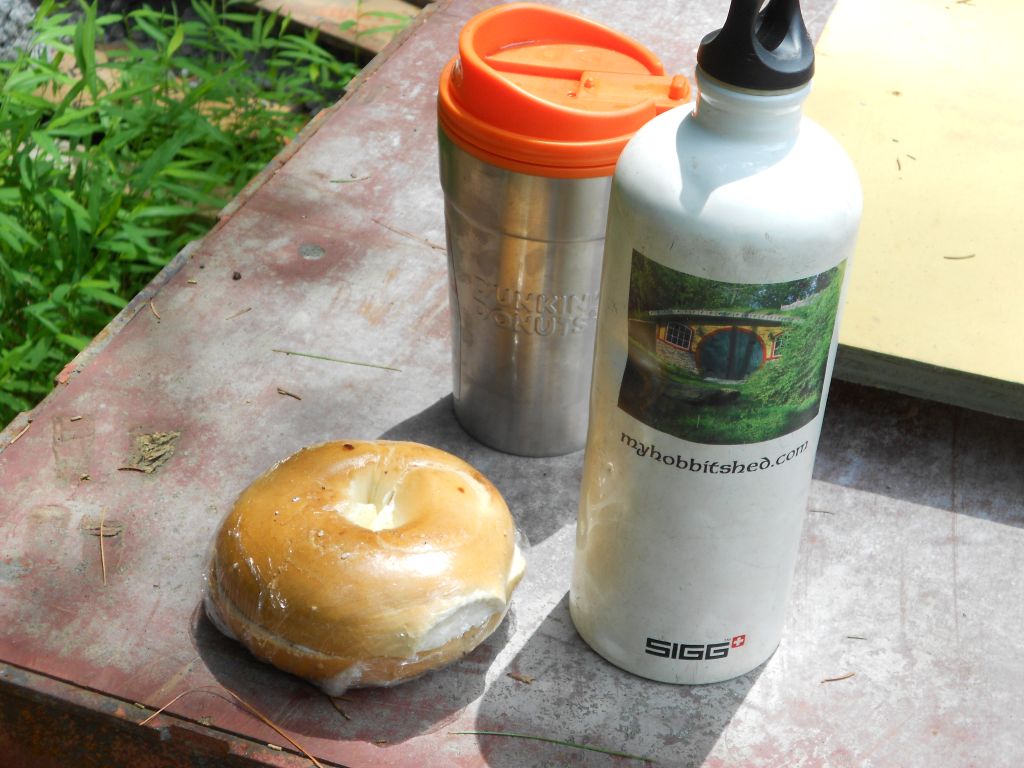
Something related but pertinent. Sometimes when things go wrong and someone doesn’t understand what you mean its good to give them little challenges that they can conquer. This helps build confidence and also gives the boss a reason to gain back a certain level of trust with the workers, etc. Maybe you don’t remember the egg on a roll debacle but I ordered a bagel with butter for lunch….My boy came through!!!!
Next weekend will tell the tale of the tape. I hope you all have a pleasant week!
And beware the dreaded northeast corner!
Jim
Hi! I’ve been reading your weblog for some time now and finally got the courage
to go ahead and give you a shout out from Lubbock Texas!
Just wanted to mention keep up the good job!
My brother recommended I might like this website. He was
entirely right. This put up actually made my day.
You can not believe just how so much time I had
spent for this info! Thank you!
I’m glad the site has helped you!
Jim