Now we can get down to it. The roof layout deck has begun. Luckily I had my base already established from the spring so I was able to put the deck together pretty quickly.
Oh yeah I forgot to mention Anthony came up and dropped off the post shores we will need to put the roof together. He also dropped off a unit of old stringers (4×4’s by 16 feet long and a small load of OSHA plank). He said he was going to get to the yard in the Bronx around 7 AM and be up to the house around 9 or 9:30. I was a little shocked to hear the truck rolling down the street around 8:15. My hired help was told to be at the site at 9.I definitely didn’t want to unload all these shores with just me and Anthony. Let me show you the truck.
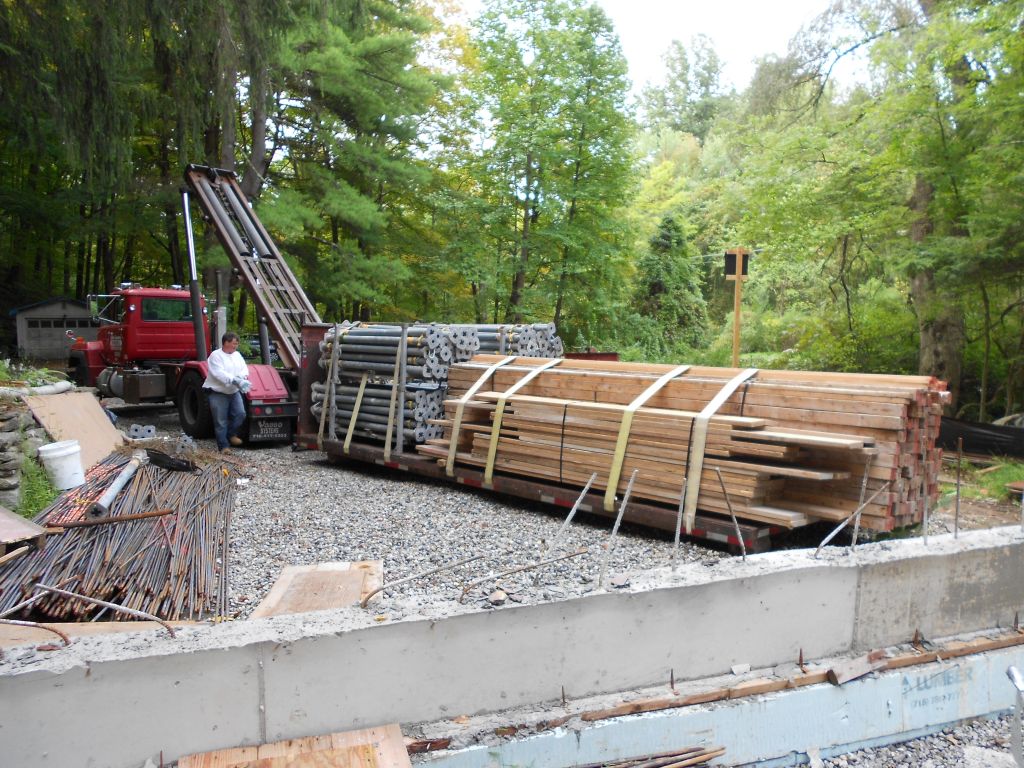
It looks alot worse than you think. Anthony and I talked for a while and then by the time we finished Jude and Terence arrived to help. So it worked out pretty well.We unloaded the metal post shores one at a time. Repeat 150 times and then Anthony just picked up the flatbed nice and easy and let the lumber slowly slide off the truck. It really was a thing of beauty. It only took about a half hour to unload the truck.
Real quick: Stringers are used to support the roof deck which are held in place by the post shores which will rest on an OSHA plank “mud sill”. You’ll see how it all goes together in a week or two.
After Anthony left we saw a strange bug. I hope there is some sort of entimologist out there checking out these crazy bugs that we keep finding here in Middle Earth. Check this thing out.

Is that thing weird or what? I had to pull it off the step stool with my fingers. It wasn’t getting off.
Okay so your not into bugs. Let’s get back to deck layout.
So I was able to get started right away after everybody left. The most time consuming part was leveling the stringers.I had set the two outside stringers with a laser level last week so I just set up string lines to set the rest. Check it out.
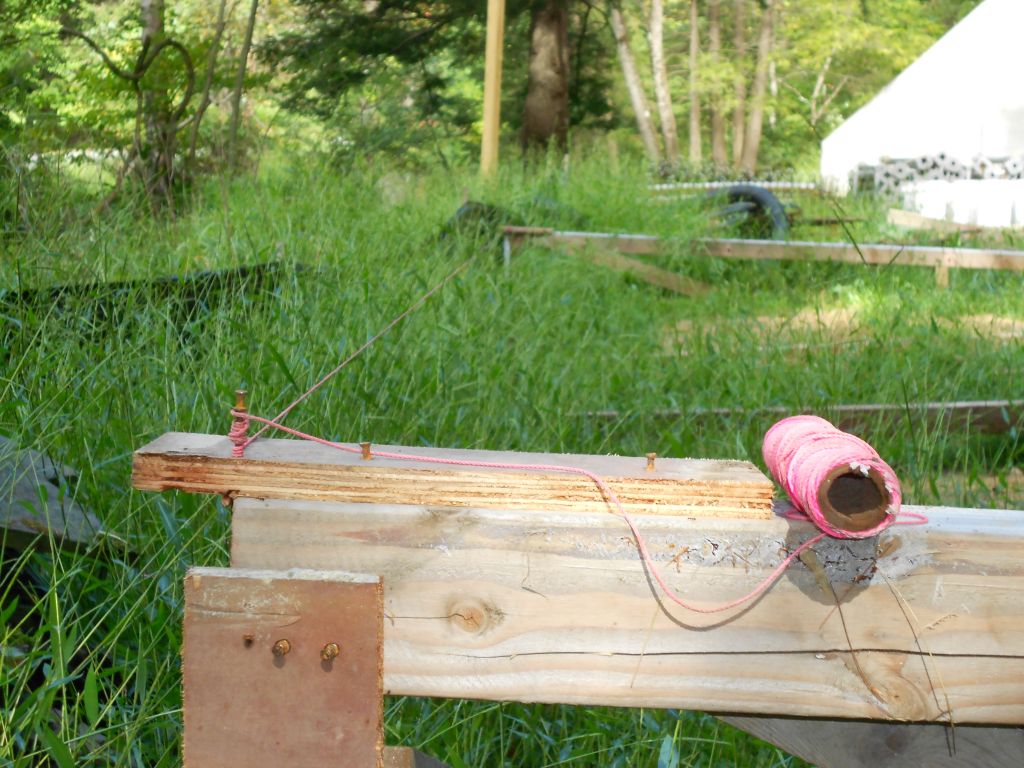
Ok so the lawn got a little out of control this year,but you can see the string line and how it works.There is no line item for lawn maintenance yet so management kind of blew it off.
The rest of the day was just me getting it done so to speak. Here is what I did.
First set all the stringers 4 foot on center and make sure the deck is fairly flat. It dosen’t have to be perfect.
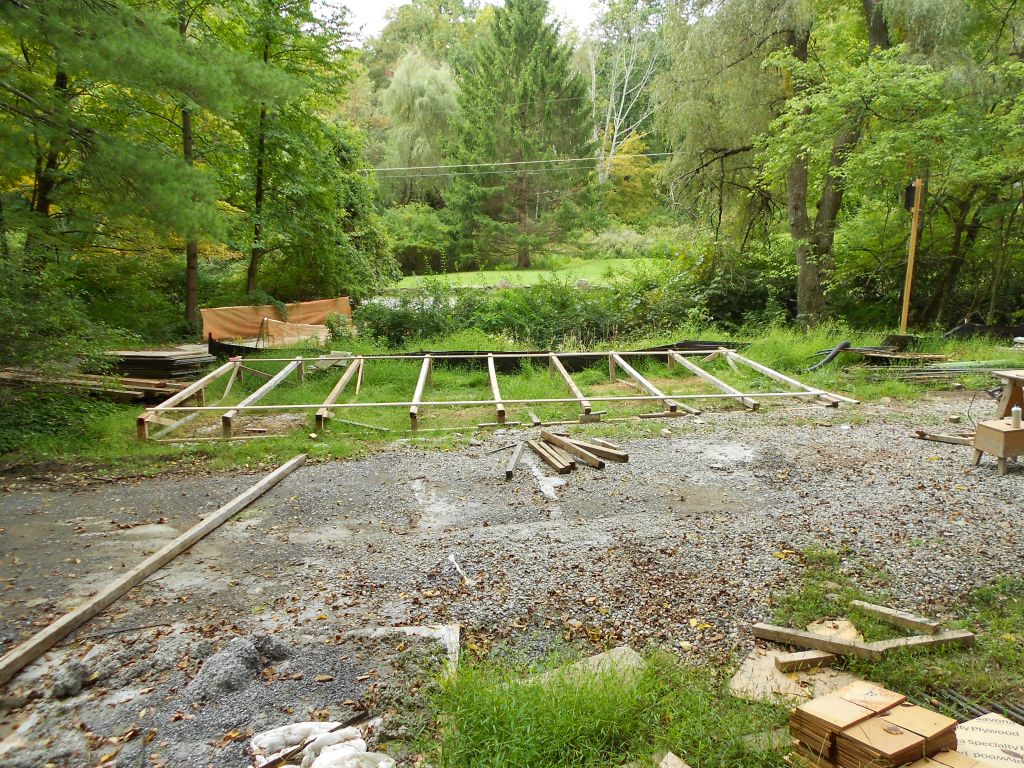
I wanted to make the deck about 32 feet long and since Anthony brought a whole unit of 16 foot stringers I was able to put them end to end to rib out the deck. Check it out.

After that was done it was a cinch to deck it out.

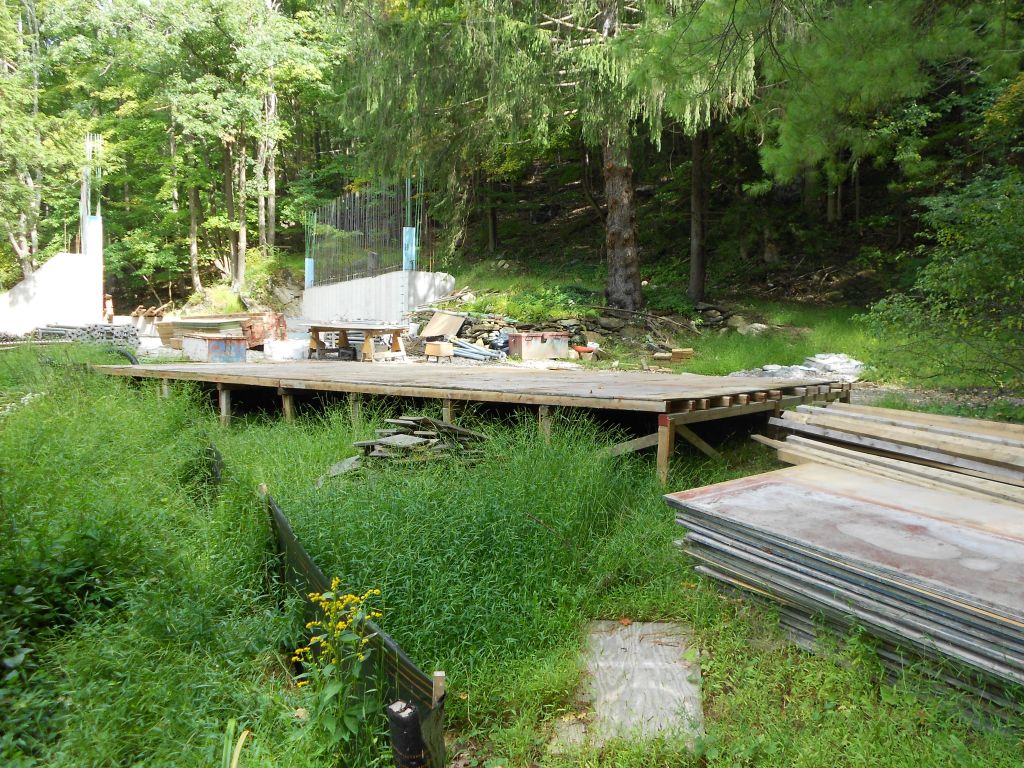
So Sunday I went back and began setting up to locate the radius points to establish the arch. I had an idea of how I wanted to do it and then as I started it Icame up with a couple of other ideas to make it a bit easier. Of course where I wanted the radius point was right where the concrete trucks had washed out during the last pour. It took me 20 minutes to break up and move the concrete out of the way. ( When I said it was OK to wash out there I knew it was gonna bite me in the you know where.) And it did.
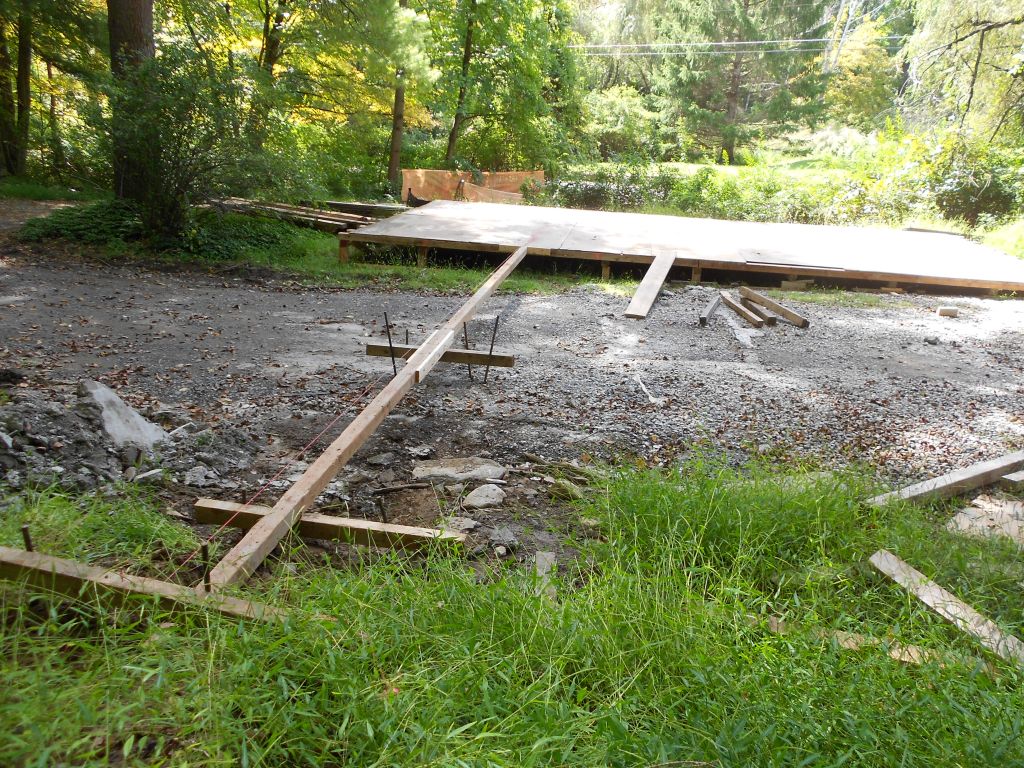
What are you looking at?
Hobbit house roofs are curved right? Right. So in order to scribe a curve on our deck we need to find the center point of our circle. Our maximum radius is 39foot 10 and a half inches. This four by four you see represents the radius at the center of the Hobbit House.We are going to put a nail in this 4 by and then scribe an arch. My son Jude needs the computer now so I have to cut this a bit short but hopefully next week we’ll do our layout and move on to the next step.
Have a good one!
Go Jets!
Jim
Thanks for your marvelous posting! I actually enjoyed reading it,
you’re a great author. I will make sure to bookmark your blog and definitely will come back at
some point. I want to encourage you continue your great writing, have a nice weekend!