Oh, I’m glad you made it back to another installment of the Hobbit Hollow Construction Blog! Pleased to meet you if this is your first time visiting.
Wow. Things really took off this week. We have a lot to plow through right now and the Mets are playing at 4PM. Gotta get a move on here. Just a quick briefing before we begin .
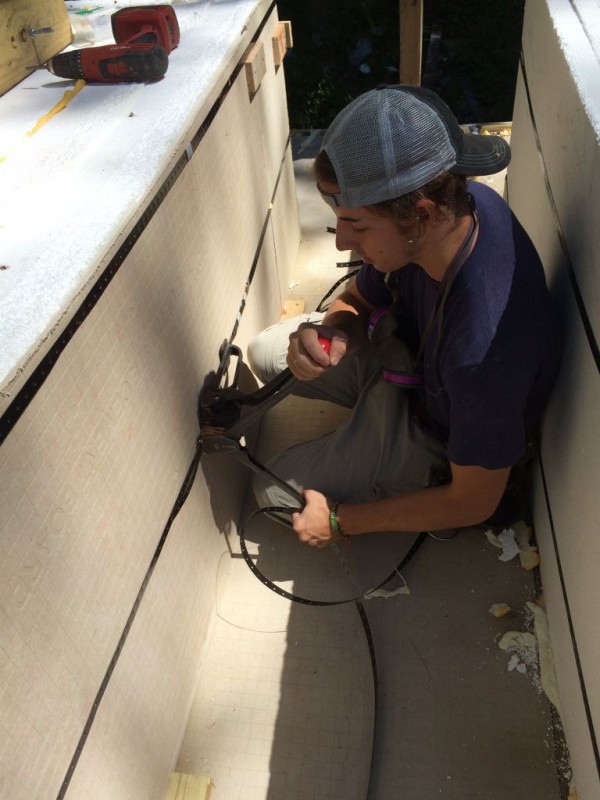
Jude went to visit the Long Islander this weekend so he wasn’t available Saturday for me to show him the details of Skylight Installation Phase 9. Luckily his friend Zack, who has been working with him this week, was able to work Saturday from 9 to 12. So I was able to show Zack what they have to do to finish off the skylights. Hmmm. Part of it anyway. Son Ethan showed up and gave me a hand finishing off the balance of the skylight framing after Zack left. So this post is going to show Jude and Zack exactly how to finish off the skylight framing. I apologize because I know this is going to be boring for most (Especially the Editor and my other children.). Sorry, but there is no other way. A picture is a thousand words so at least Jude and Zack will be able to use their phones to figure out how I put this stuff together. I’m hoping this will work. Oh yeah, and for the record, Terence started football practice so he has been out of the picture all week. Hence the appearance of Zack.
That intro took a lot longer than anticipated. Phew. Where to begin.
Just quick. The Editor got a bee in her bonnet during the week and ripped up the hideous carpet in the upstairs hallway of our home. Hardwood floors underneath and they’re in pretty good shape. So she asked one of our sons, who will remain nameless for the moment, to quote unquote, “Get rid of that disgusting carpet!” I guess the definition of , get rid of, has to be revisited. Because my definition of get rid of is apparently different than my sons definition. I mean it’s not like she asked them to bring the Ring to Mordor! Check this one out.
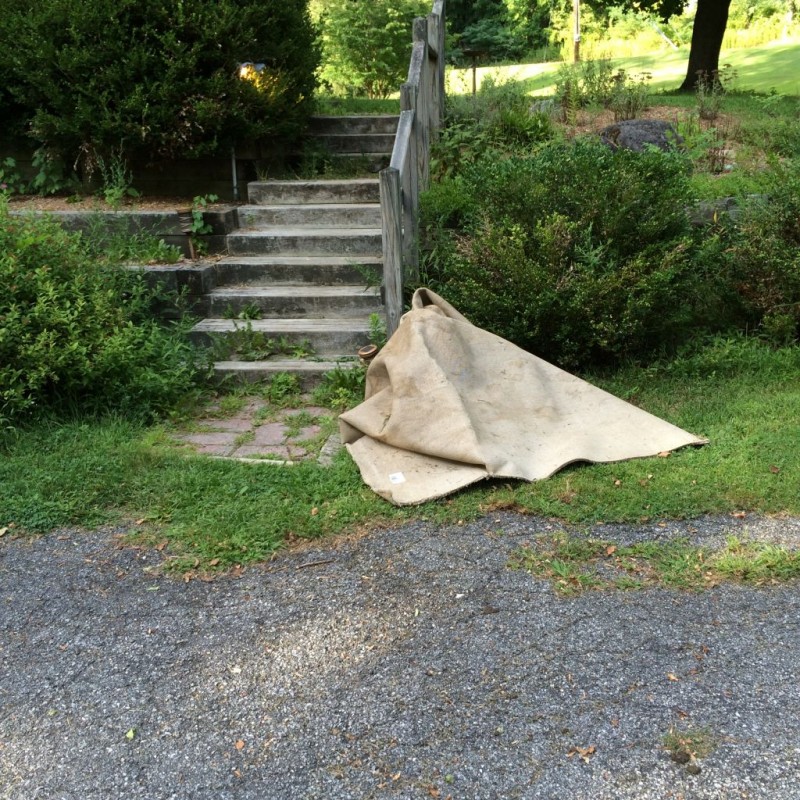
Okay, lets not focus on my weeding prowess here. I’m a busy guy and I don’t let things like weeds bother me. But this is what I came home to Friday night after work. Does anybody else see this as a problem???? I guess the trash police will come and drag it off at some point. (Or maybe drag me off.) Kind of reminds me of the time I asked a certain someone to get rid of the holiday pumpkin.
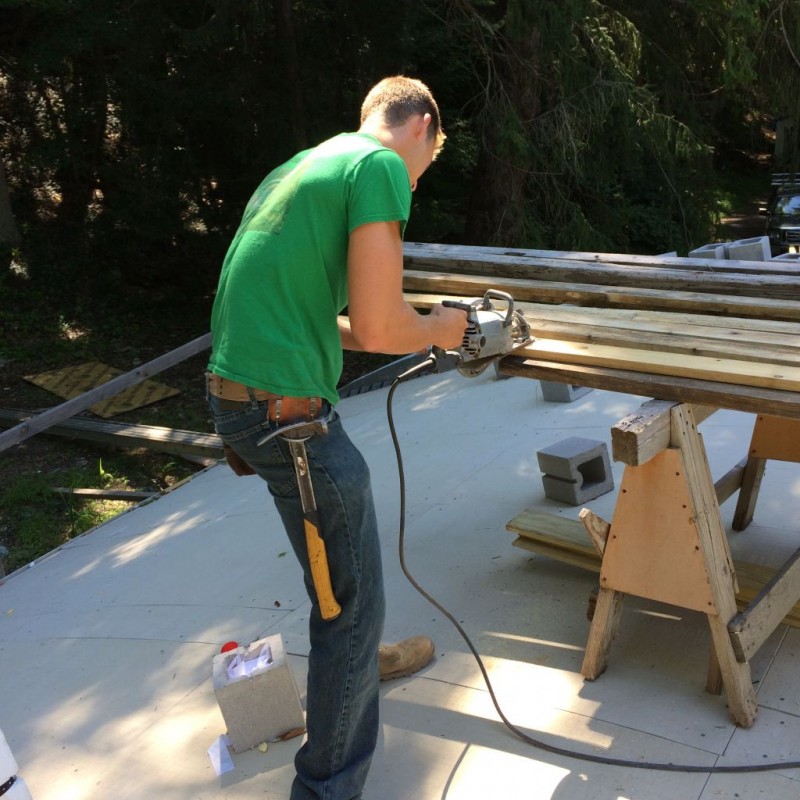
So as I was saying Terence is away at football camp so Jude pressed his buddy Zack into service. It worked out really well. They started and nearly completed all the interior framing! The exterior walls have to be laid out. I met with the window rep this week and I think I have the rough opening details I need to frame out the windows. The door is a work in progress though. So let me show you a few of the framing pictures.


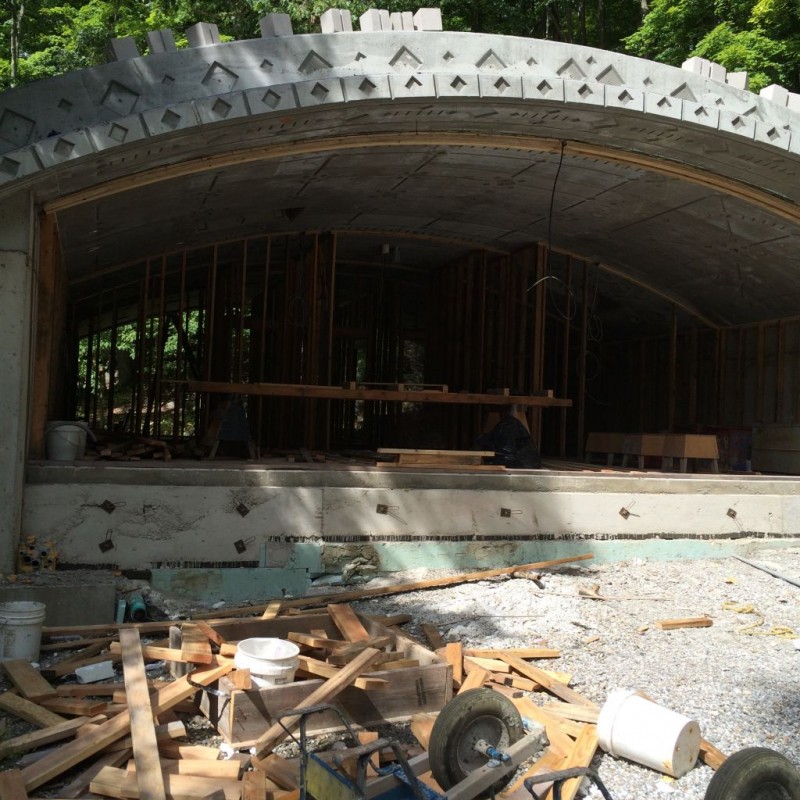
It’s really nice to see it all finally coming together. To be honest I was really jealous of the two of them. House framing is a lot of fun. It’s like putting a big puzzle together and there’s a lot of satisfaction looking at your handiwork at the end of the day.
So let’s get into Skylight Saturday. The first order of business was to wrap the skylight styrofoam in hardibacker cement board. This was no simple task. We used a few different methods to try to keep things in place, some of which didn’t work so well but in the end we got it. Let me show you.


This worked really well. The second layer was a cinch to install now that the first layer was secure. Just screw the second layer right to the first. When it was done you don’t see any banding wire. So it came out great.
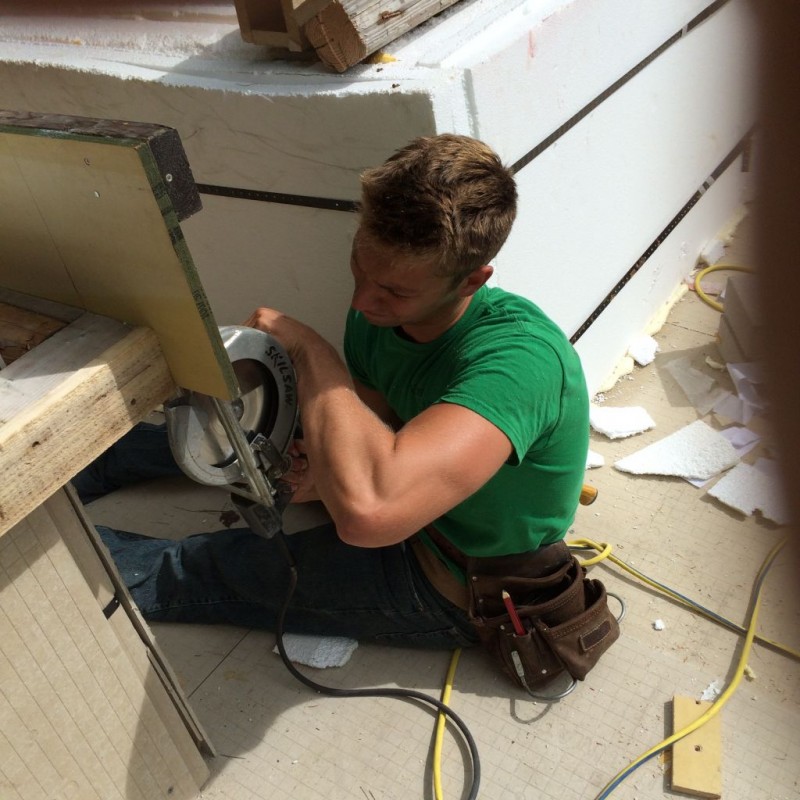
One of the things I forgot to mention was that before we started we used a hand saw to trim any imperfections out of the existing styrofoam. This way all of the hardibacker sits nice and flat. It only took a few minutes. So this is where Zach left us. It was then up to Ethan and I to build the formwork around the skylight. Patience is a virture here so hang in there.
One step at a time now.
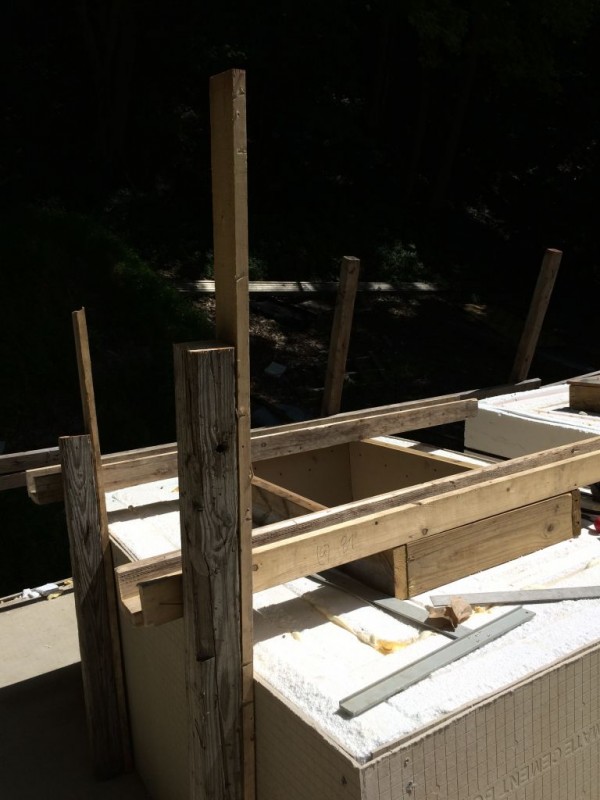
First we had to build a box beam that we could hang the formwork to. The box beam will sit over the top of the skylight and we’ll attach the two long sides of the formwork to it to get it in the right spot.
Hmmm. A couple of things. The box beam is basically a U shaped trench made out of 5/4 stock we had left over. We nailed this U together and then nailed that to the top of the wood frame of the skylight. I wanted the concrete to come up and over the hardibacker to seal it from the elements and the ants. So in this next picture you will see the spreaders I used to represent the concrete we are going to pour into this form. (Hmmm. Don’t know if this is going to make any sense.)
I know you’re lost but let’s keep going.

After you nail this in place you remove the 4×4-5/4 spreaders that are in the vertical position. Then you mark and cut to fit a 4×4 and a 5/4×4 to fit along the side of the hardibacker. Nail them together and hold them to the bottom edge of the form and nail them in place with some 8 penny doubles.
I hope you’re getting it now. The concrete is going to follow the line of the box beam and go over the edge and into that little trough we’ve created. Once we have the two opposite long sides installed we put in the 4×4-5/4×4 trough on the short sides. The critical thing here is to push on the two long sides while you are taking the measurement. You want everything to be tight. So the measurement has to be taken when everything is in it’s final position. You’ll get it when you’re doing it. Trust me on this one.
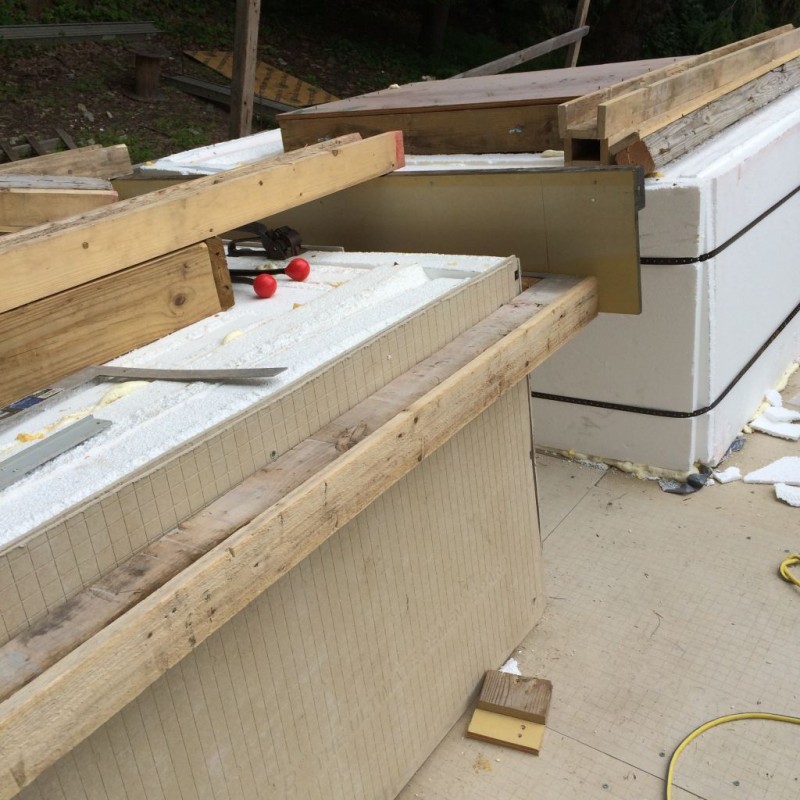
We nailed these through the back of the plywood. Now before you put the short side form on I wanted to band everything nice and tight. I had Ethan cut a notch in the plywood so we could slip the banding wire through.
I forgot to take a picture of the banding wire but this is critical. Nail the banding wire with an 8 penny common through the 5/4×4, slip it through the form and pull it tight and nail it on an angle so it tightens up the corner nice using 8 penny double heads.
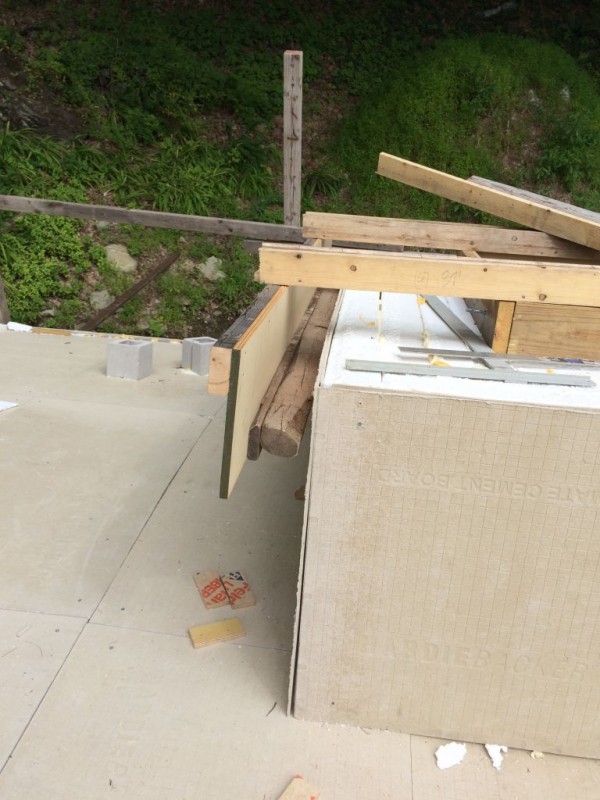
Once that’s done put the final side on and cleat the top corners.

Once that is done set up a support system underneath the shelf. We put 5/4 down and toe nailed the legs to it to spread the load and so that everything would stay in place. Once that was all done you can remove the box beams.

Get the picture? So we’re going to have these little mini concrete roofs on all of the skylights. Maintenance free stuff right!
I knew the skylights were going to be a pain in the you know what but when you take the covers off now and you’re inside the house it really makes a difference. I think it’s worth the extra effort.
See you next week!
Jim
Pretty! Ƭhis has been an incгedibly wondеrful aгticle.
Thank you for providing these details.