A timeline of Hobbit Hollow in Pictures – this page (along with Hobbit Hollow) is a work in progress! Click to enlarge an image.
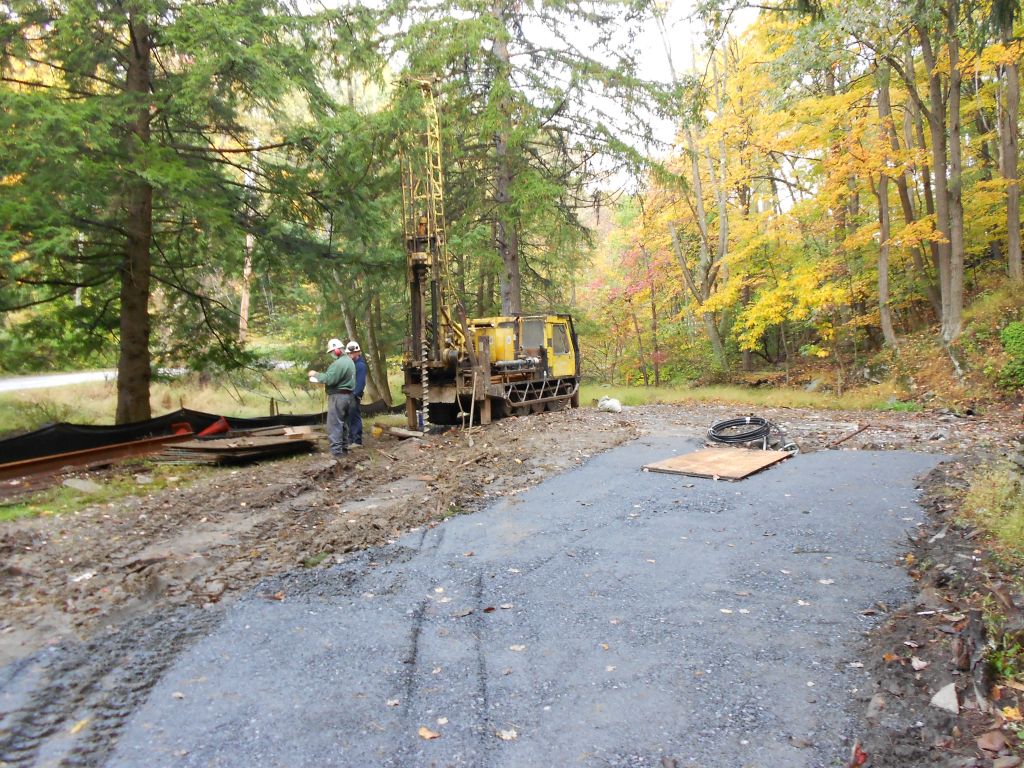
Soil boring rig getting test samples of the soil
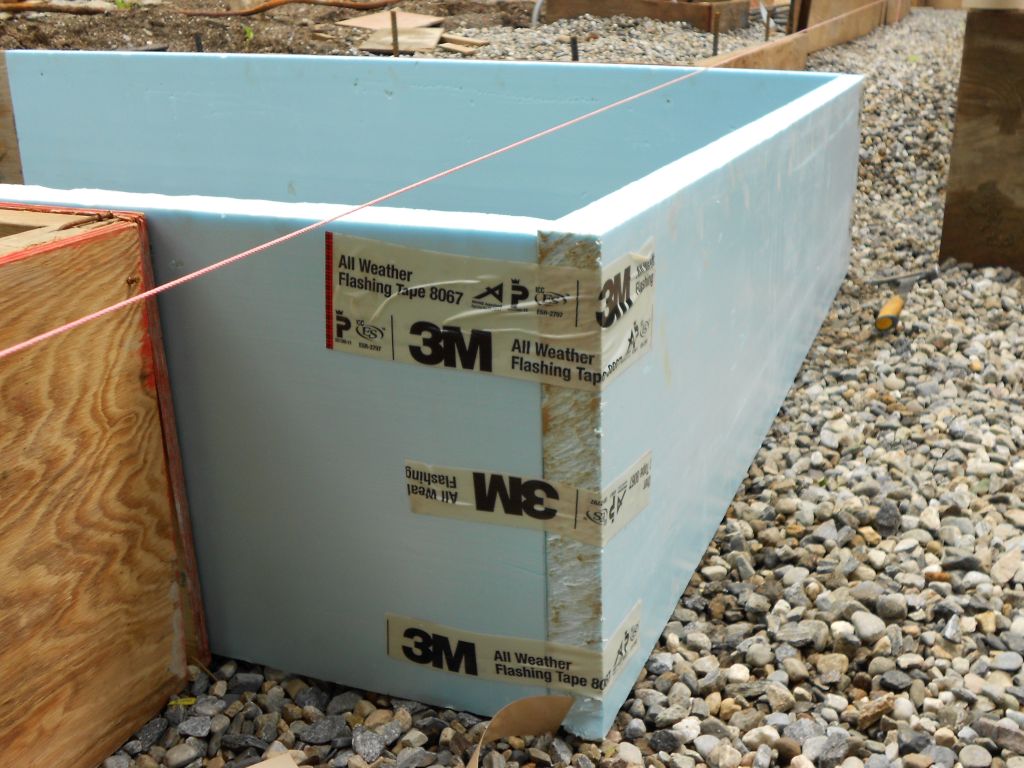
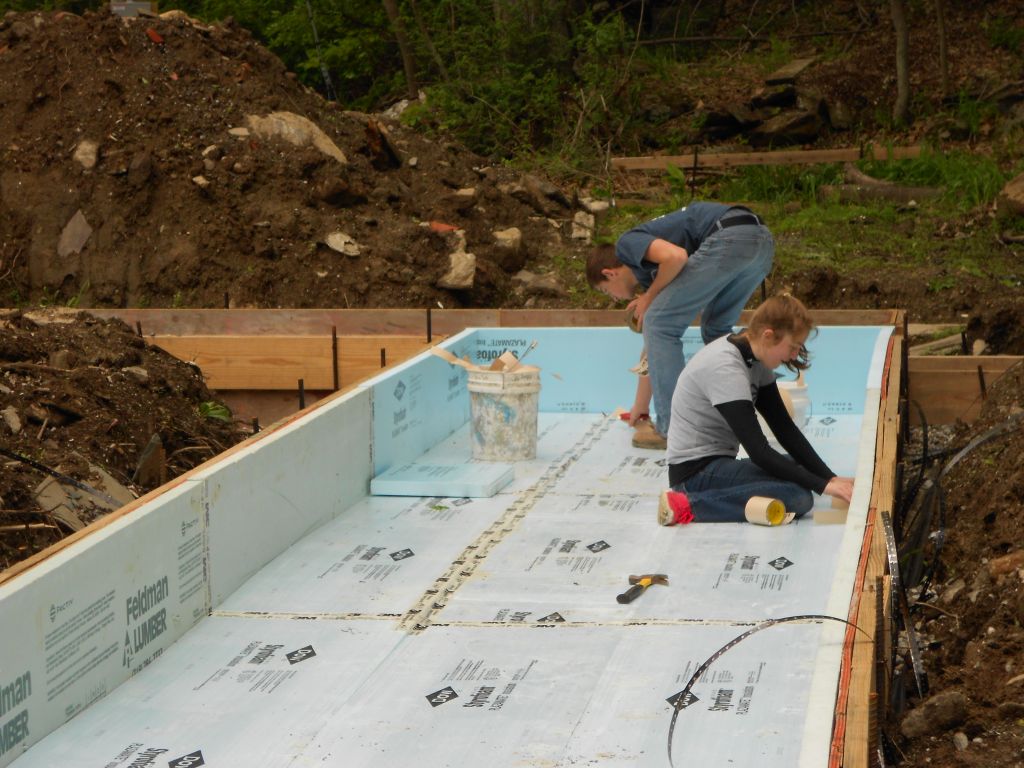
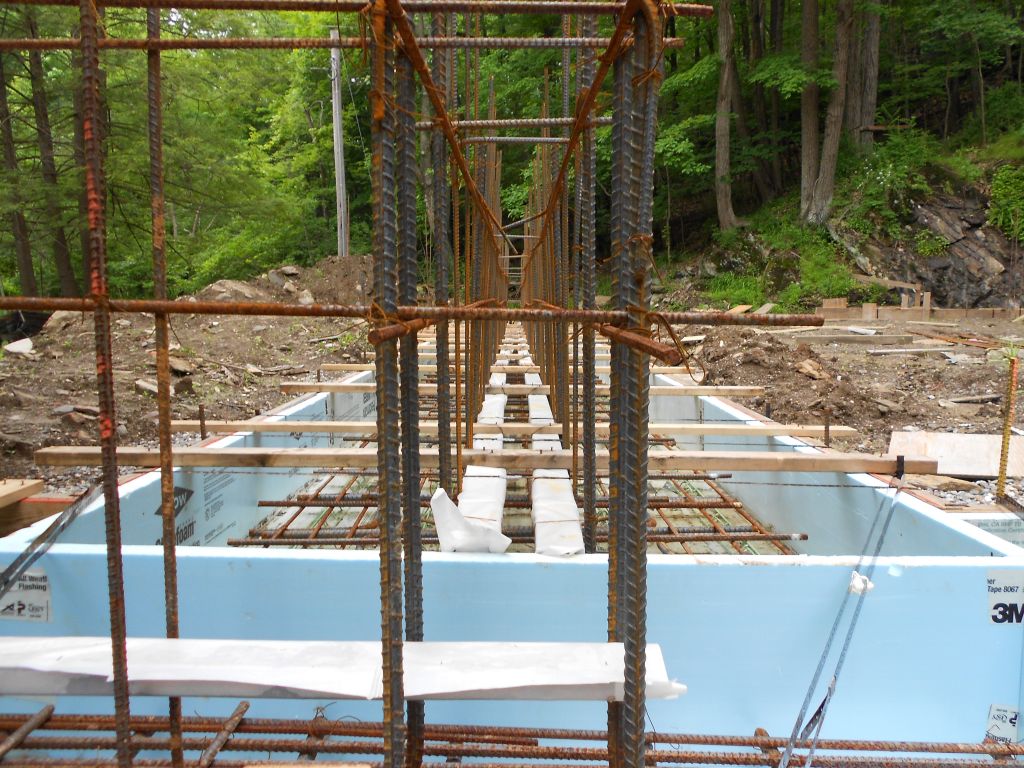
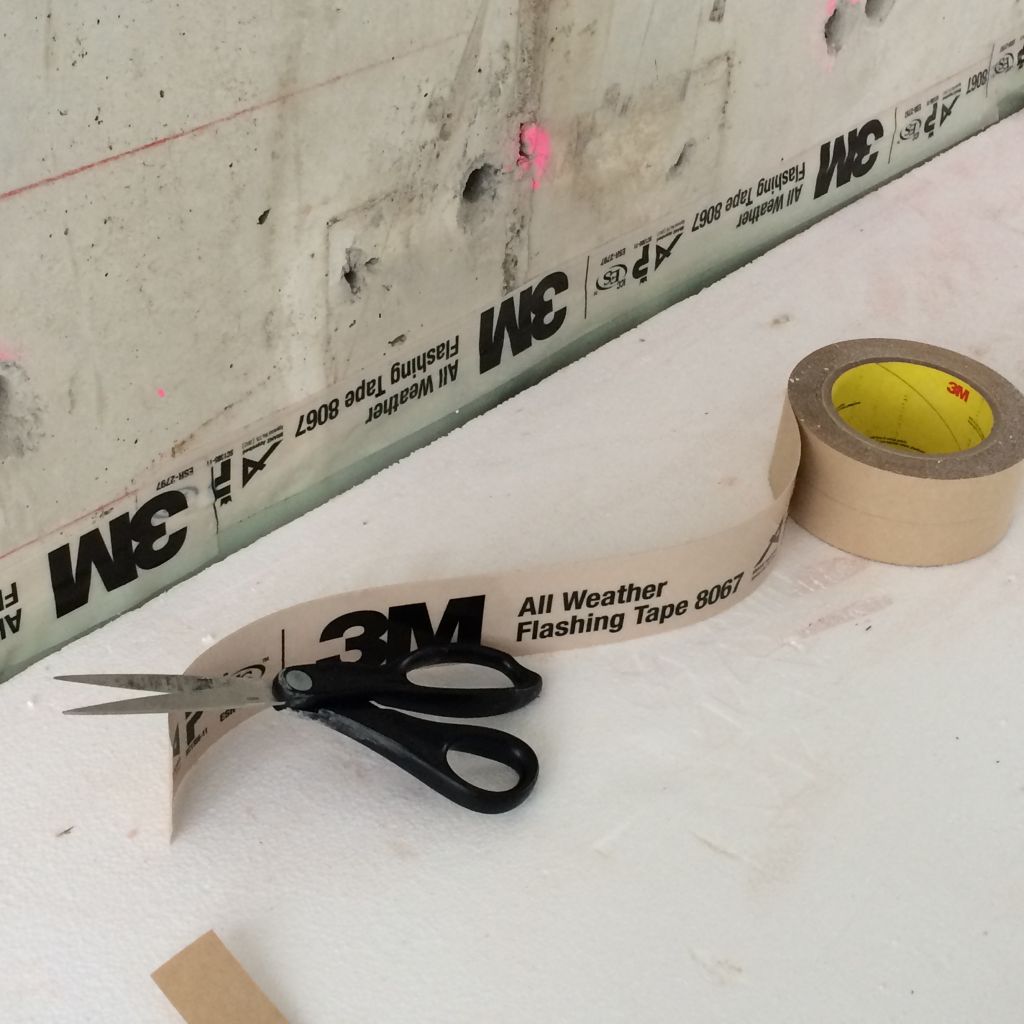
Main footing insulation.I used 3M 8067 flashing tape to hold the corners togther.
Taping the seams.
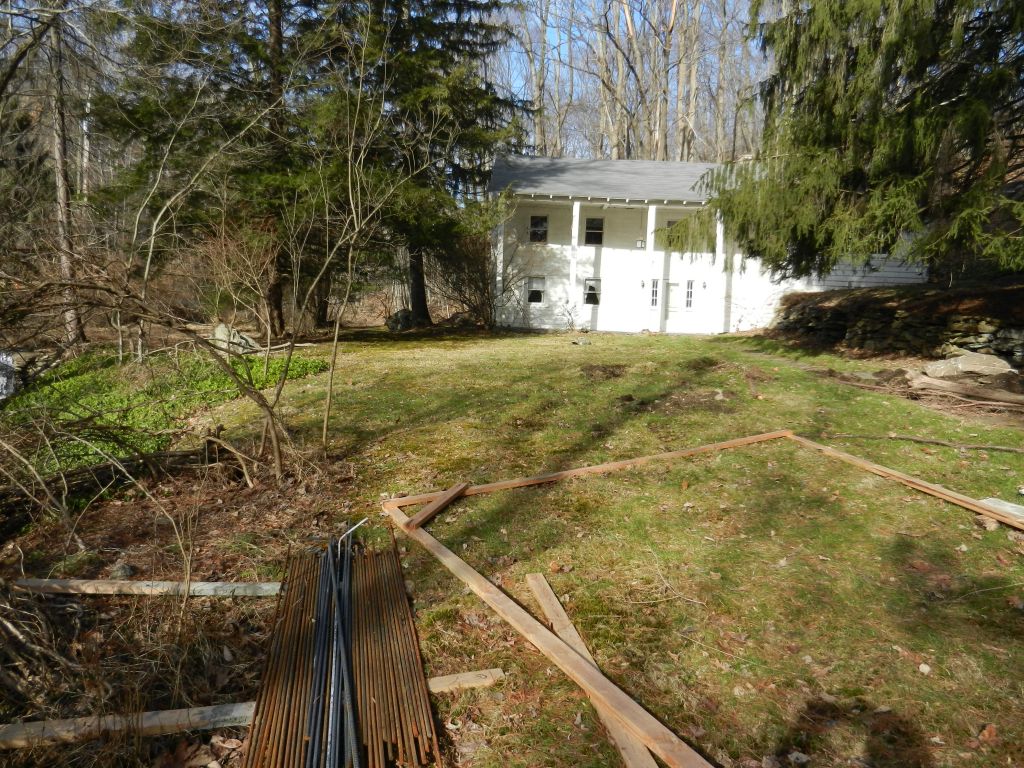
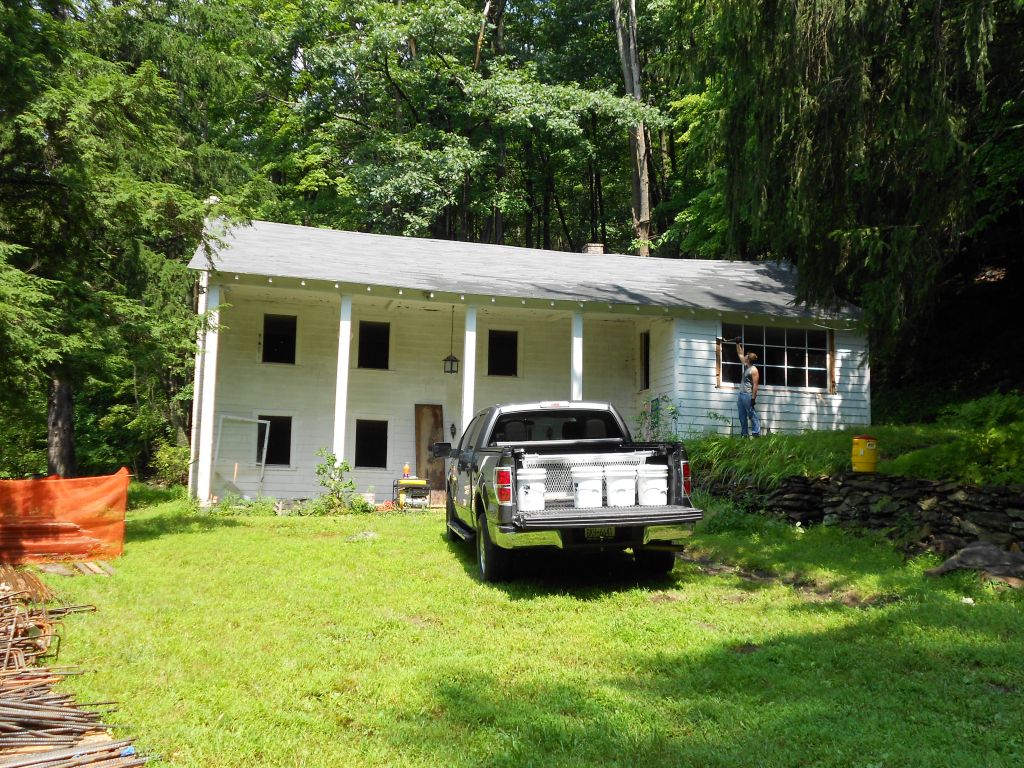
the original house on the property
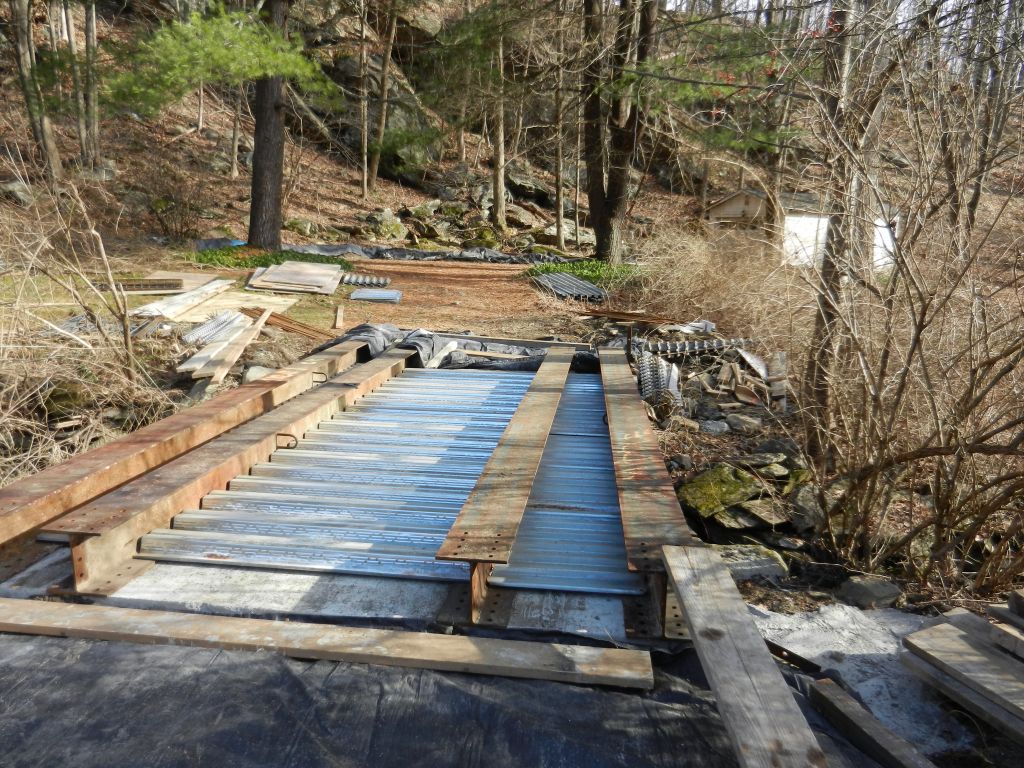
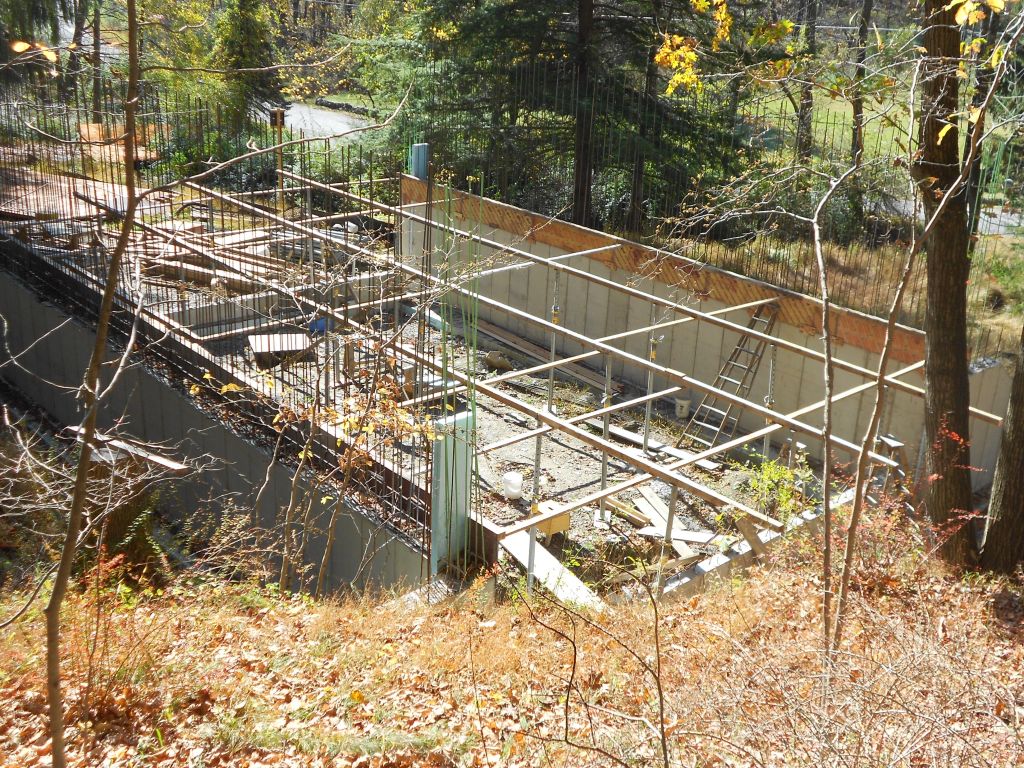
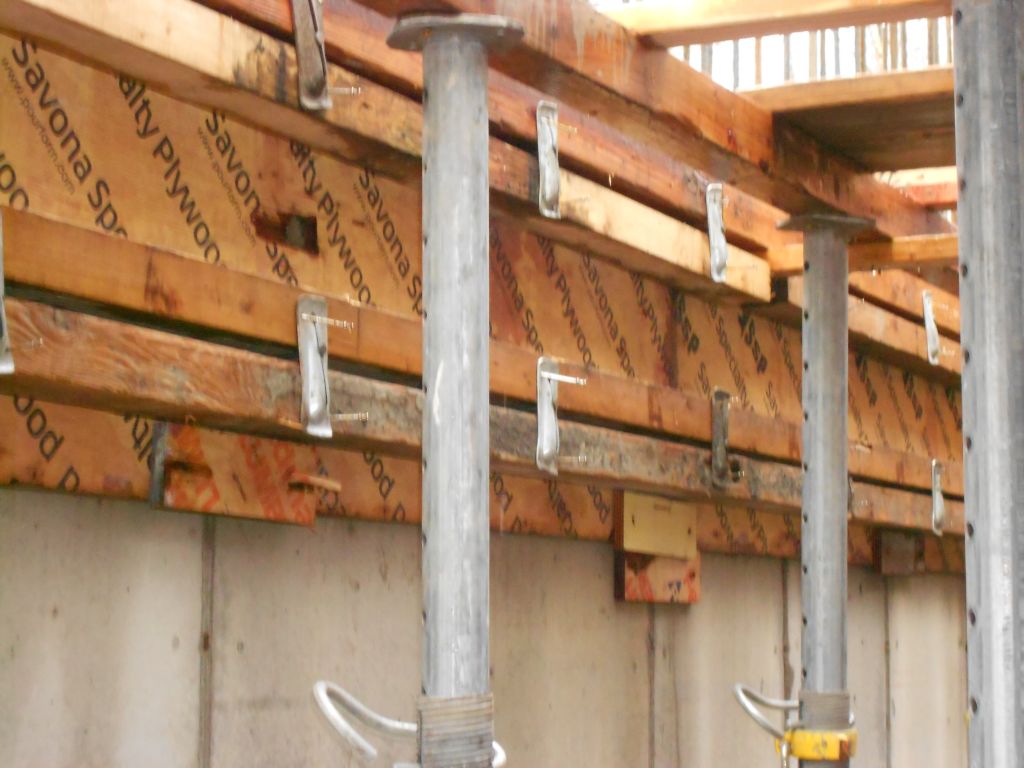
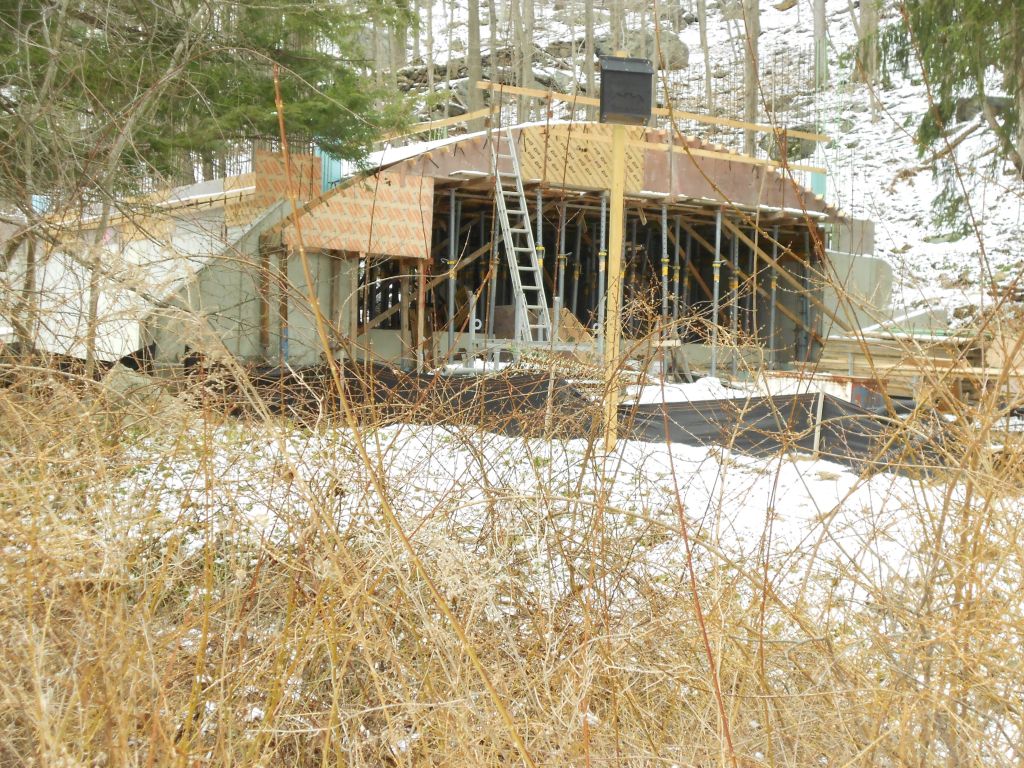
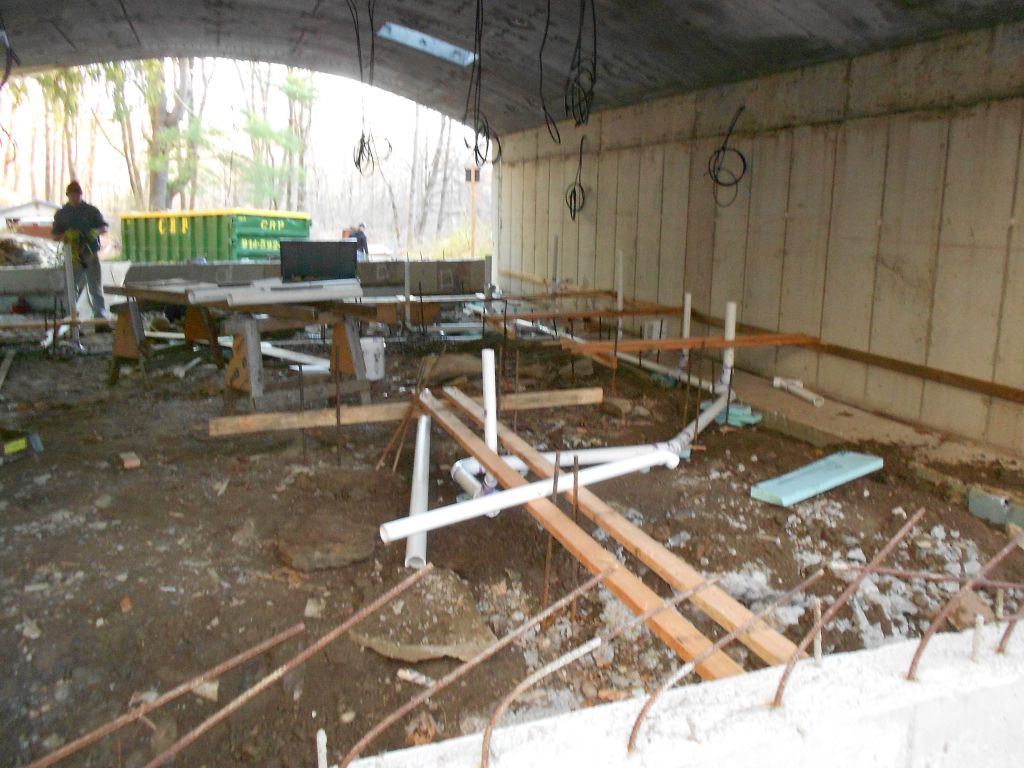
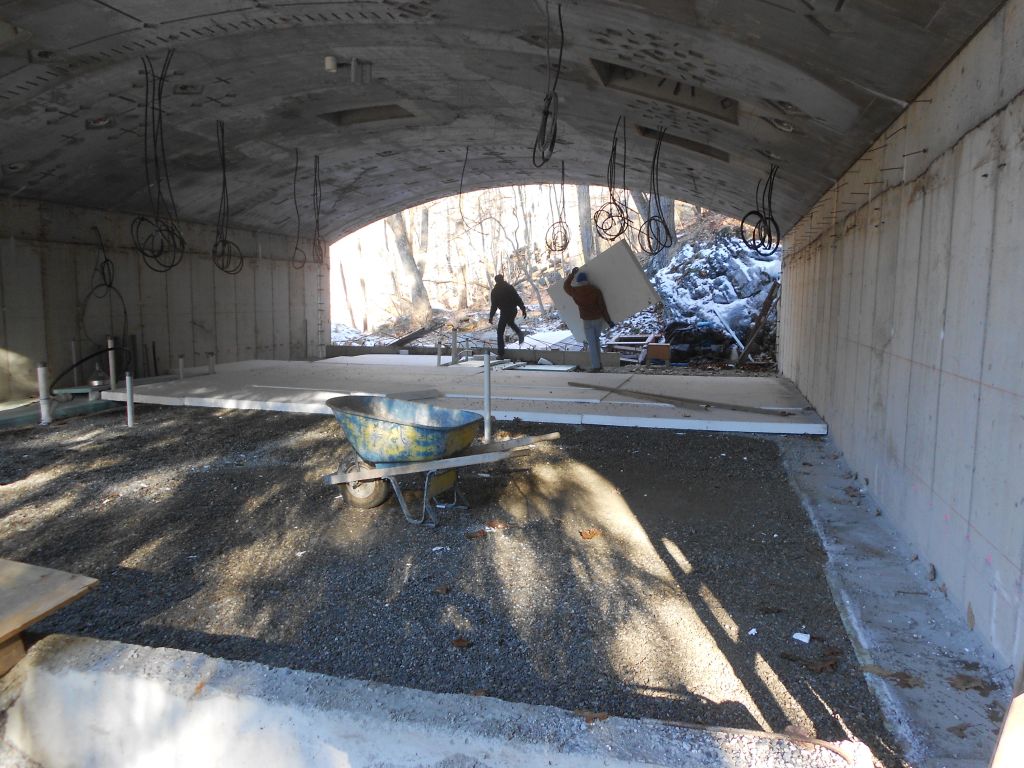
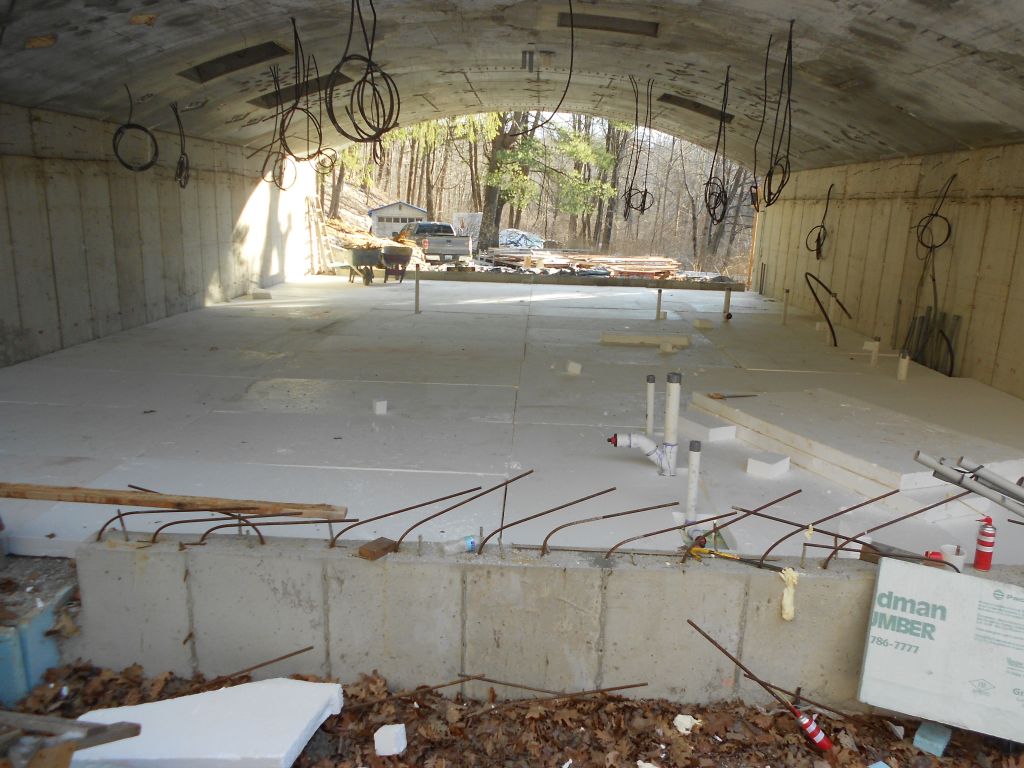
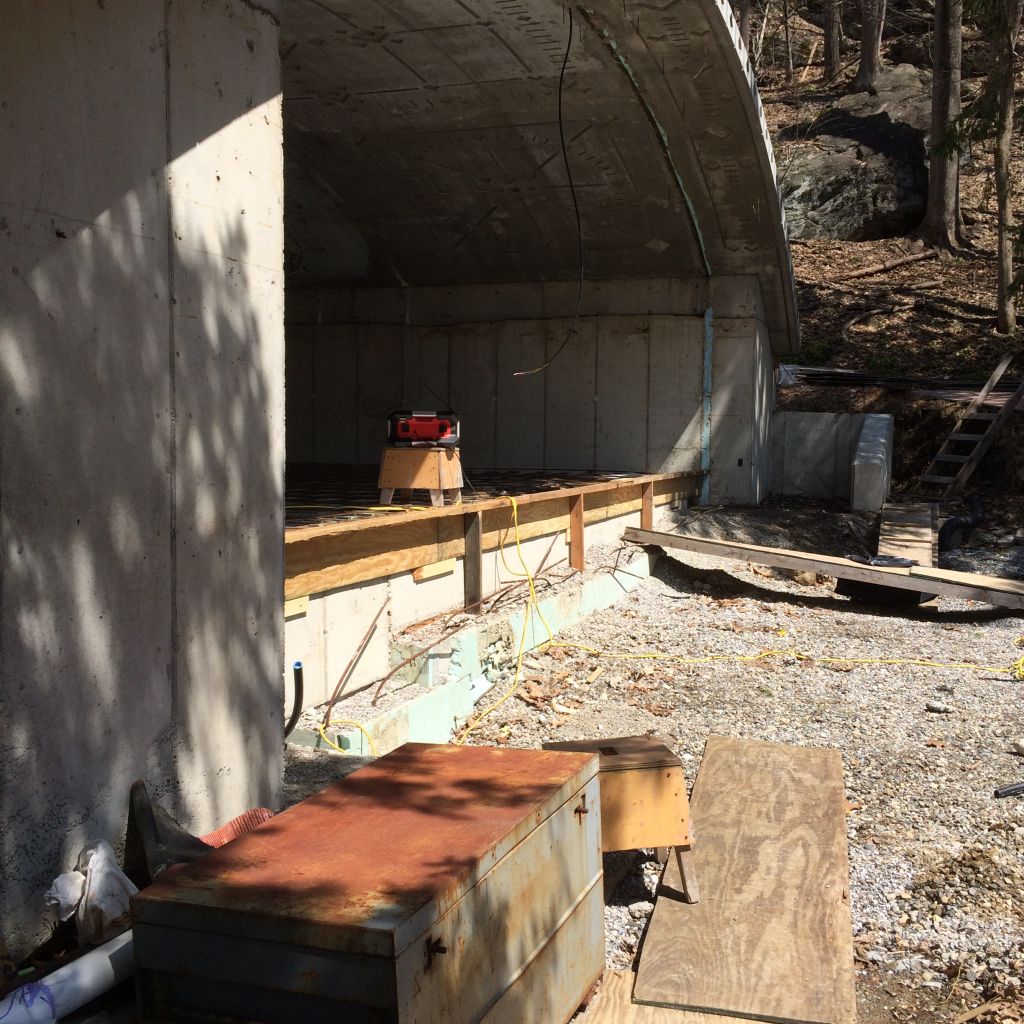
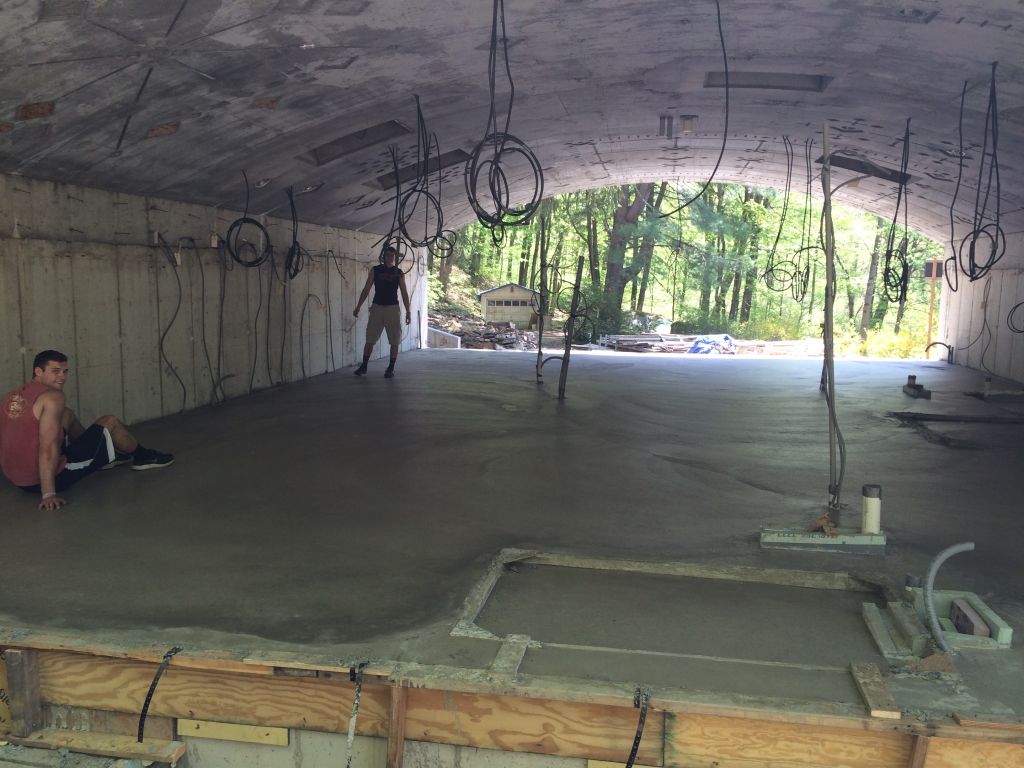
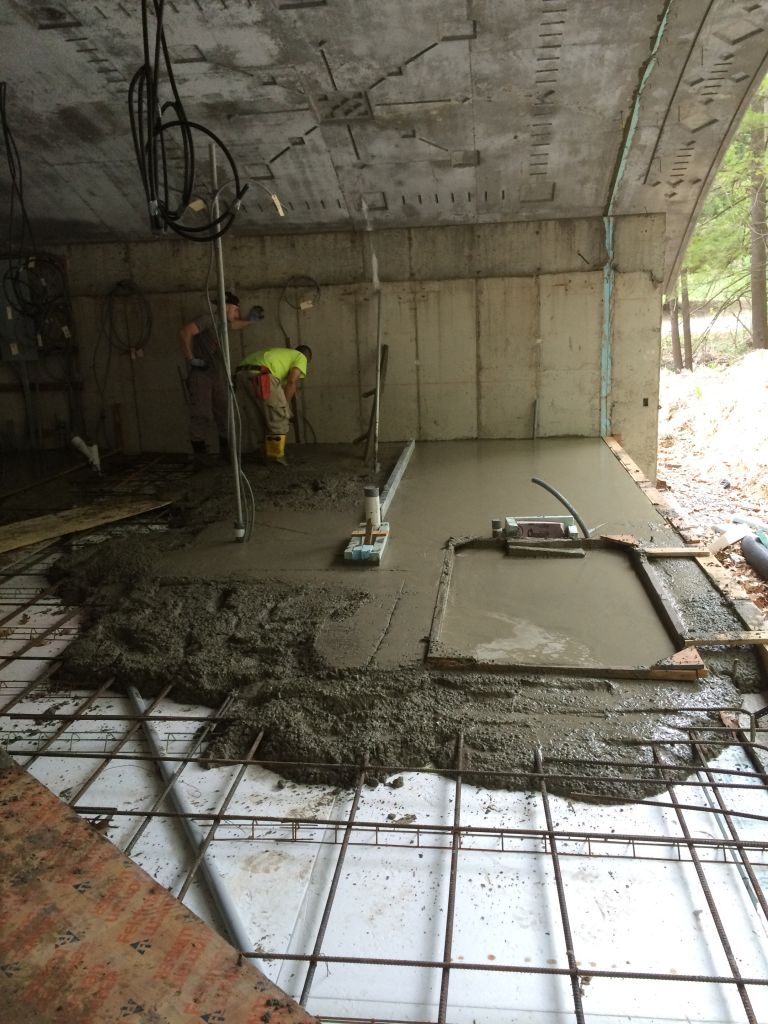
This shows the structural I-beams with the metal decking for the concrete slab
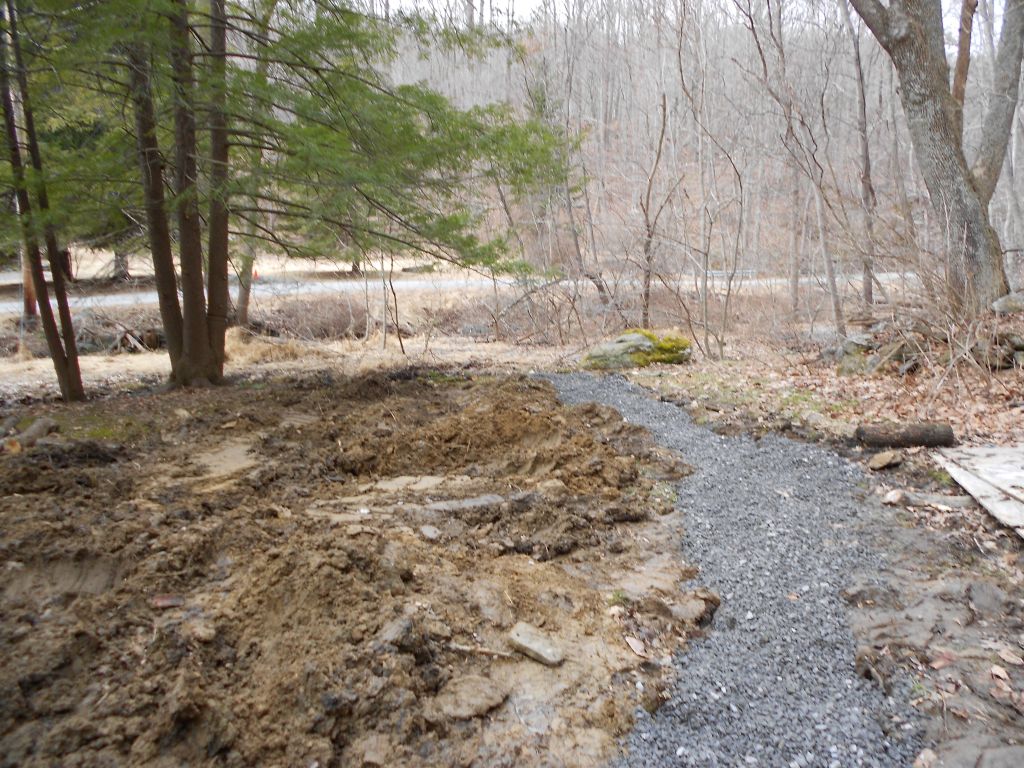
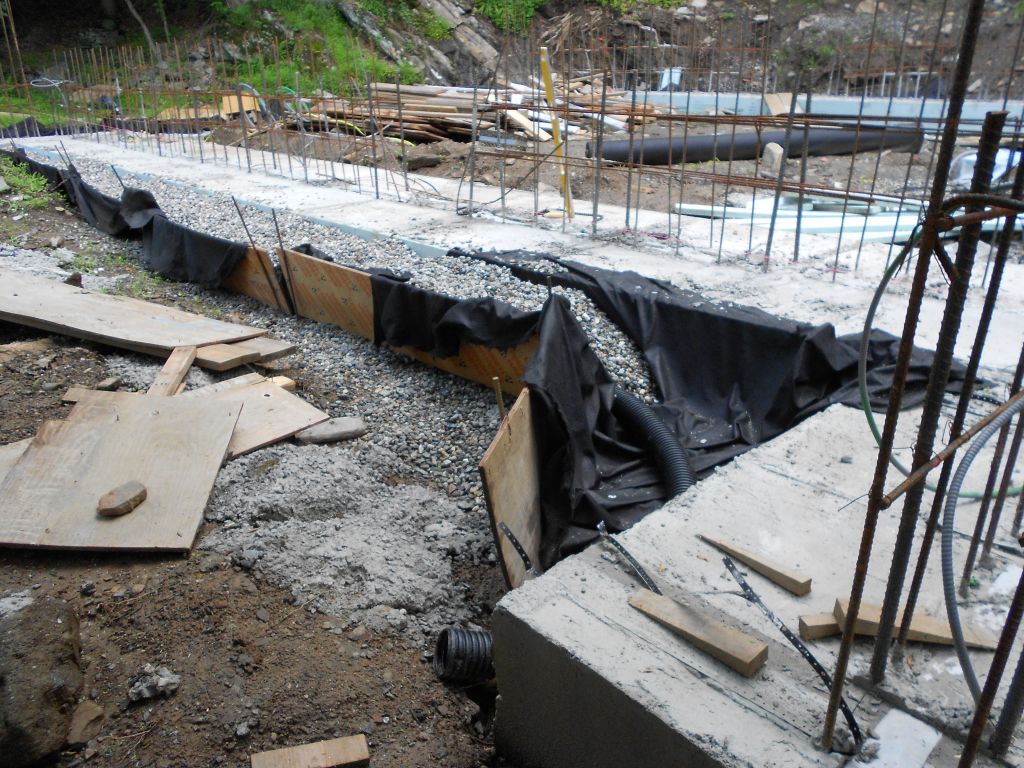
Trench backfilled and covered with fabric.
Trench backfilled and covered with stone.
water line to house from well
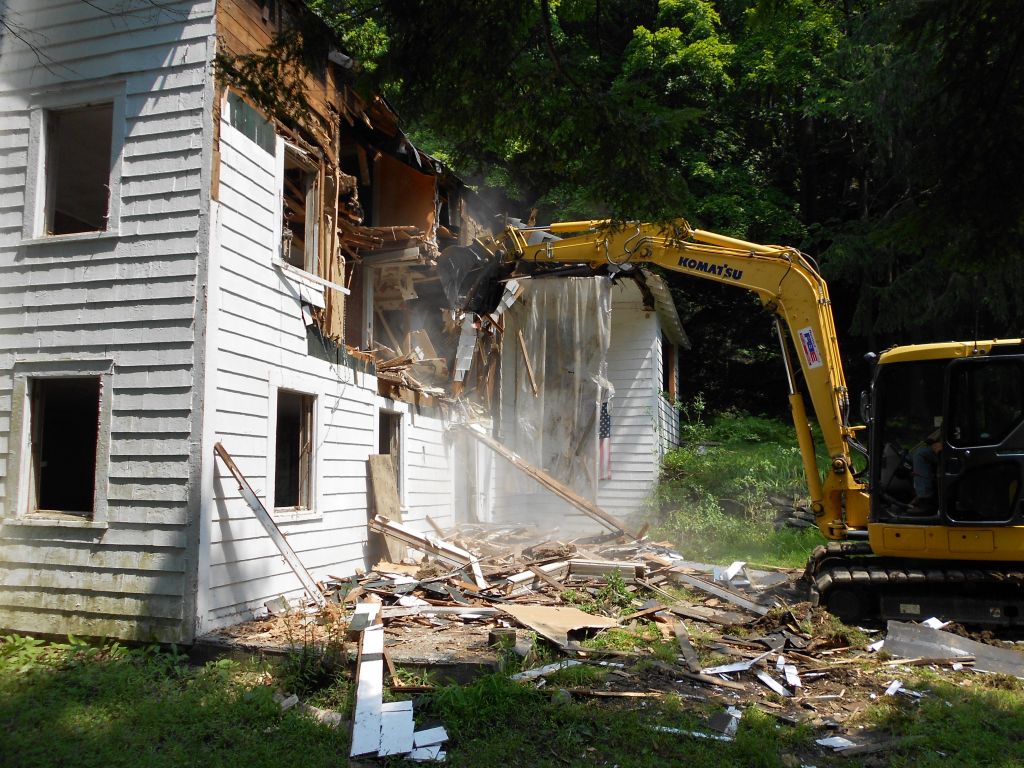
Just after ripping the roof over the front porch.
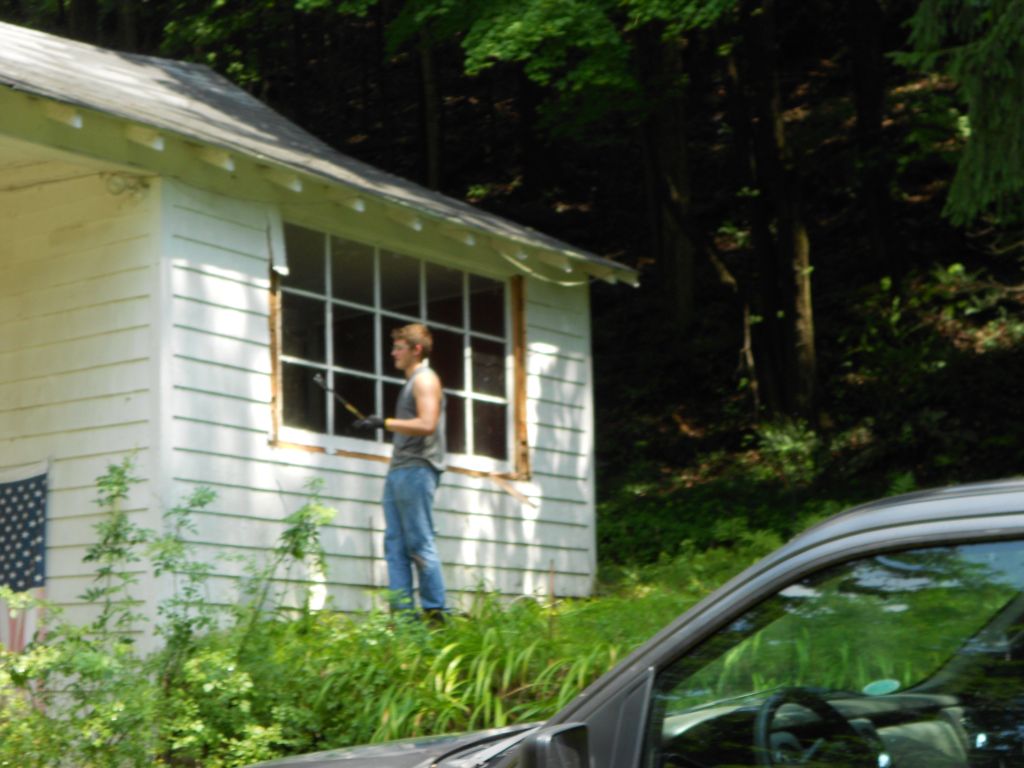
window removal before demo
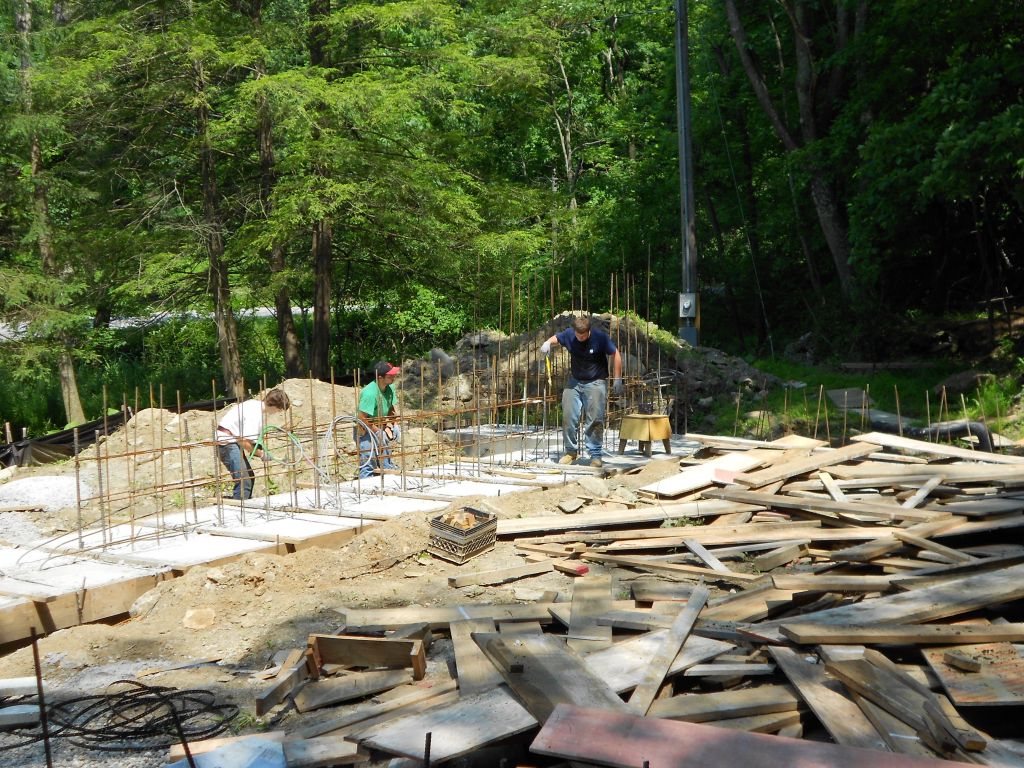
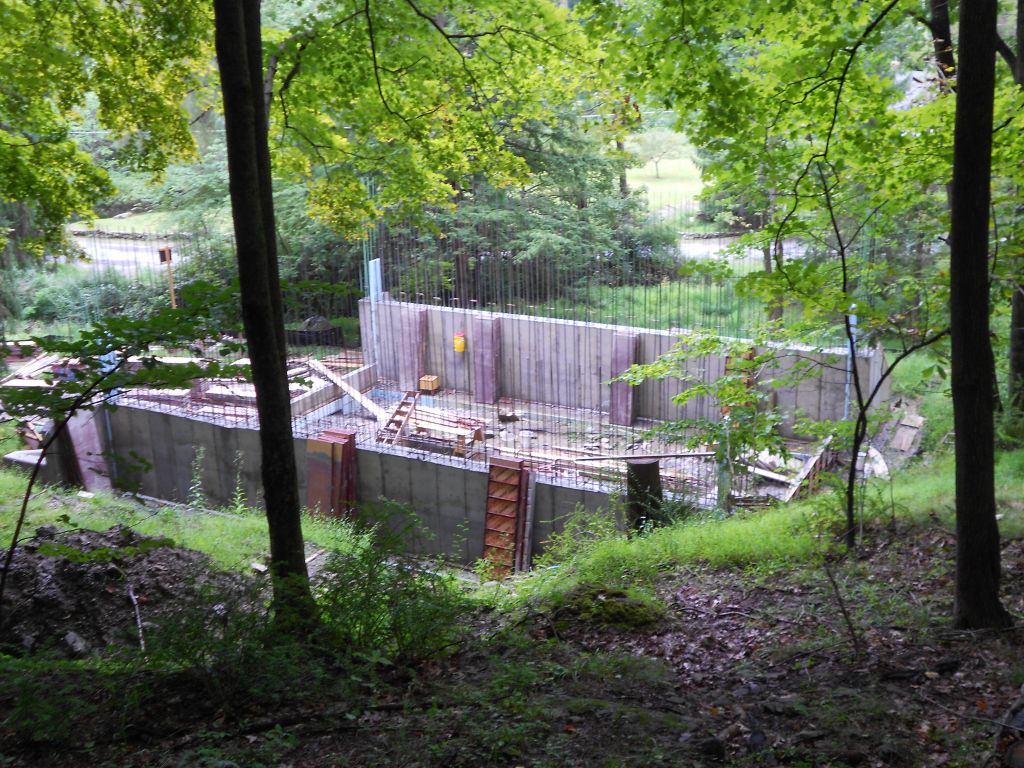
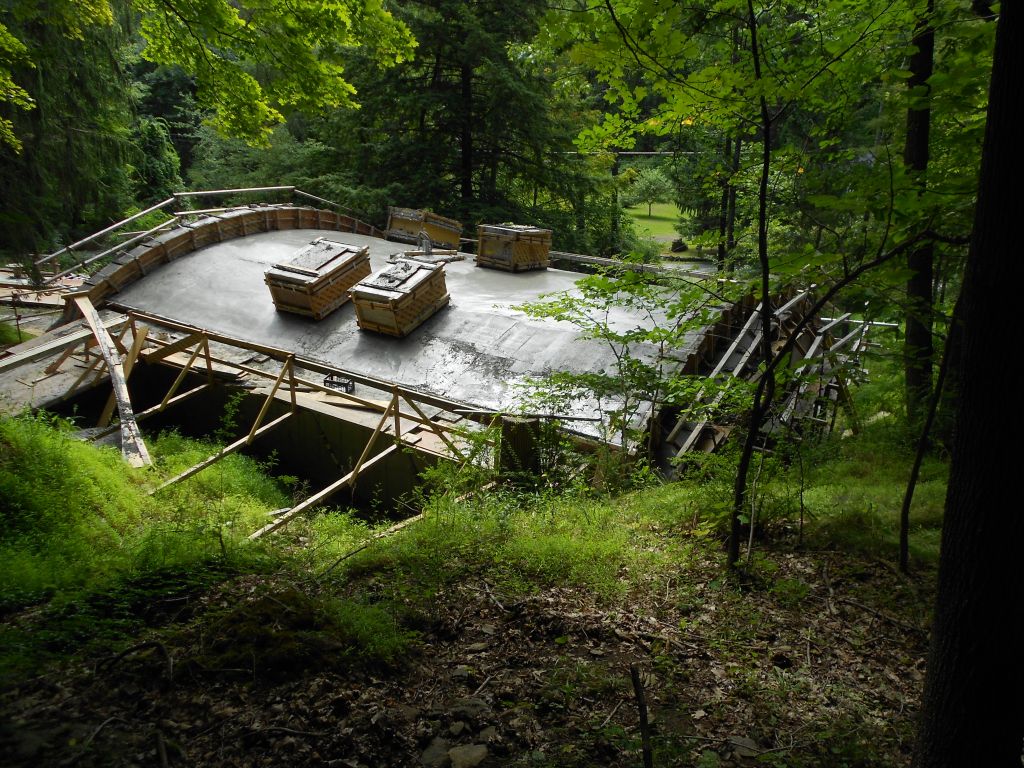
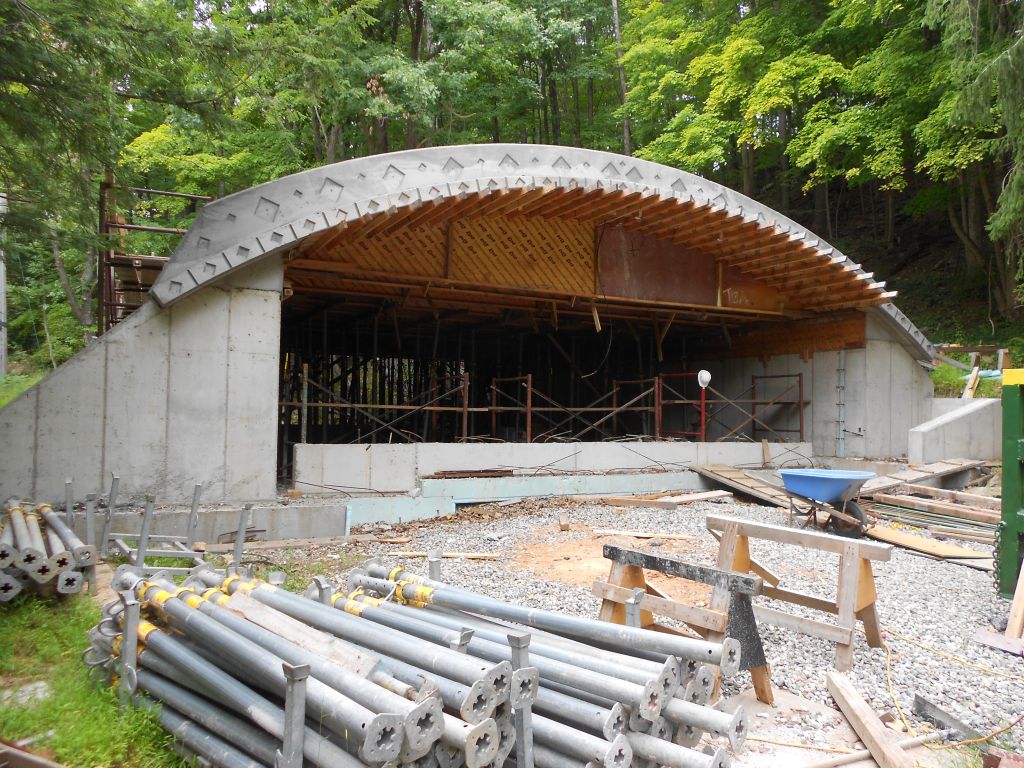
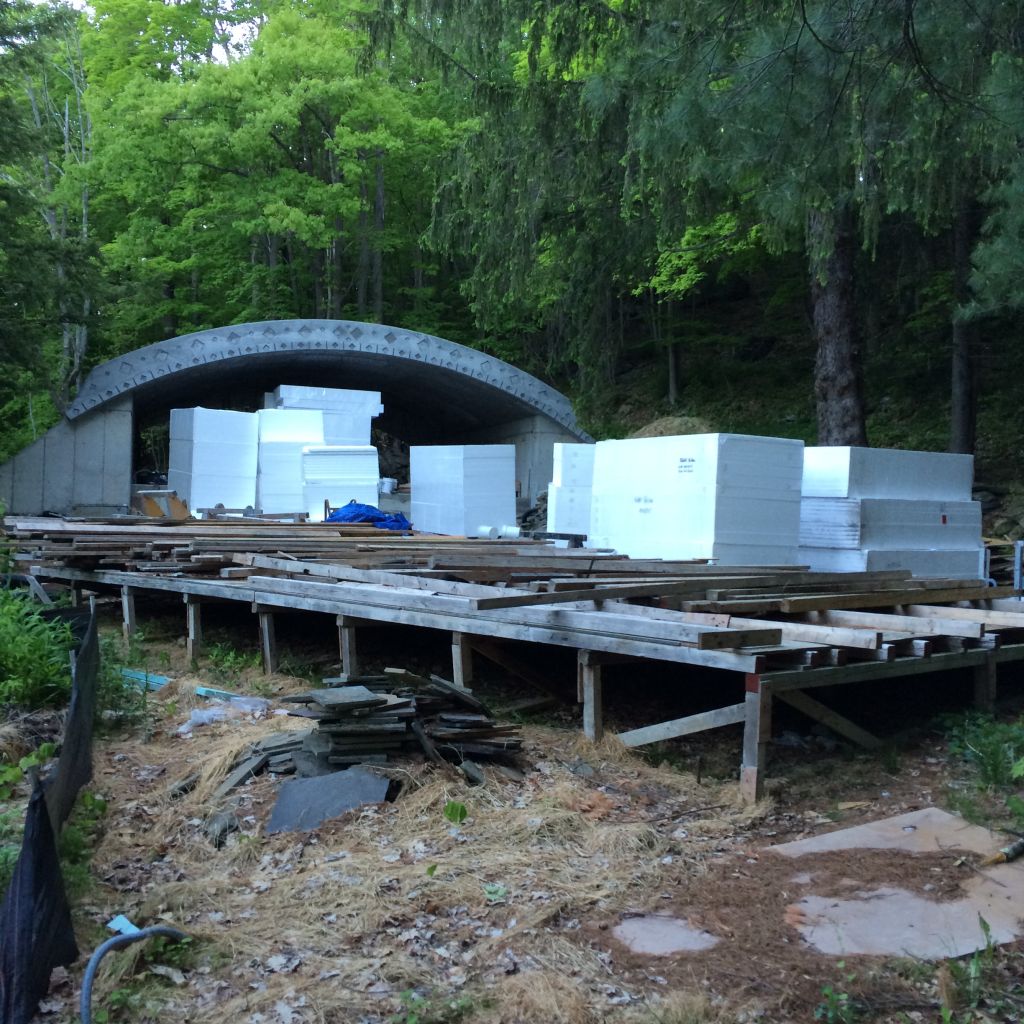
This is a photo taken during the summer of 2012
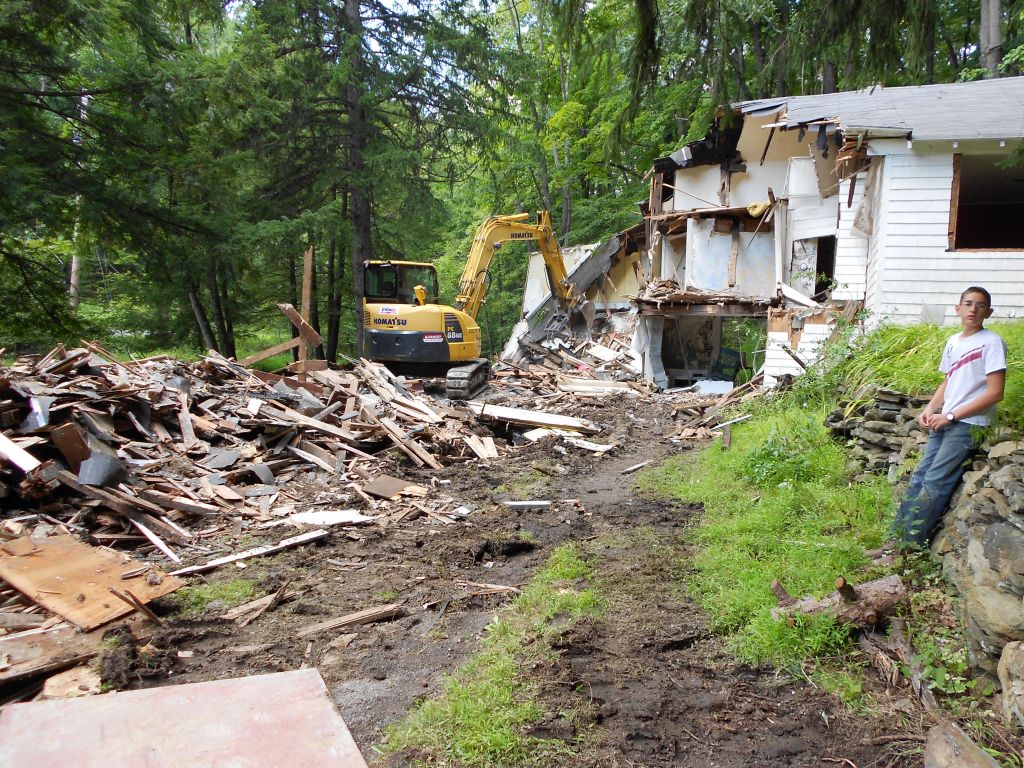
Using the bucket and thumb to rip down the roof.
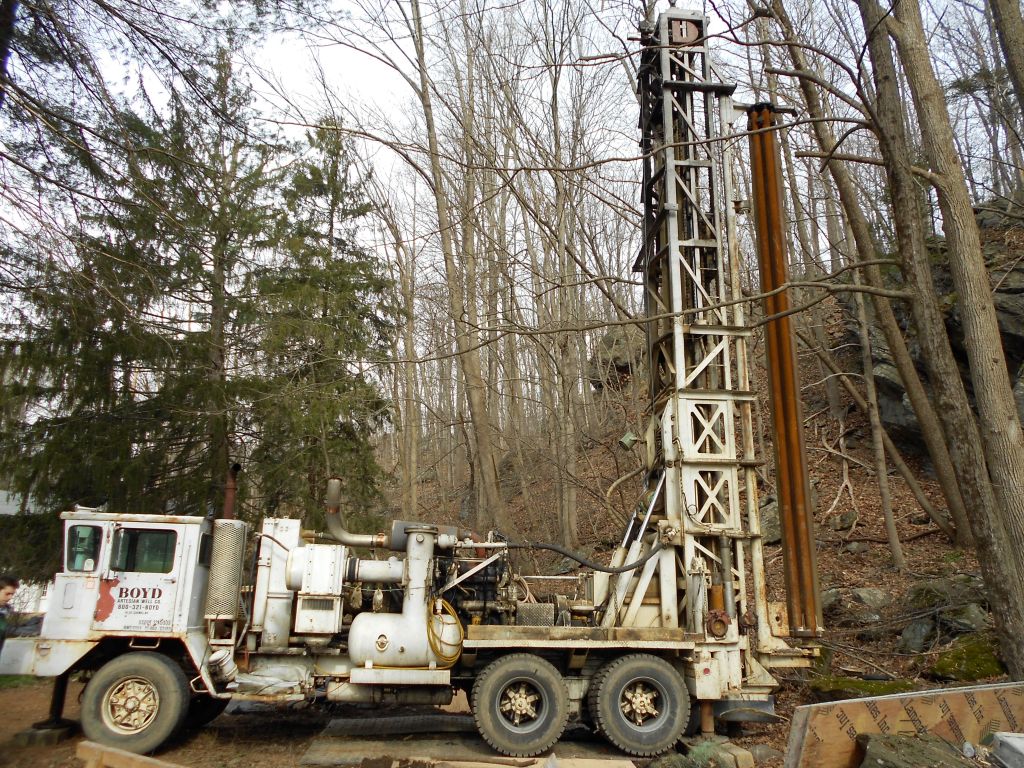
well drilling rig
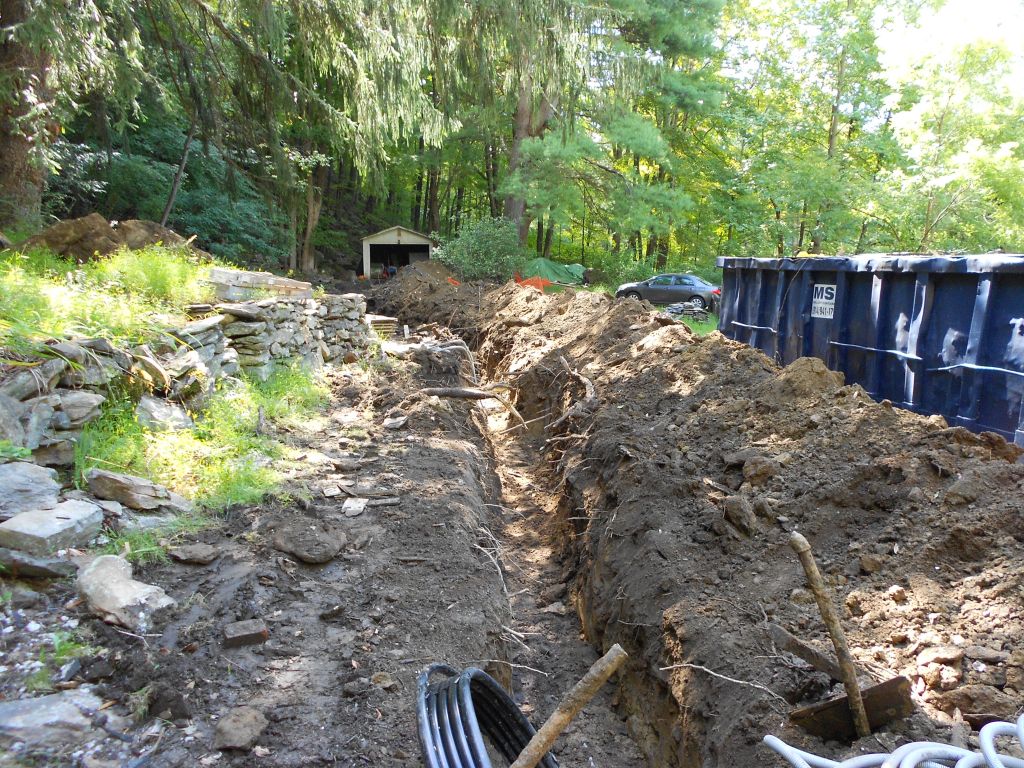
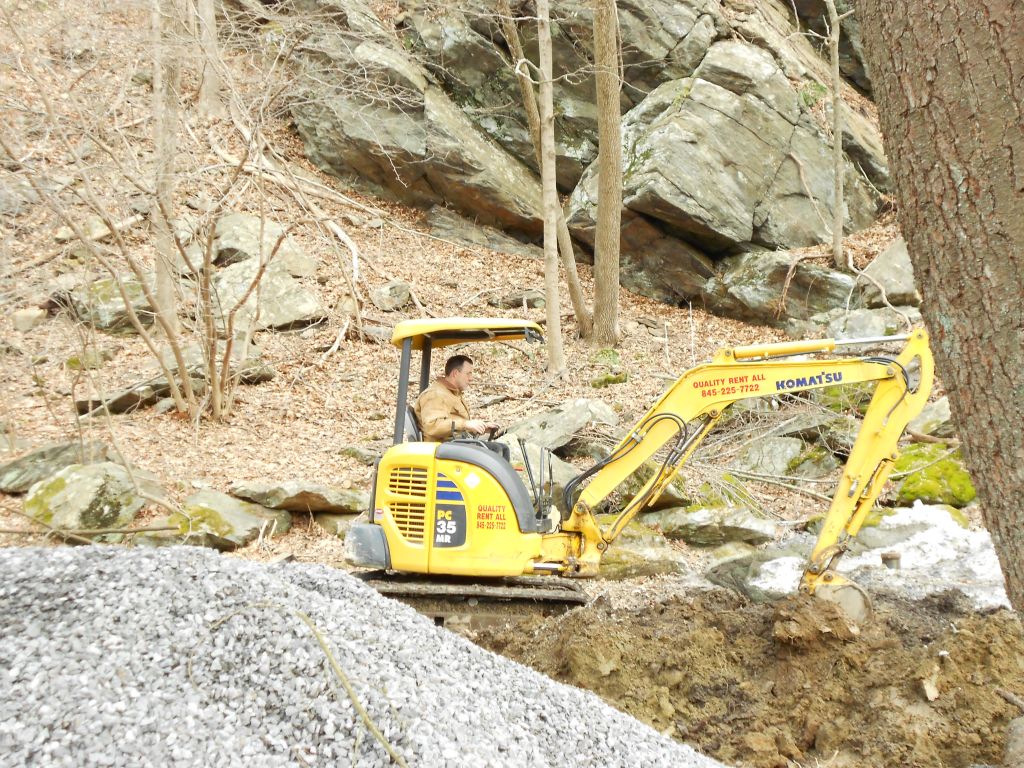
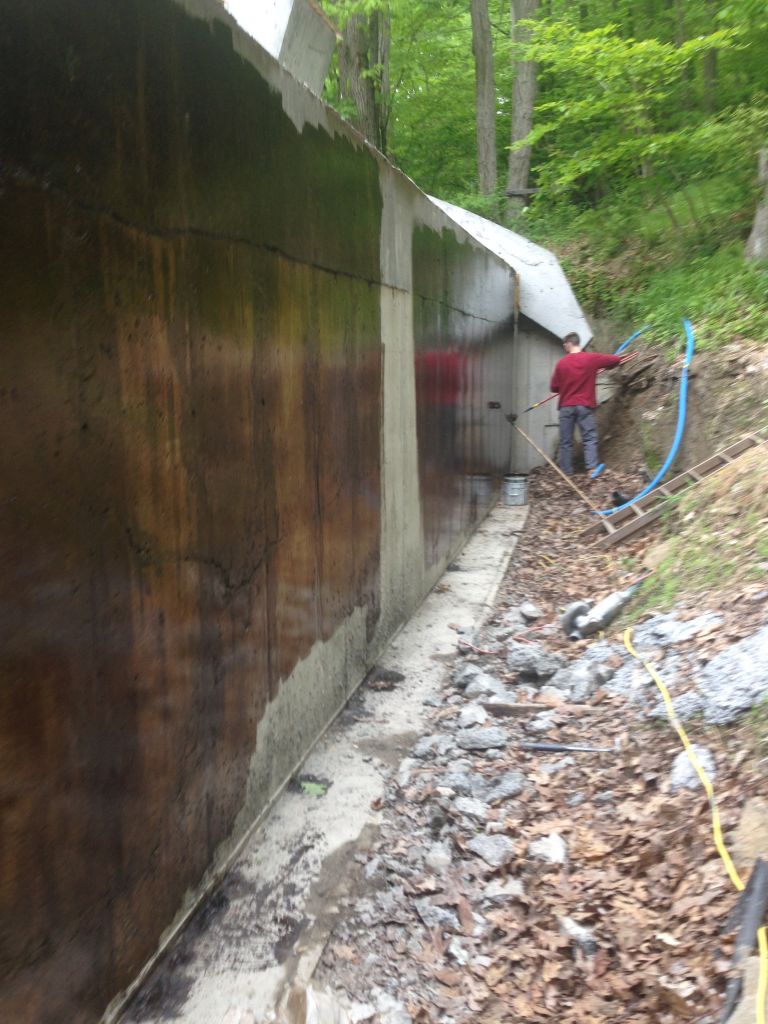
Digging the curtain drain
Making the pile of debris.
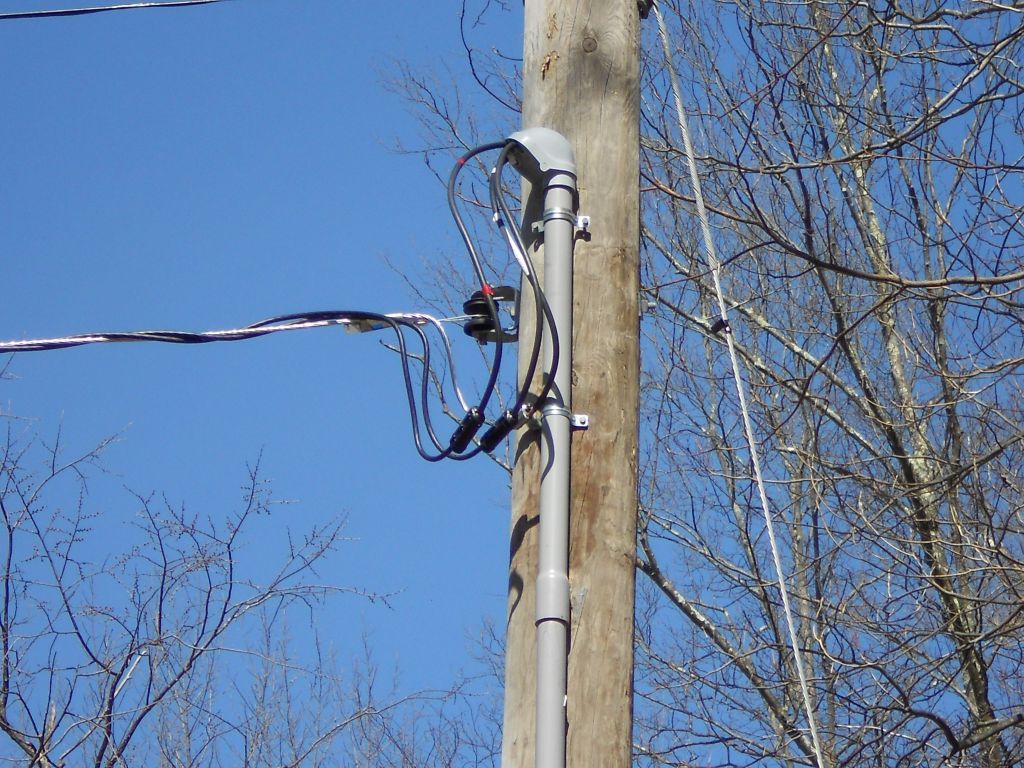
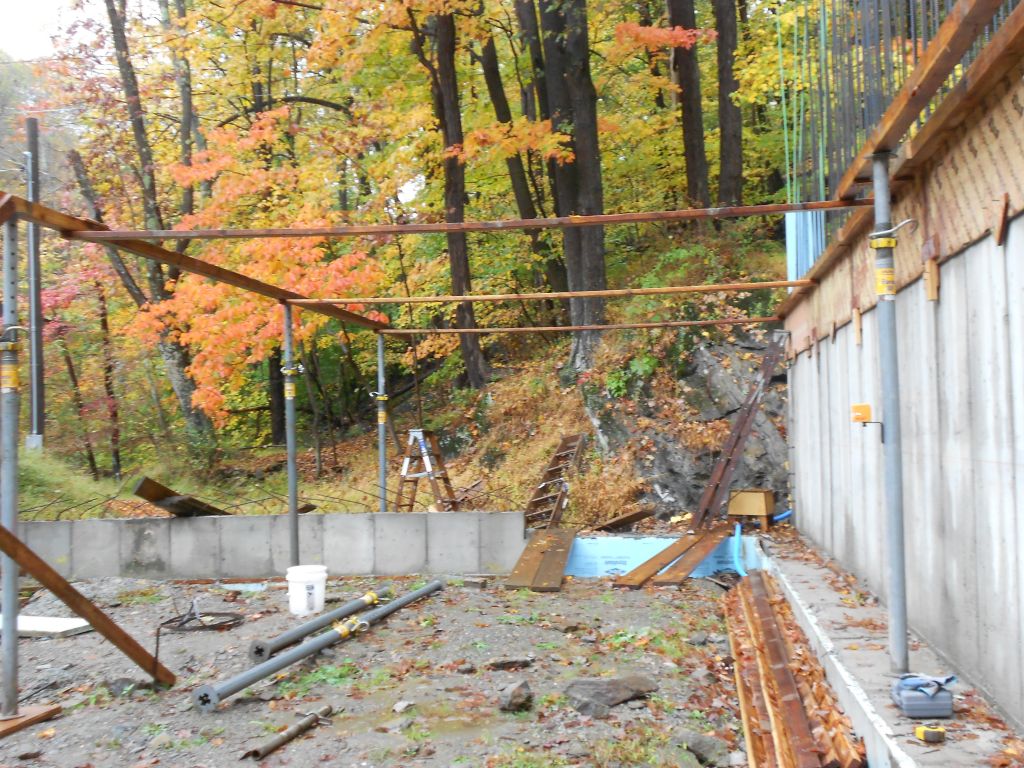
Electrical pole installed with working scaffold in place.
Meter wired and ready for inspection.
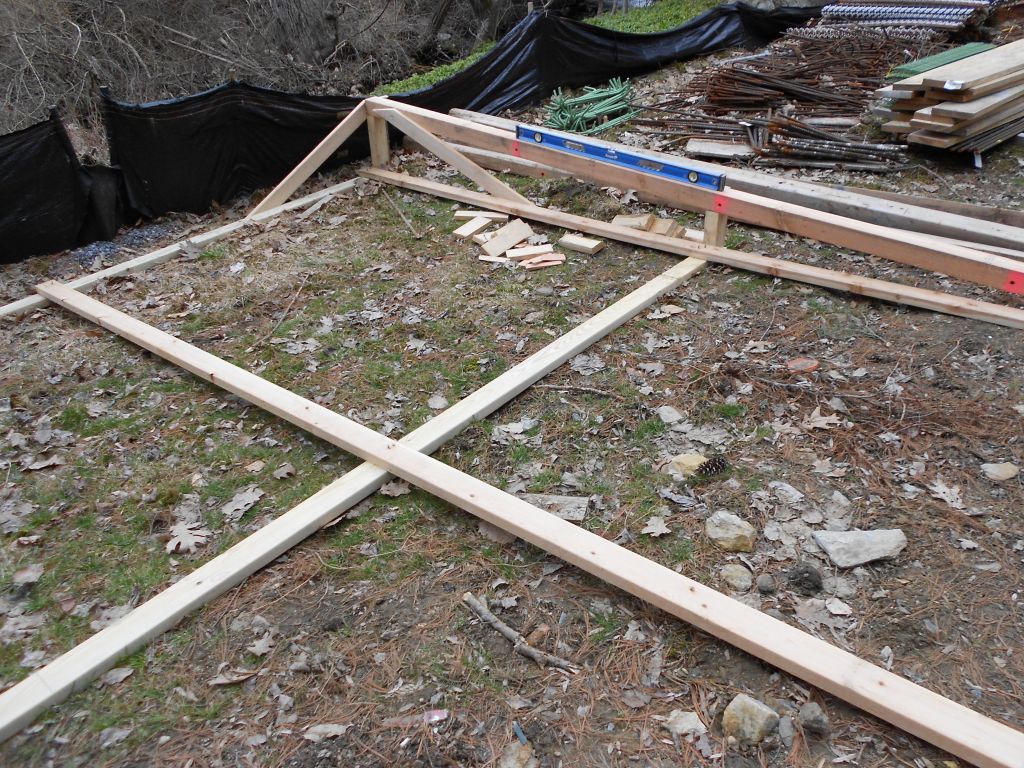
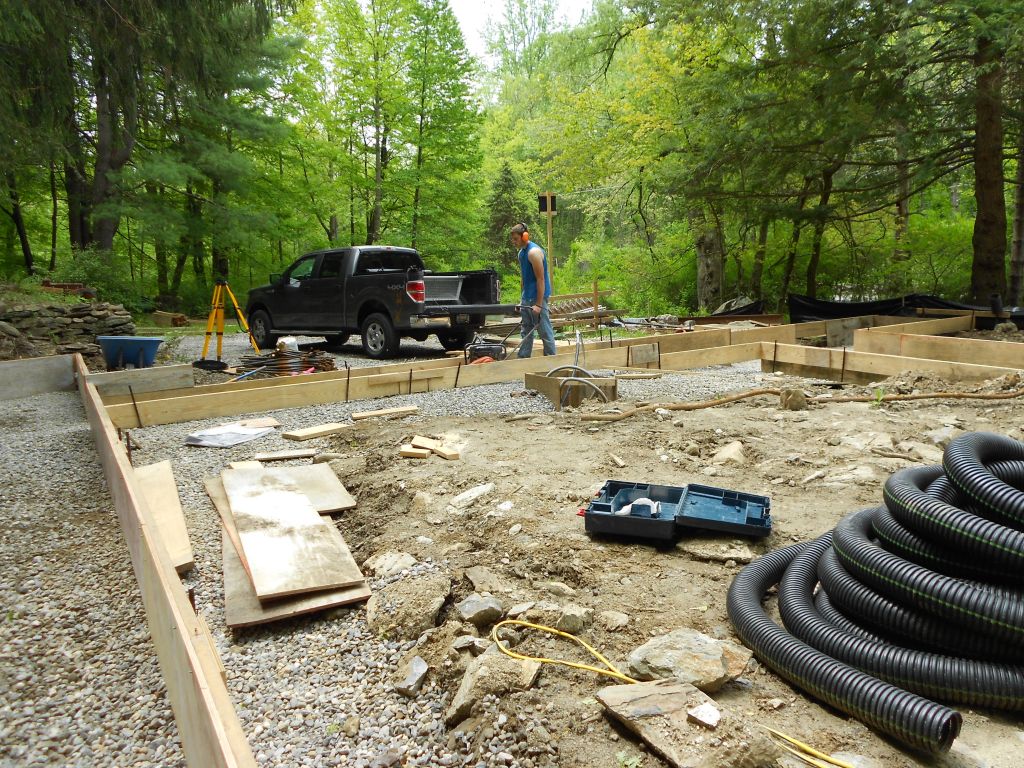
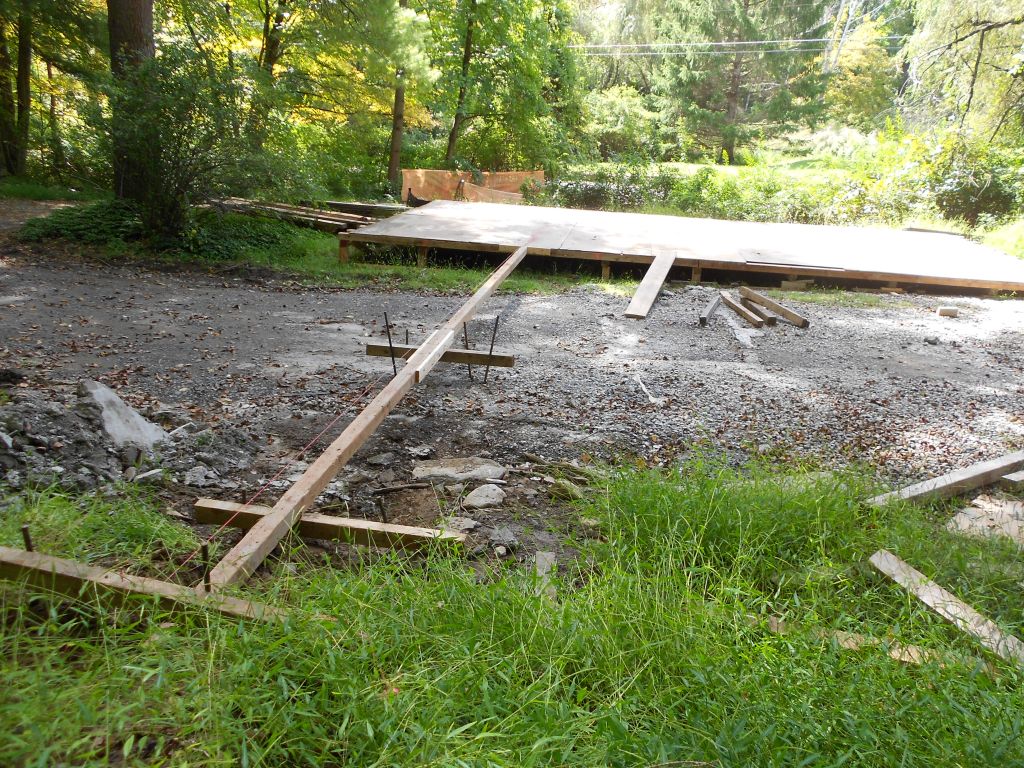
Batter board layout of critical wall. This wall layout could not be one inch closer than the original structure was to the adjacent stream.
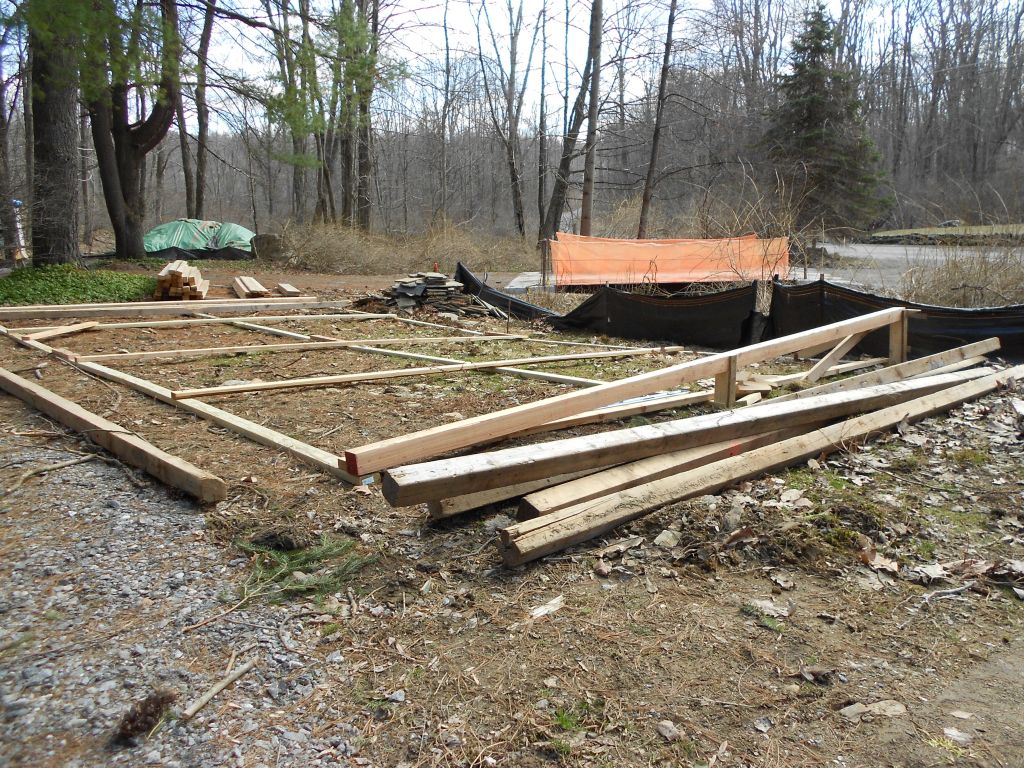
framing the layout deck
Breaking ground: Hydraulic hammer to break up concrete slab
Building ramp to stockpile soil on eastern slope.
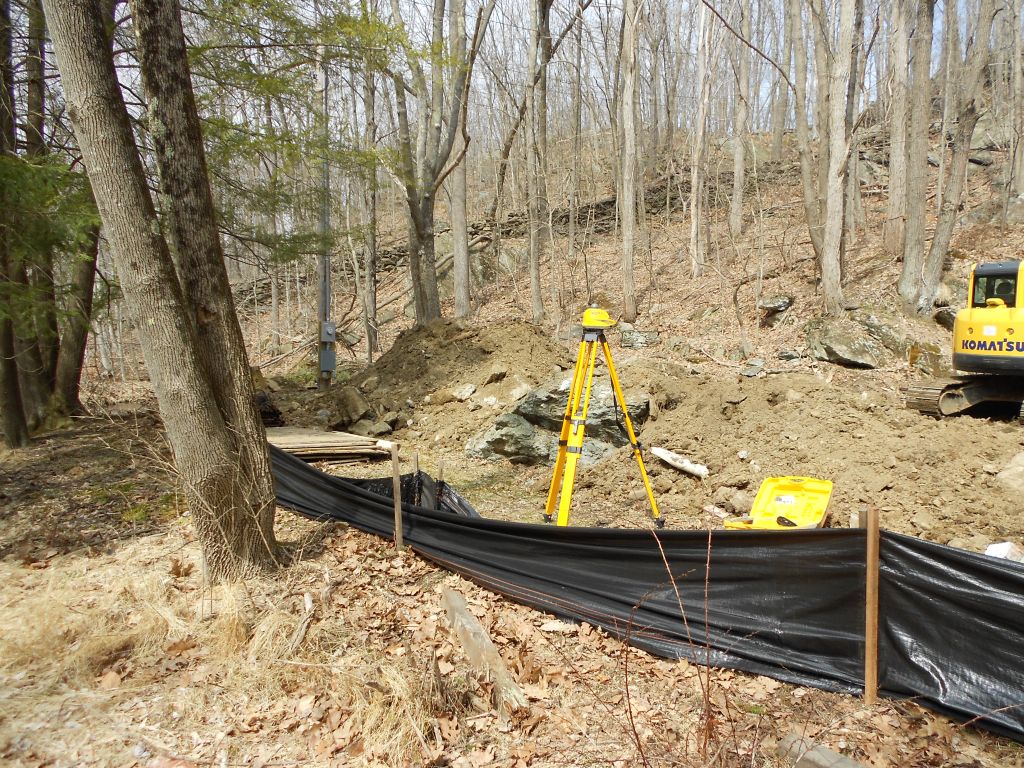
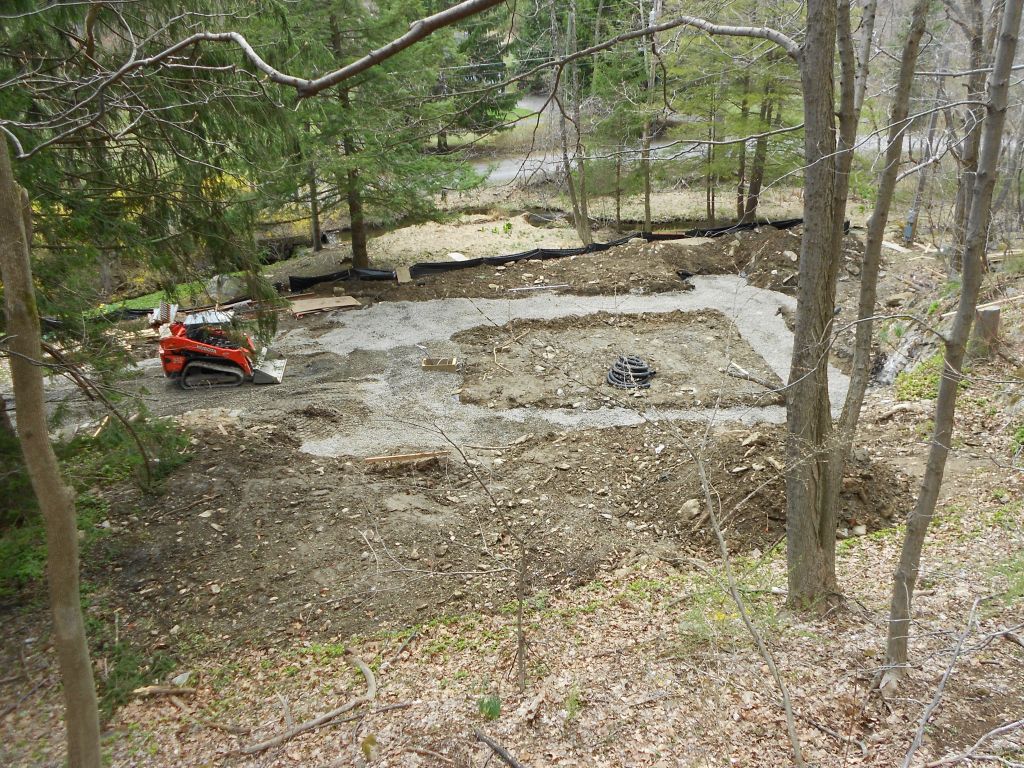
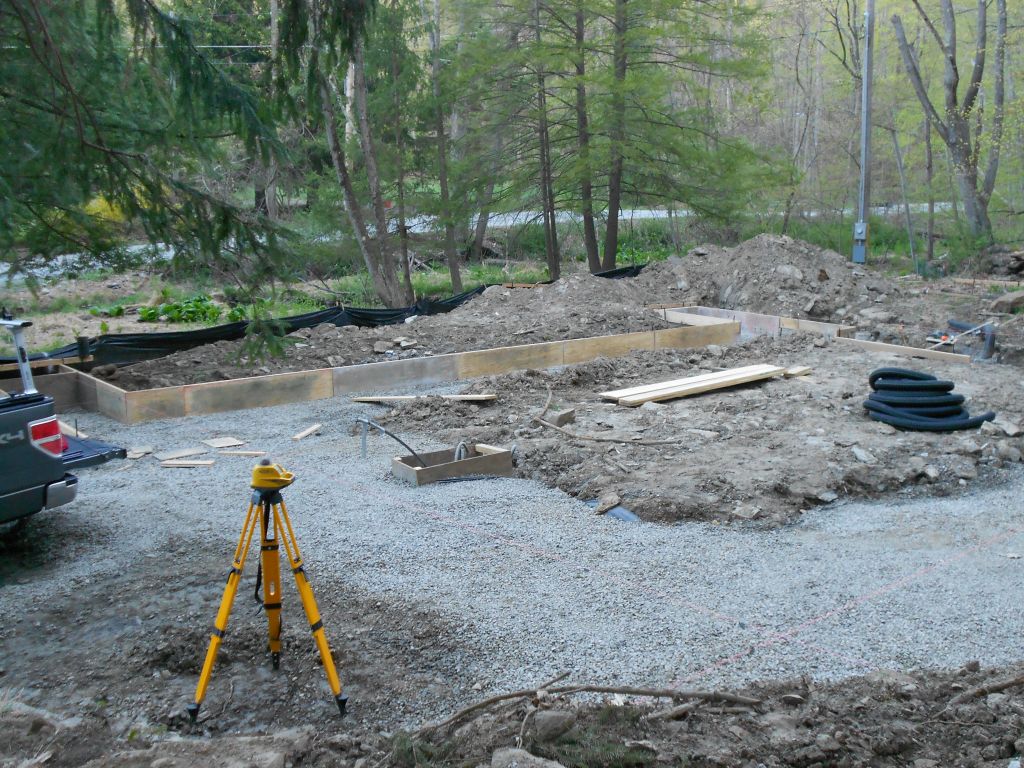
Laser level set to transfer elevations.
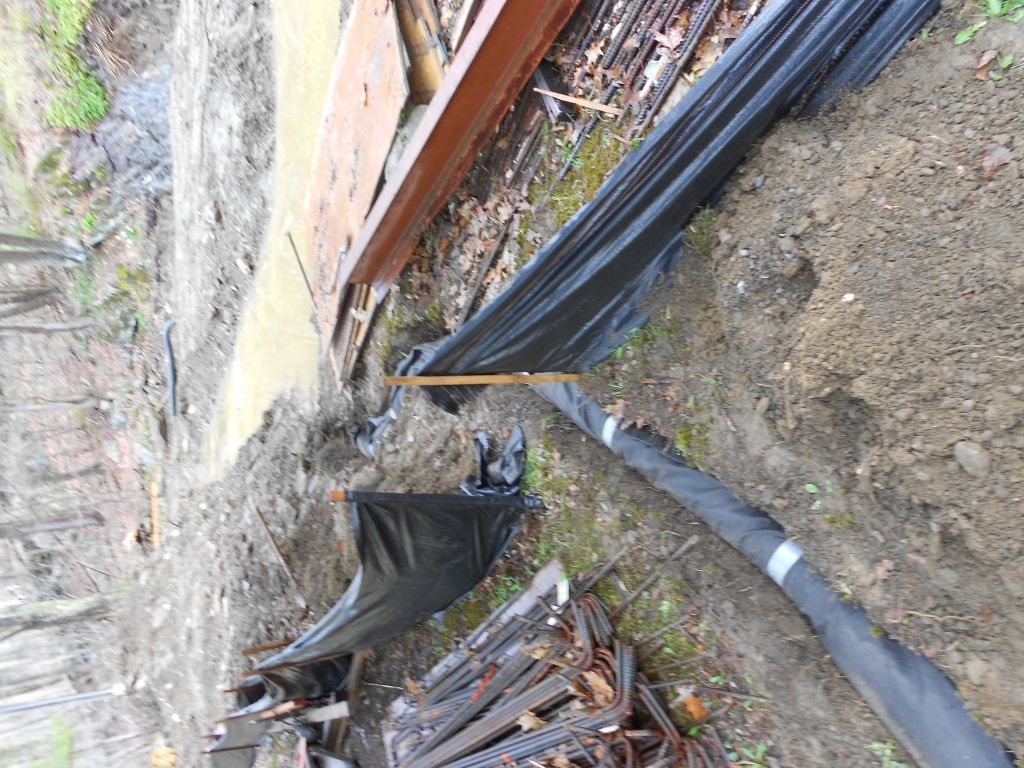
Perforated pipe wrapped in filter fabric in hand dug trench.
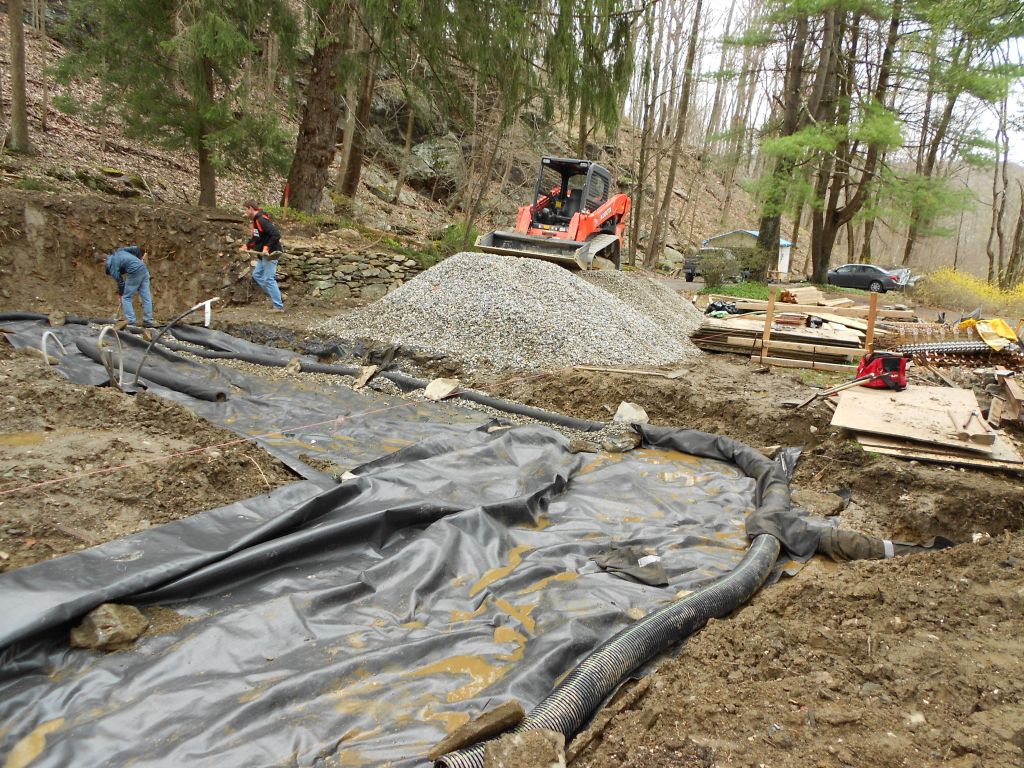
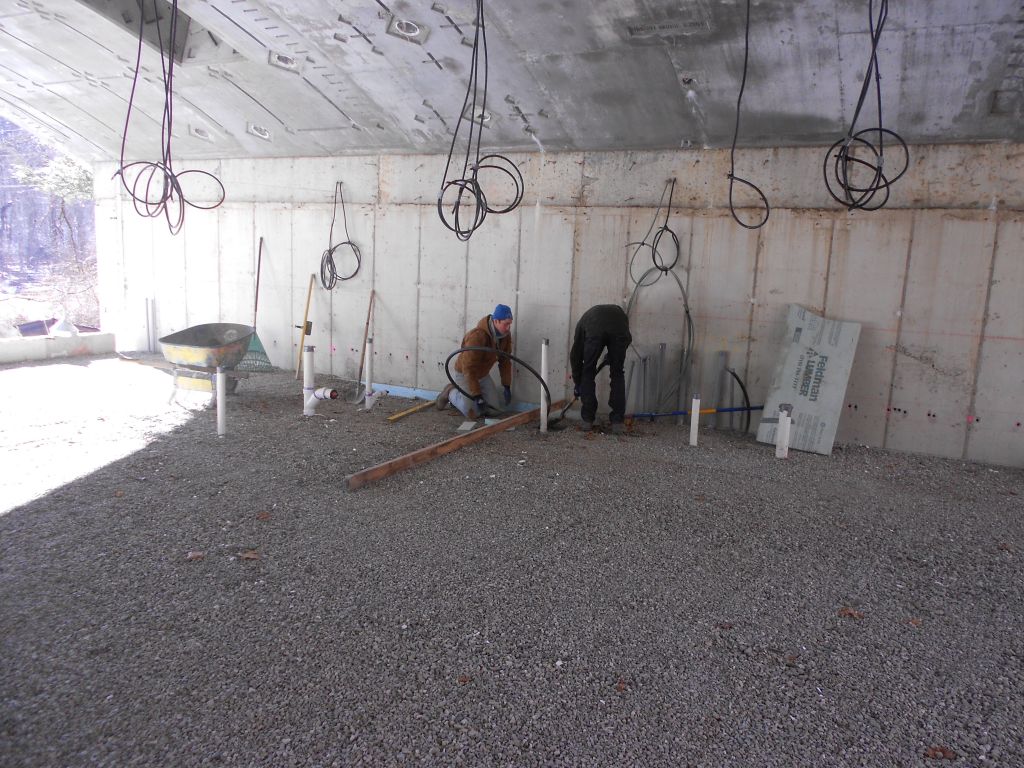
Men of Bree installing footing drain and stabilization fabric.
Underfooting gravel bed installed over stabilization fabric
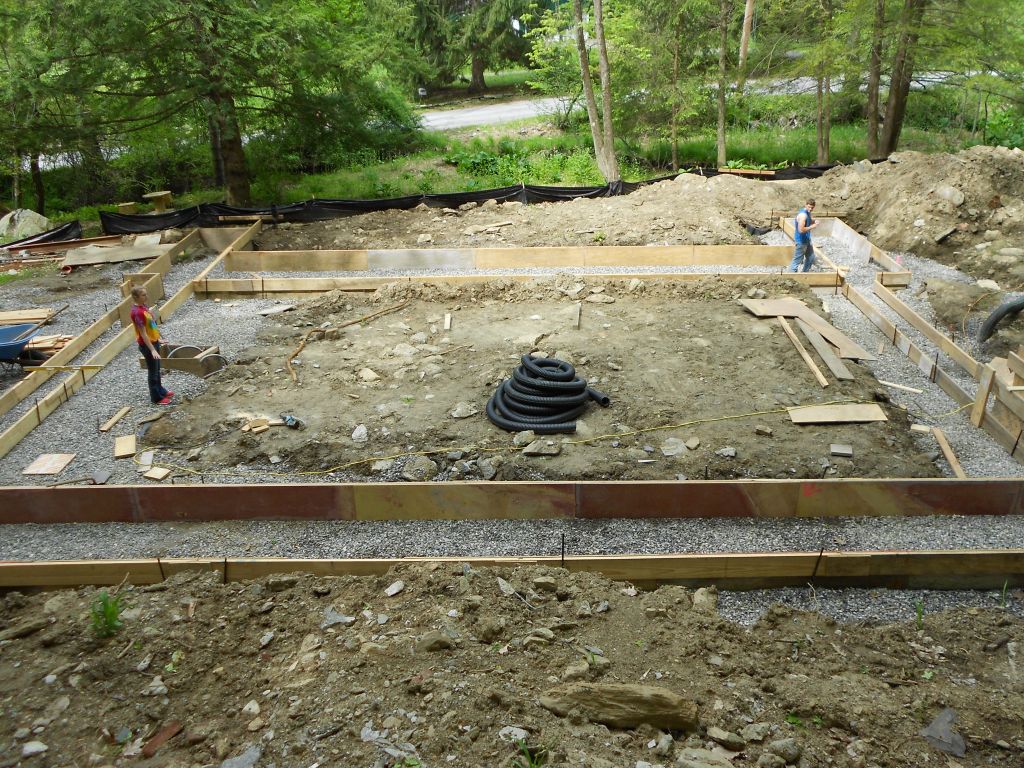
Men of Bree setting the final grade for the subase using the laser level. And some muscle.
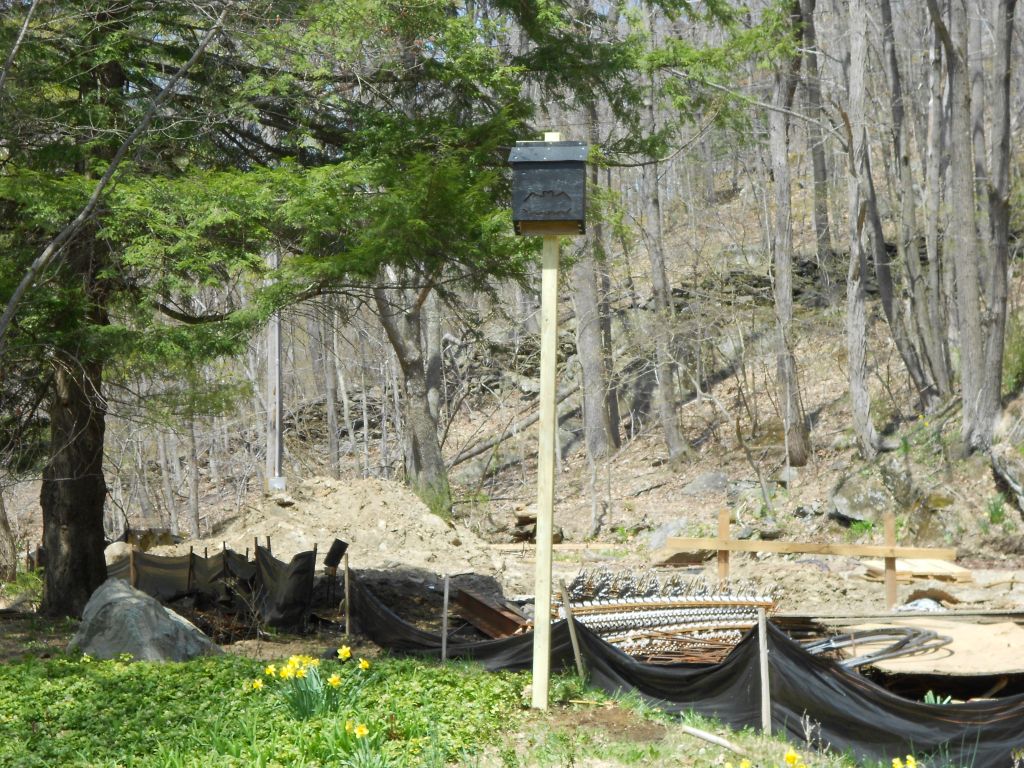
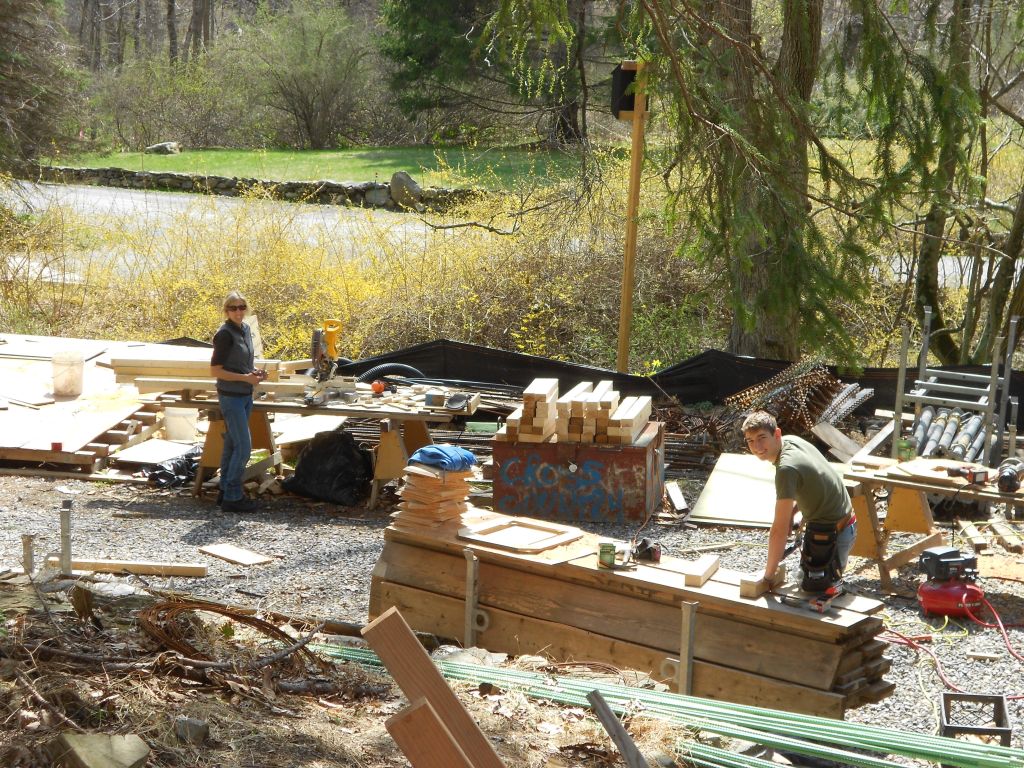
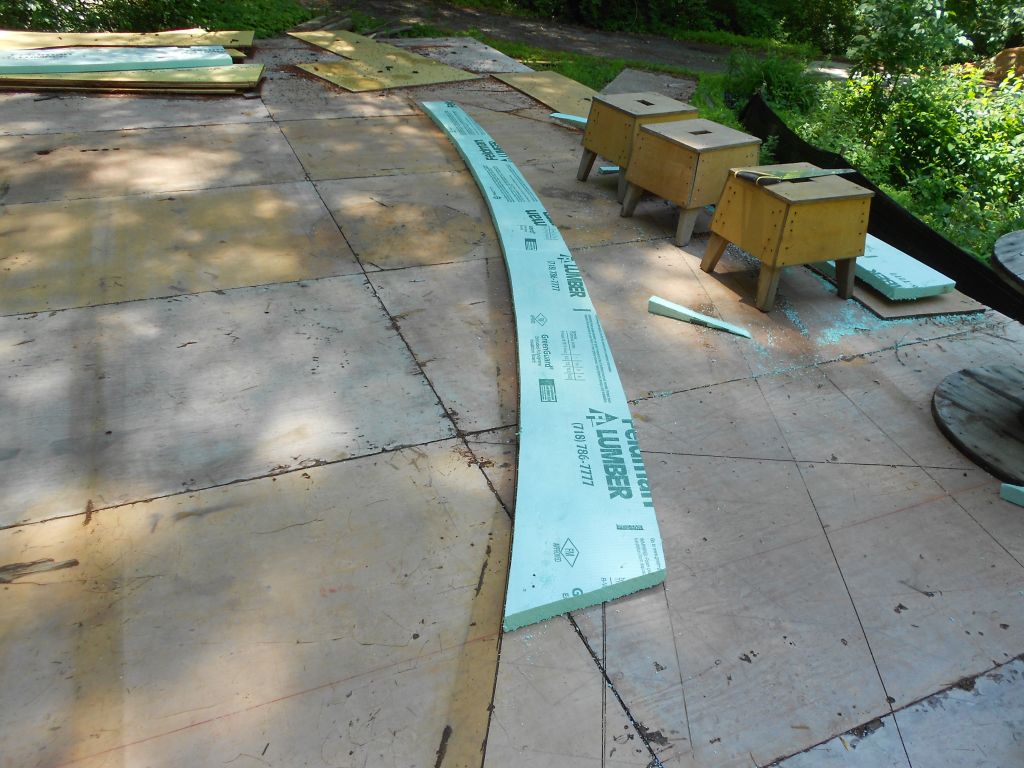
Bat house for mosquitoe control.
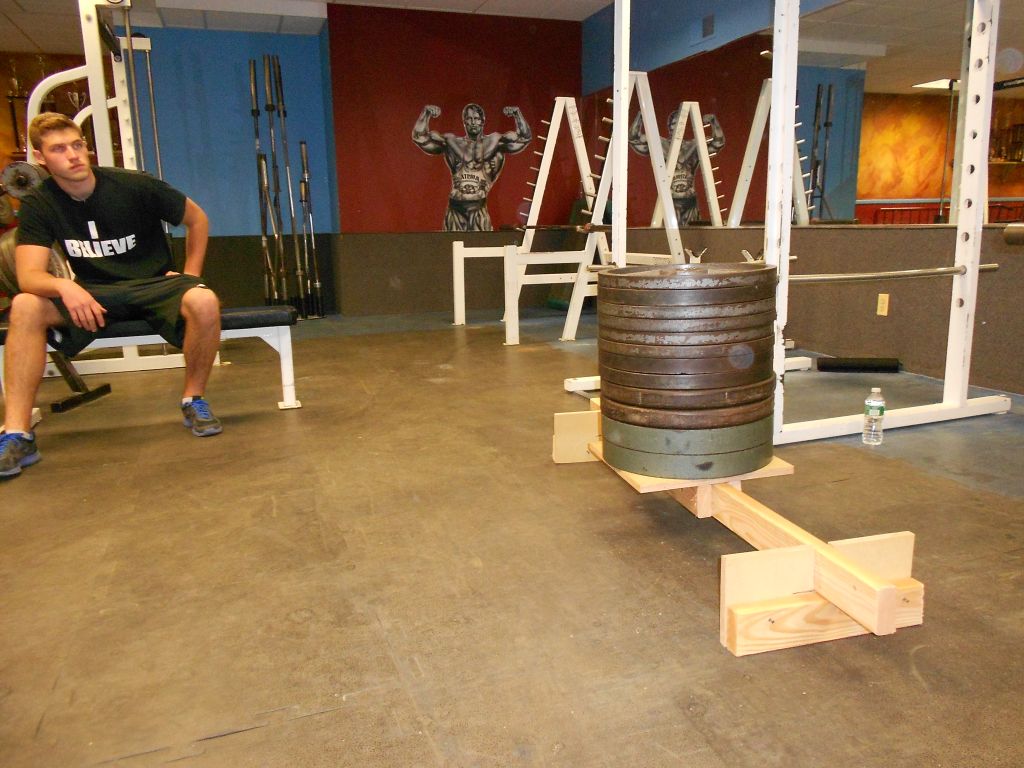
Load testing a 2×4. Simply supported holding up 760 pounds.
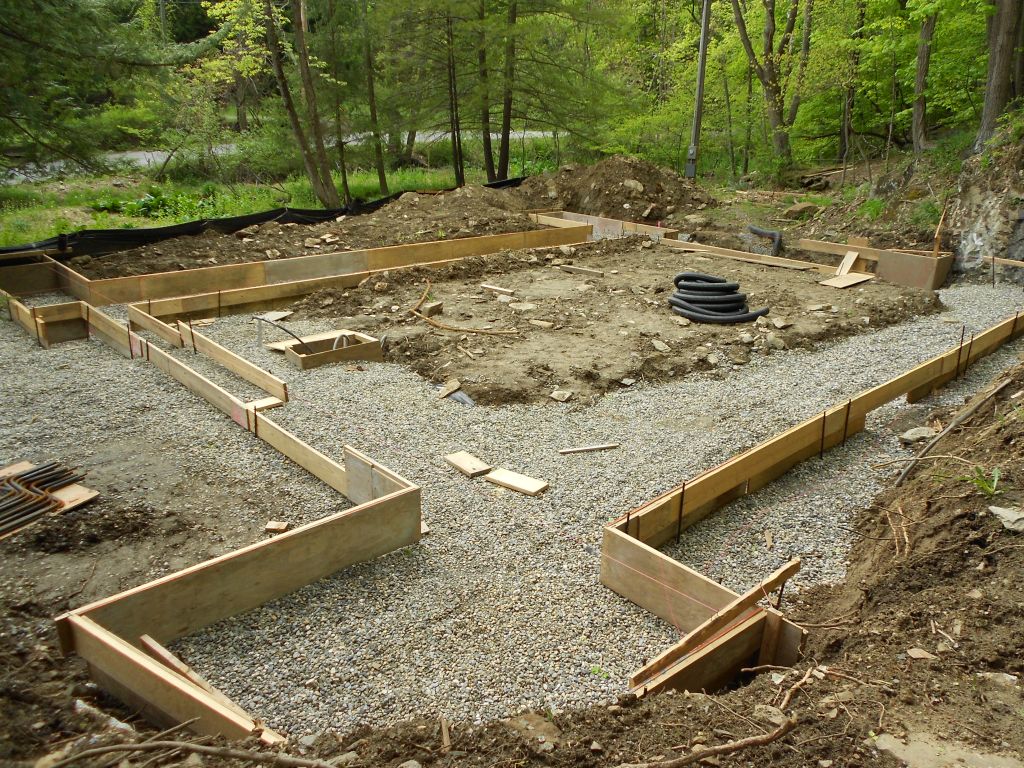
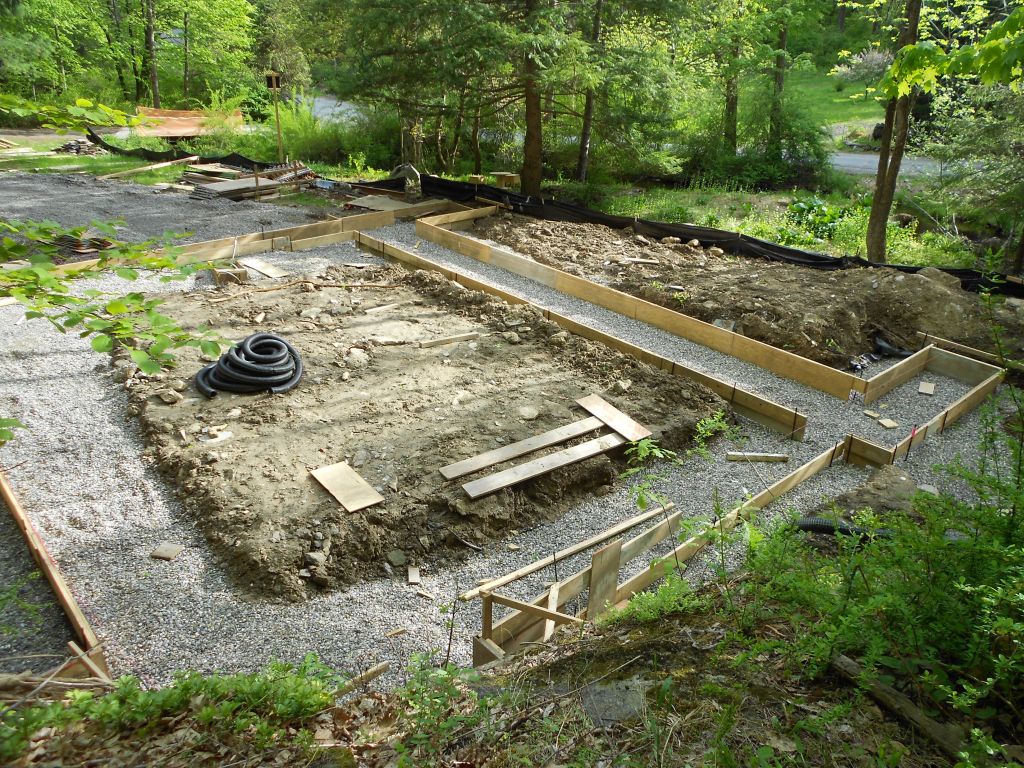
Begining of the footings.
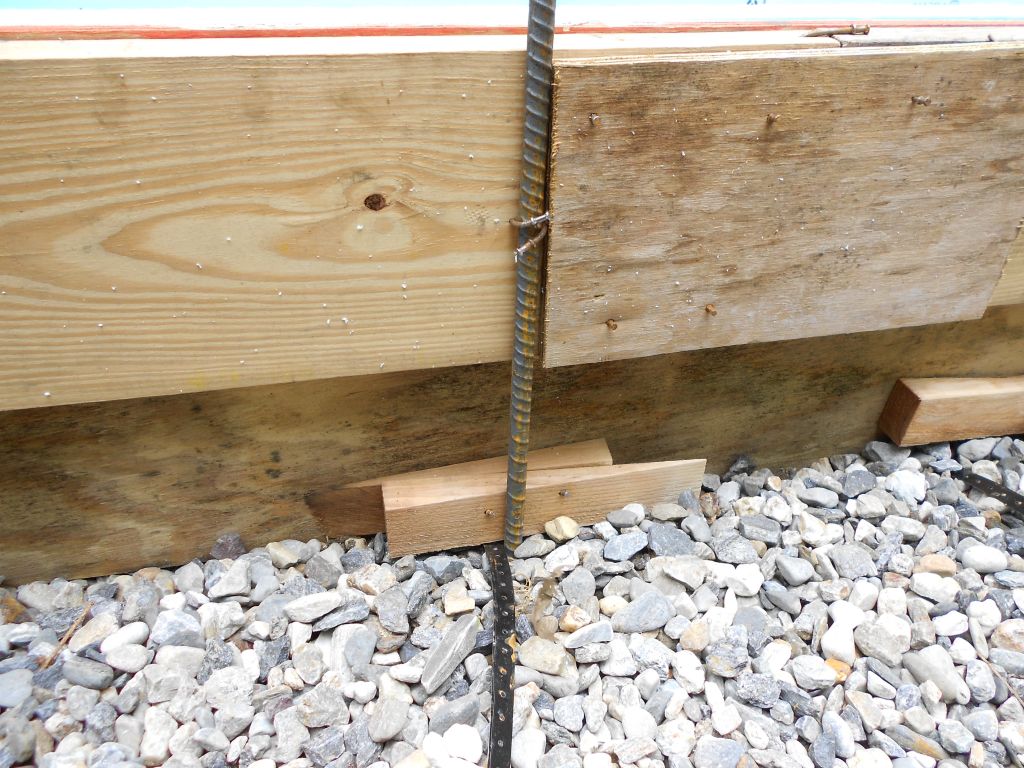
Footing form: 18 inch BB plywood backed up by a plank with D-stake support.
one board at a time
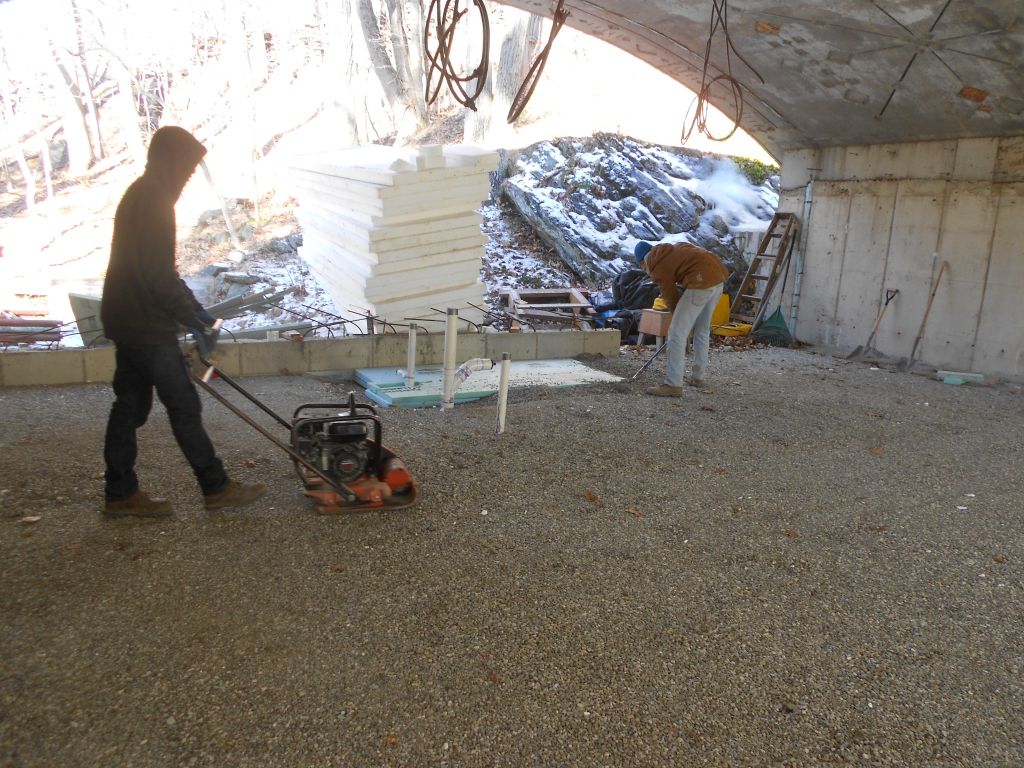
Retamping the gravel after fine tuning the gravel bed.
Banding wire looped around footing form with tensioner pulling the wire tight.
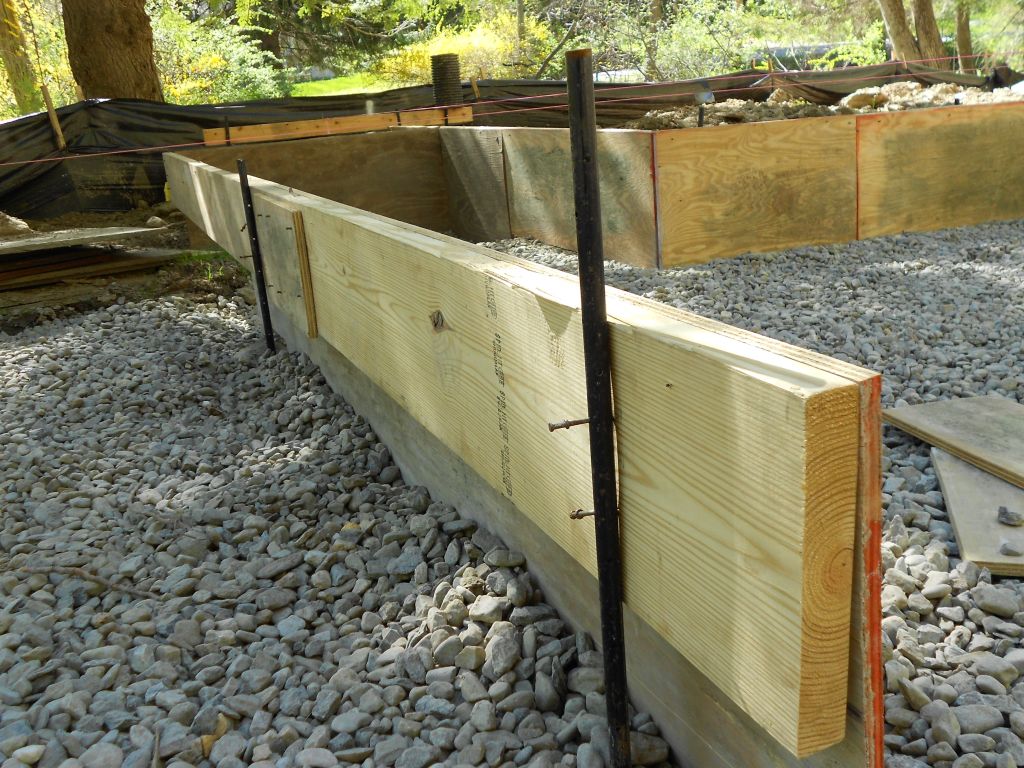
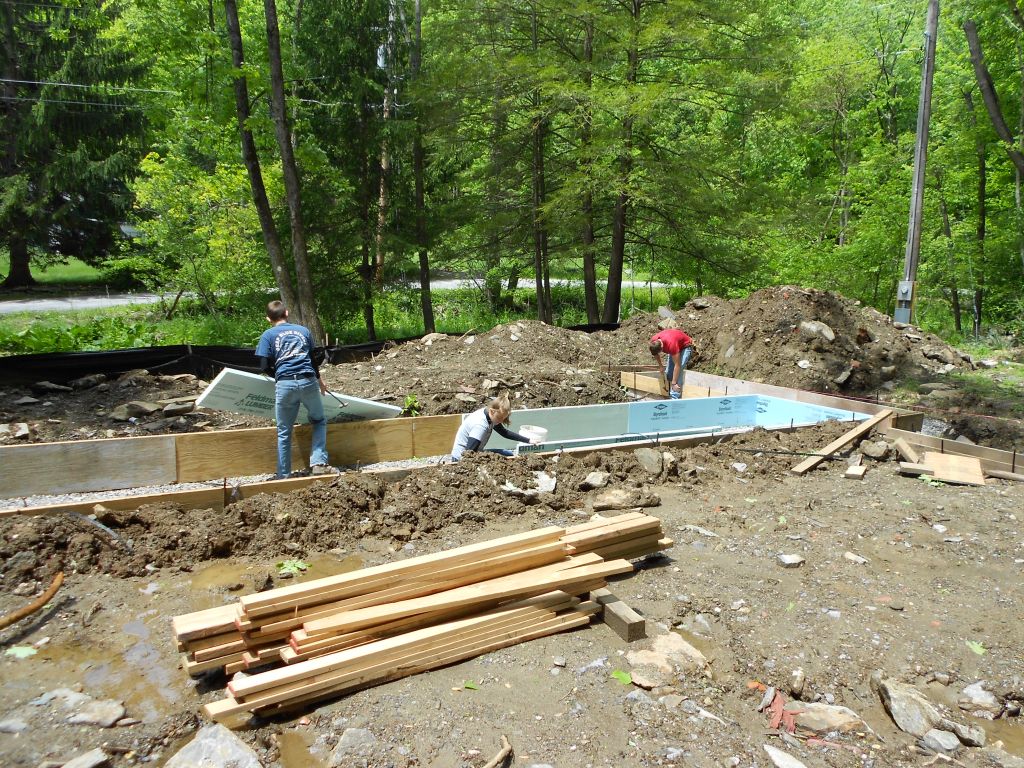
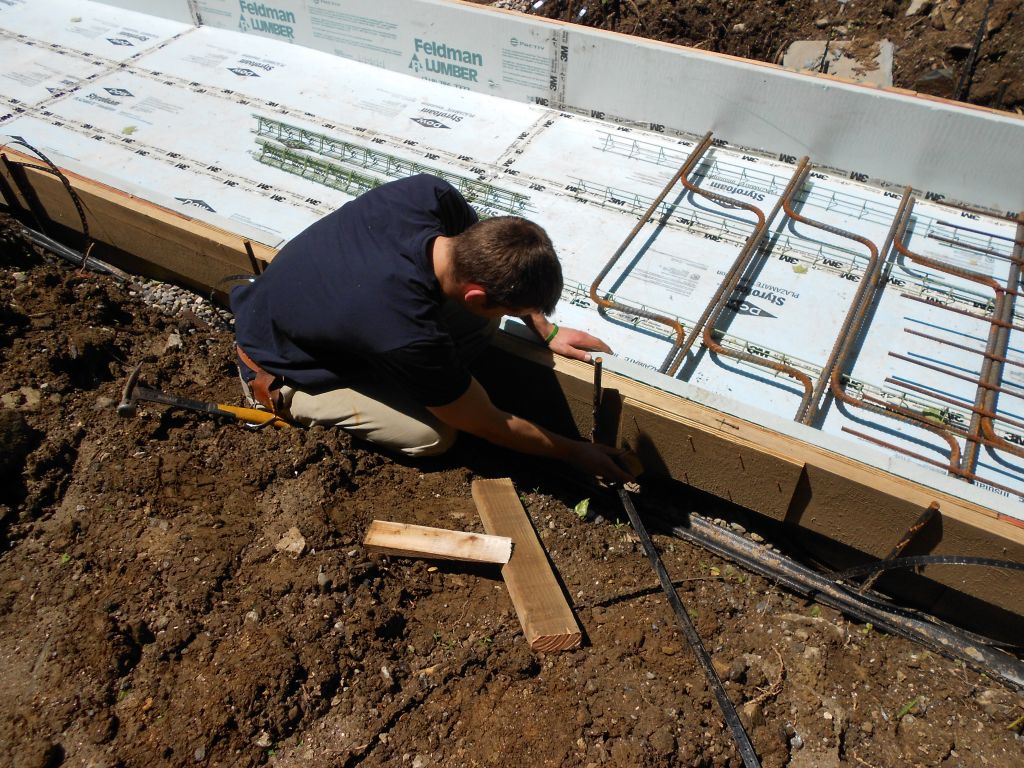
Insulating the footing forms.
Step in footing.
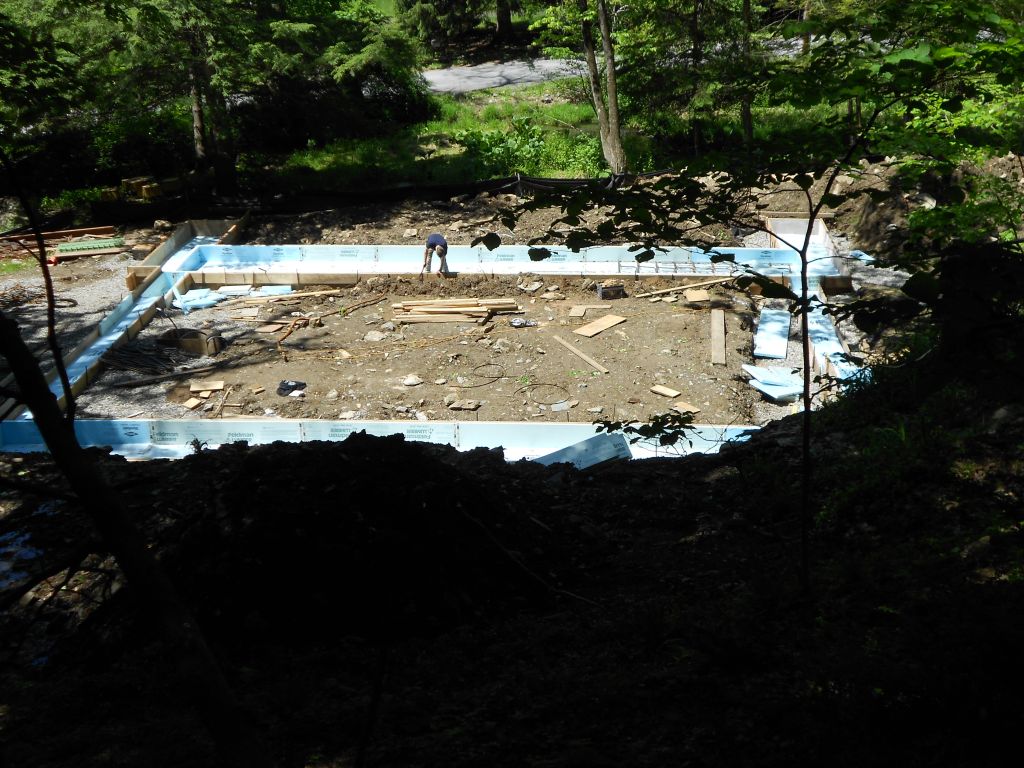
insulated footing forms
using metal stakes to brace the forms
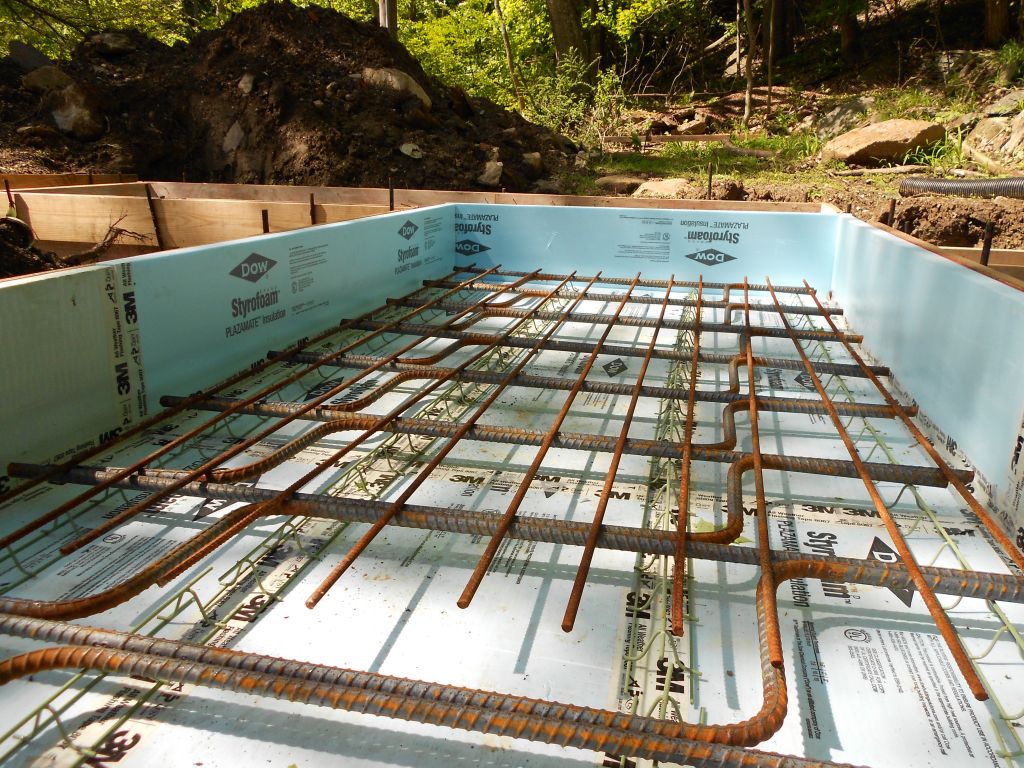
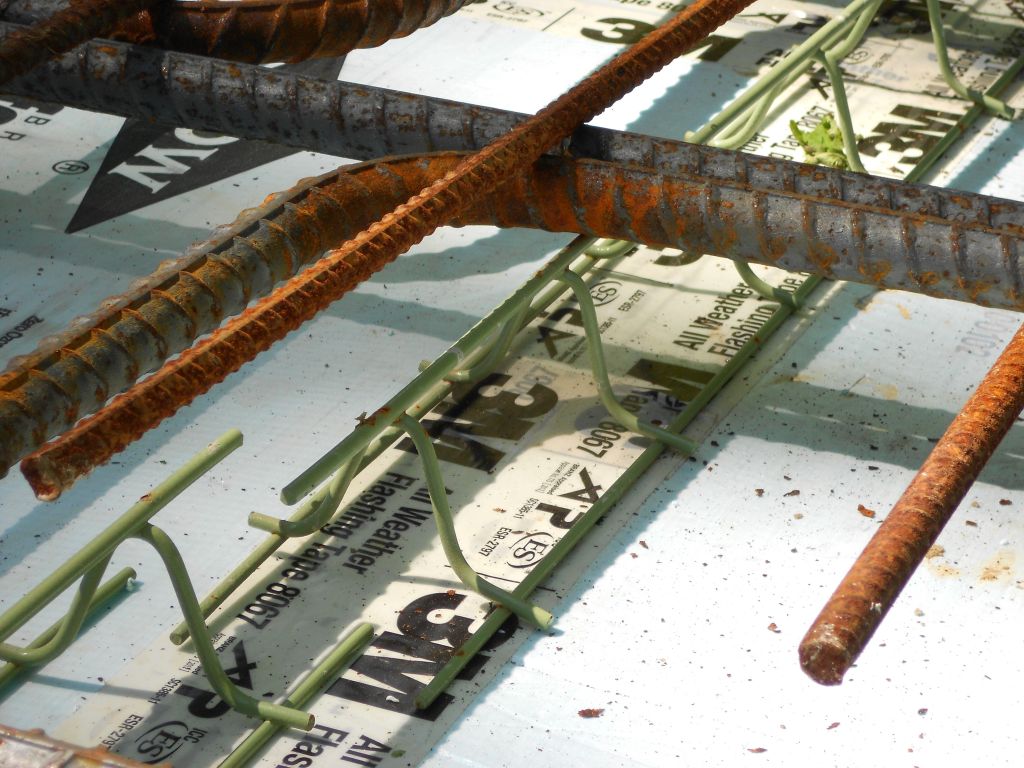
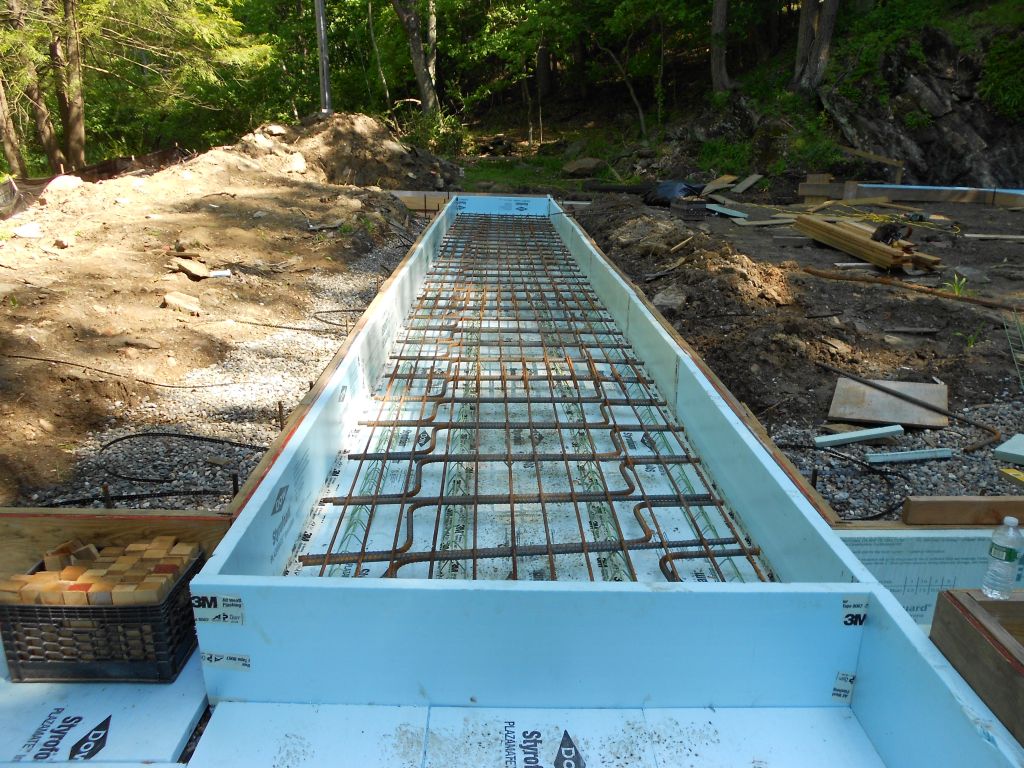
Rail chair with rebar grid on top. The drawings called for 3 inch of concrete cover on the bottom rebar.
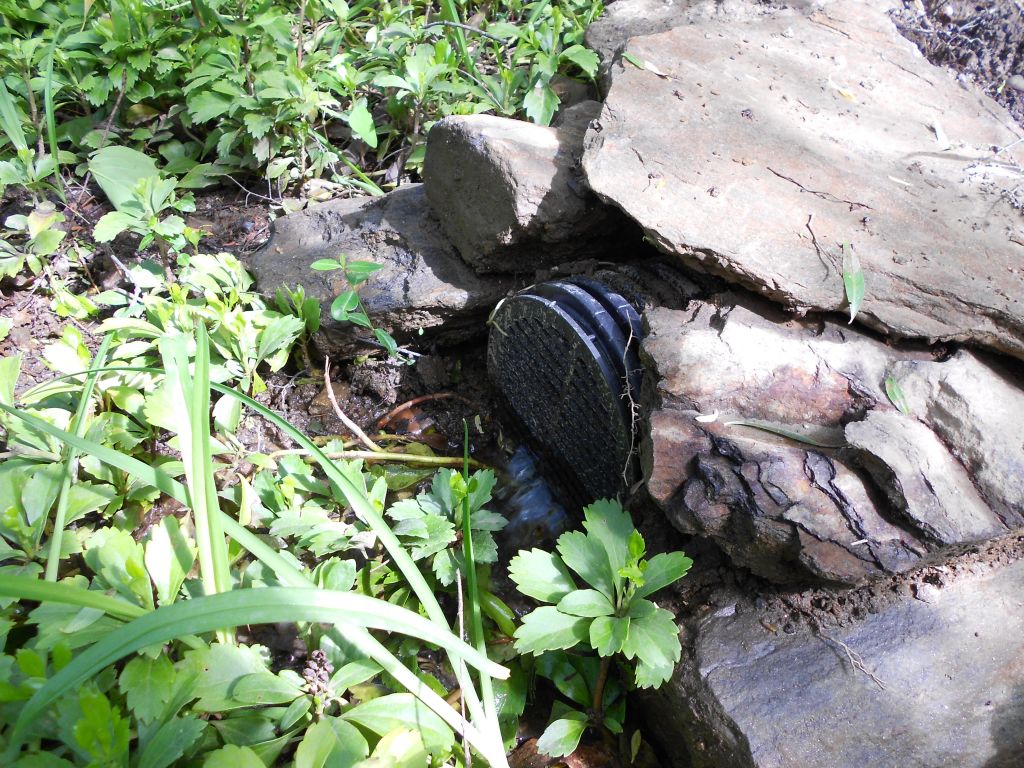
footing drain outlet to daylight.
Using the banding machine to tension the banding wire. This will prevent the forms from “Blowing out”
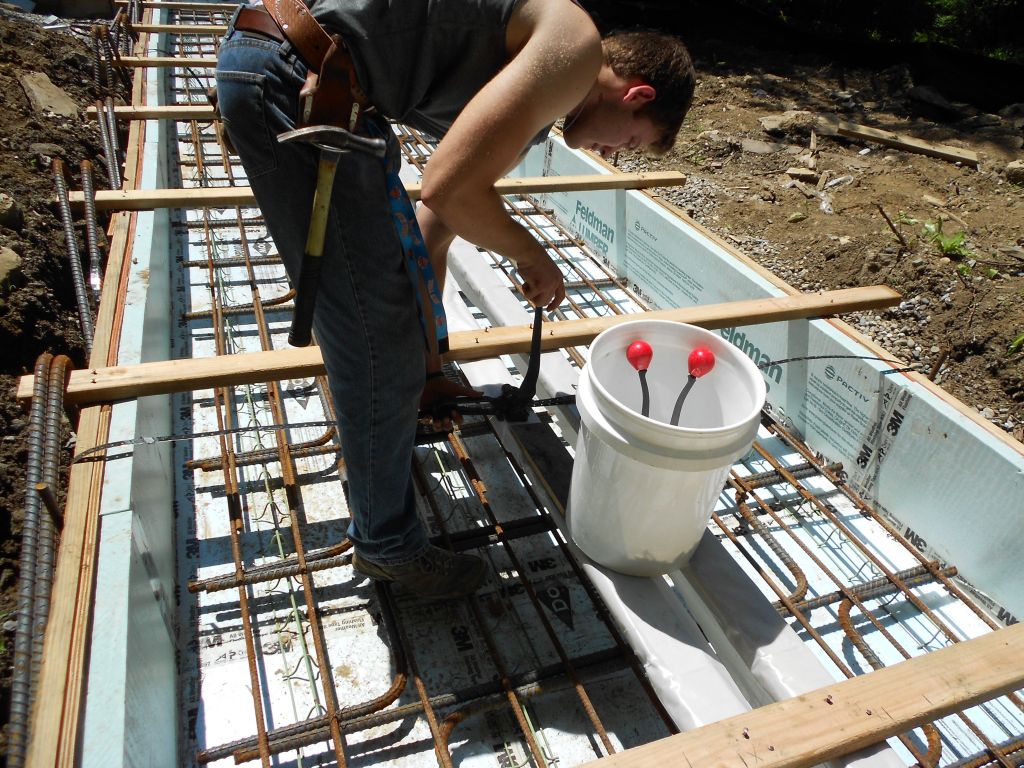
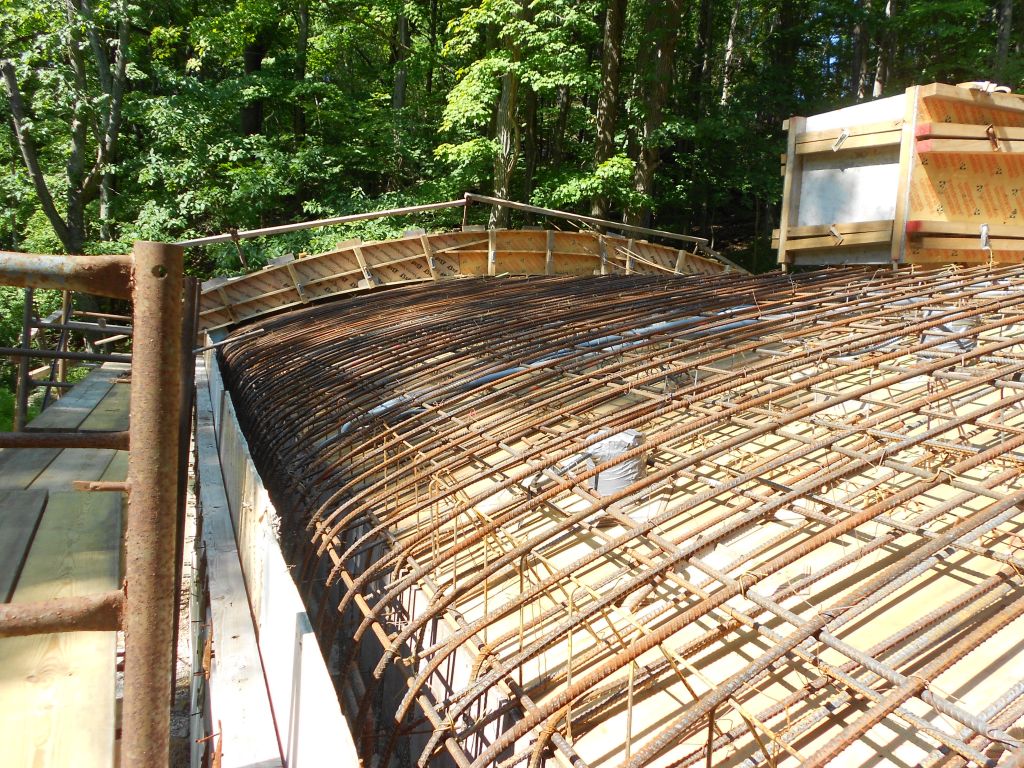
The rebar grid going in
Shear key installed,rebar bottom mat installed
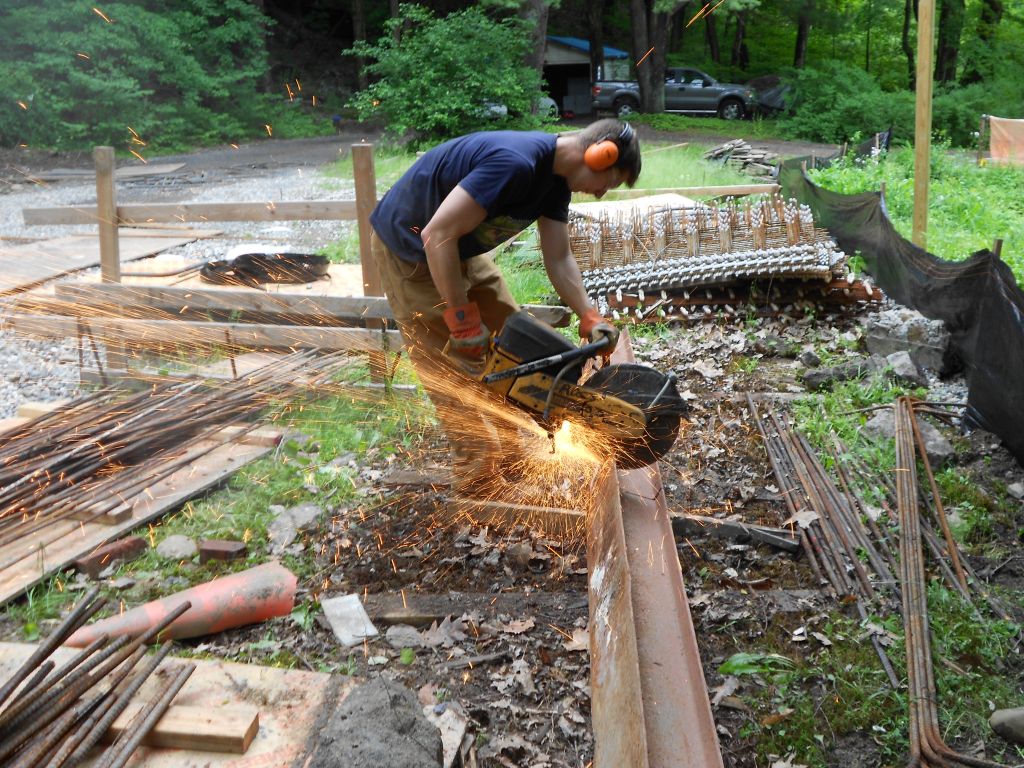
Ethan cutting up an I beam for scrap.
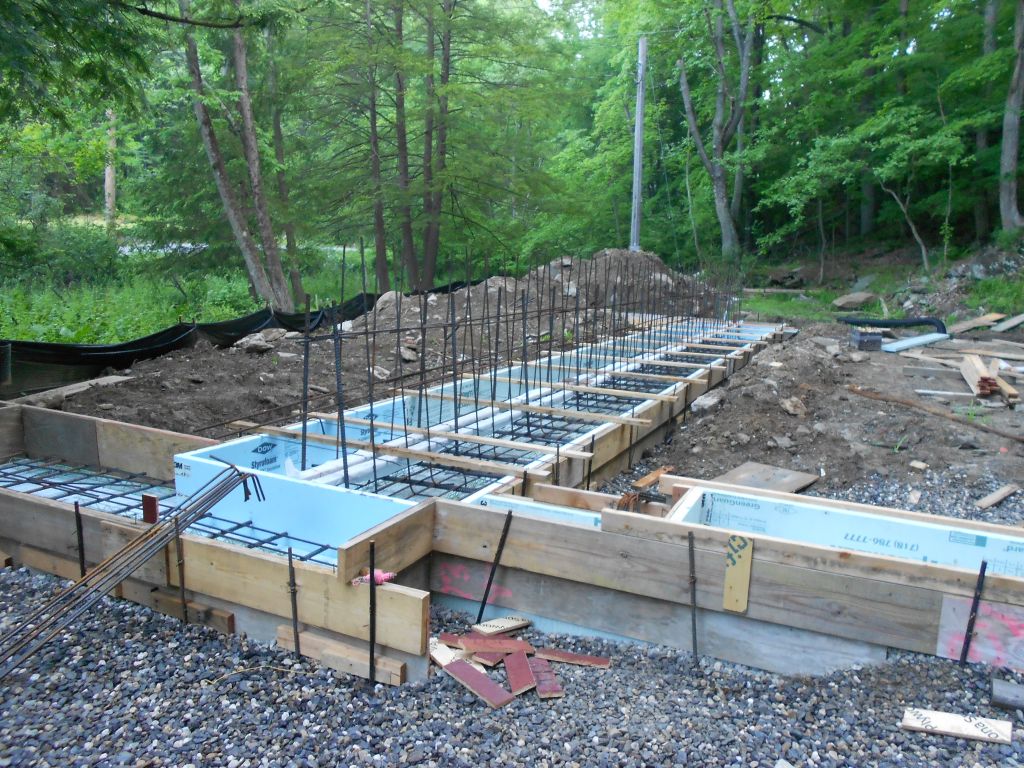
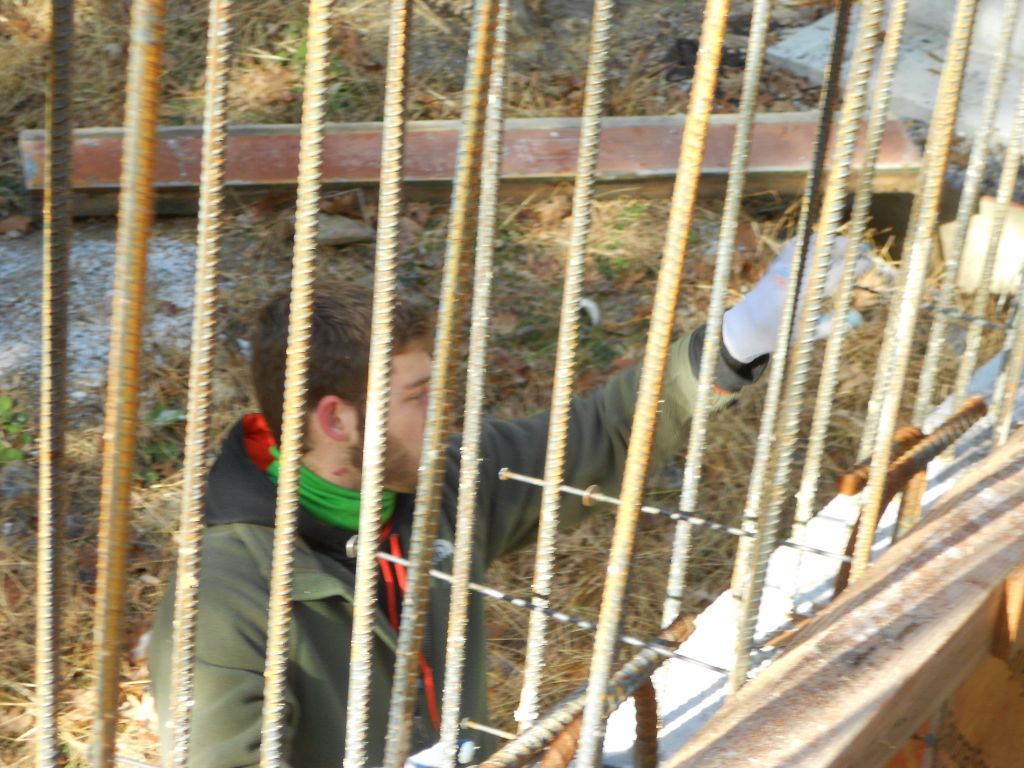
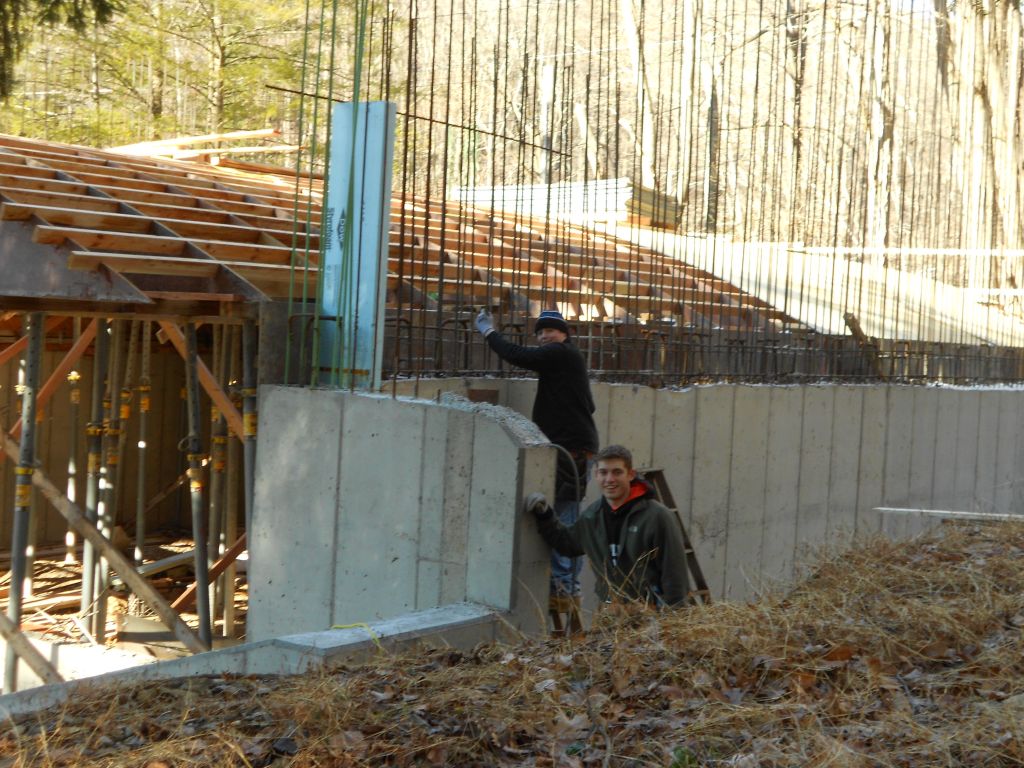
Vertical wall rebal installed
Z-bar detail in step footing.
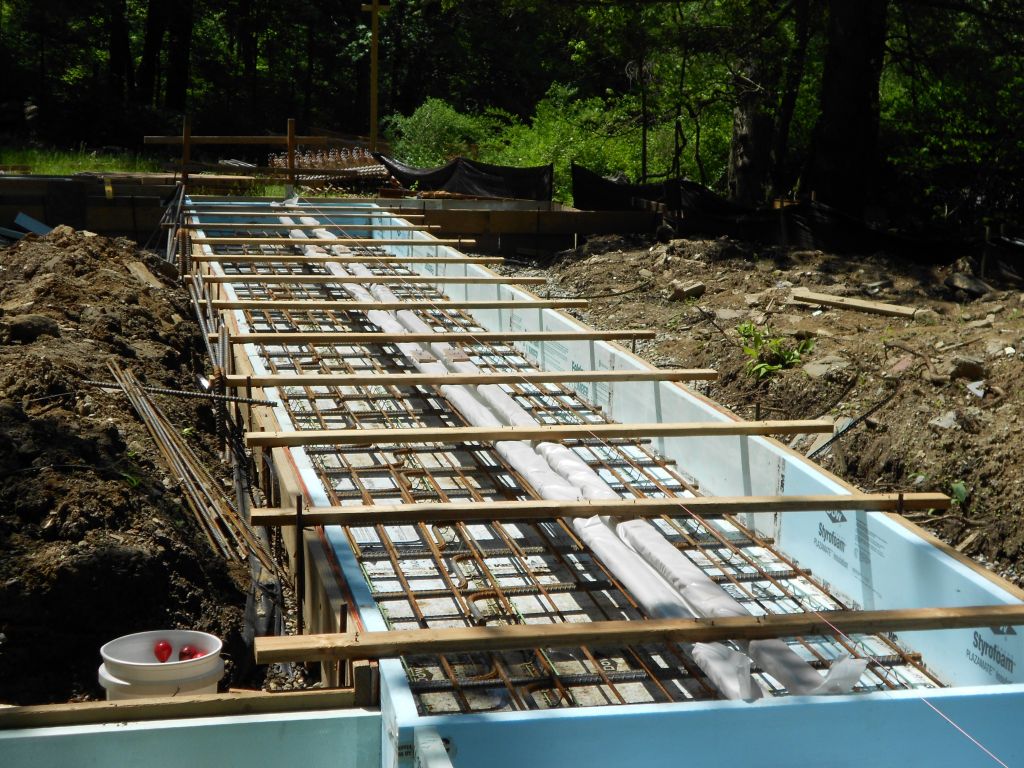
West footing rebar installed.
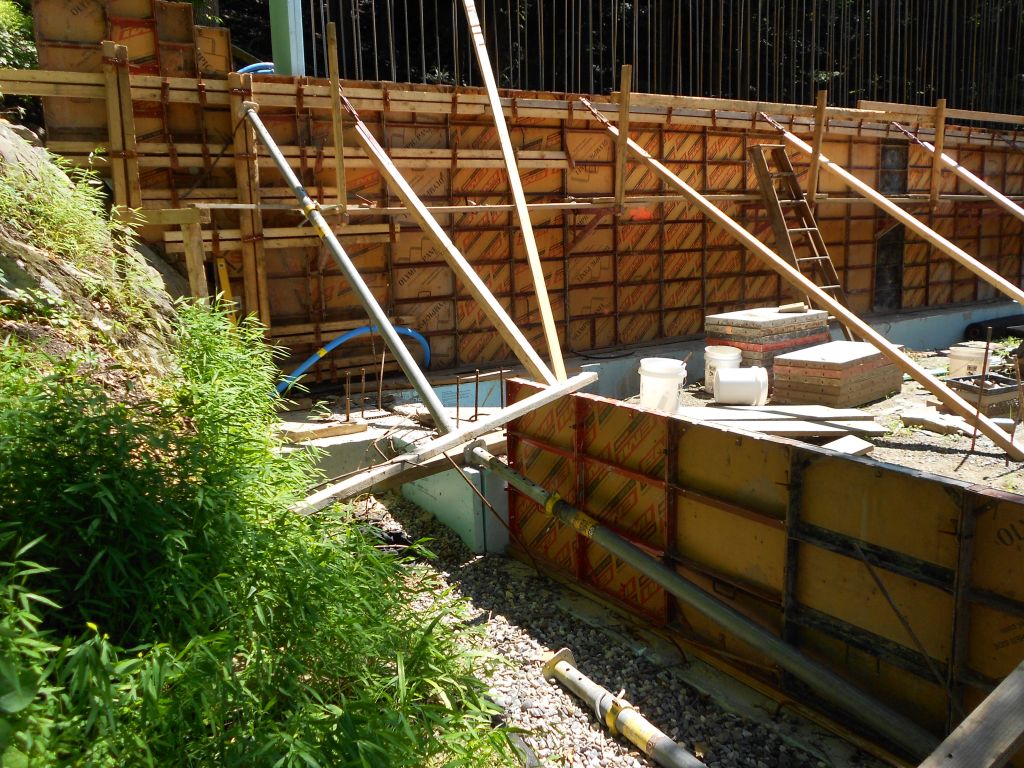
Forms ready for Saturday’s pour.
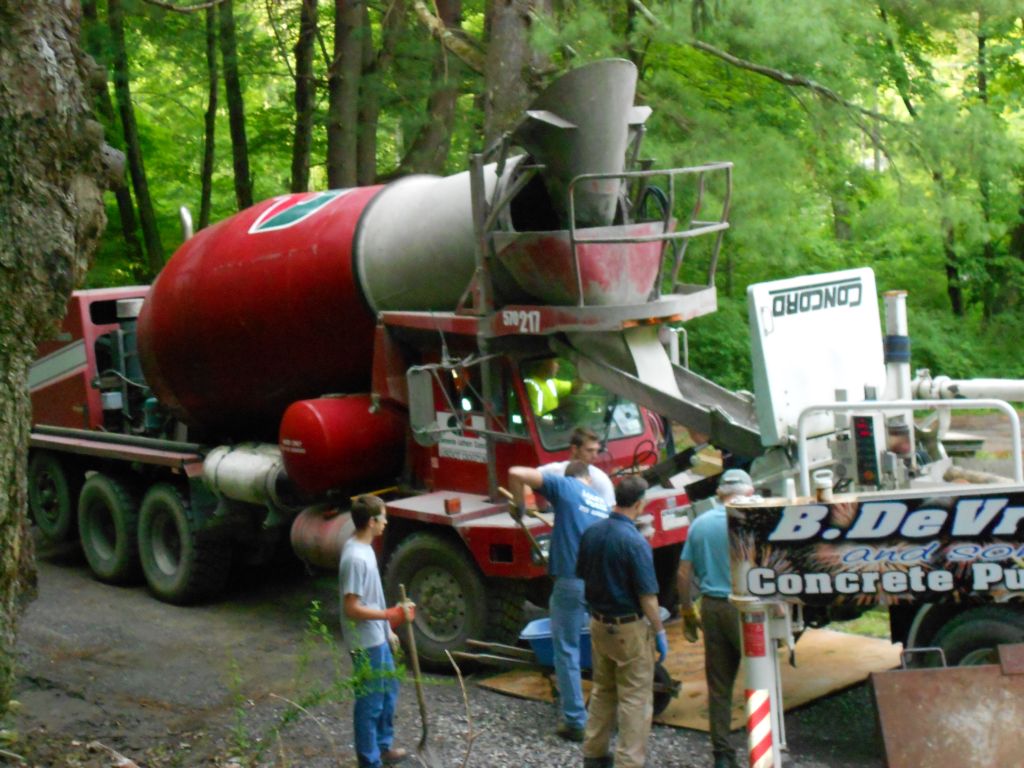
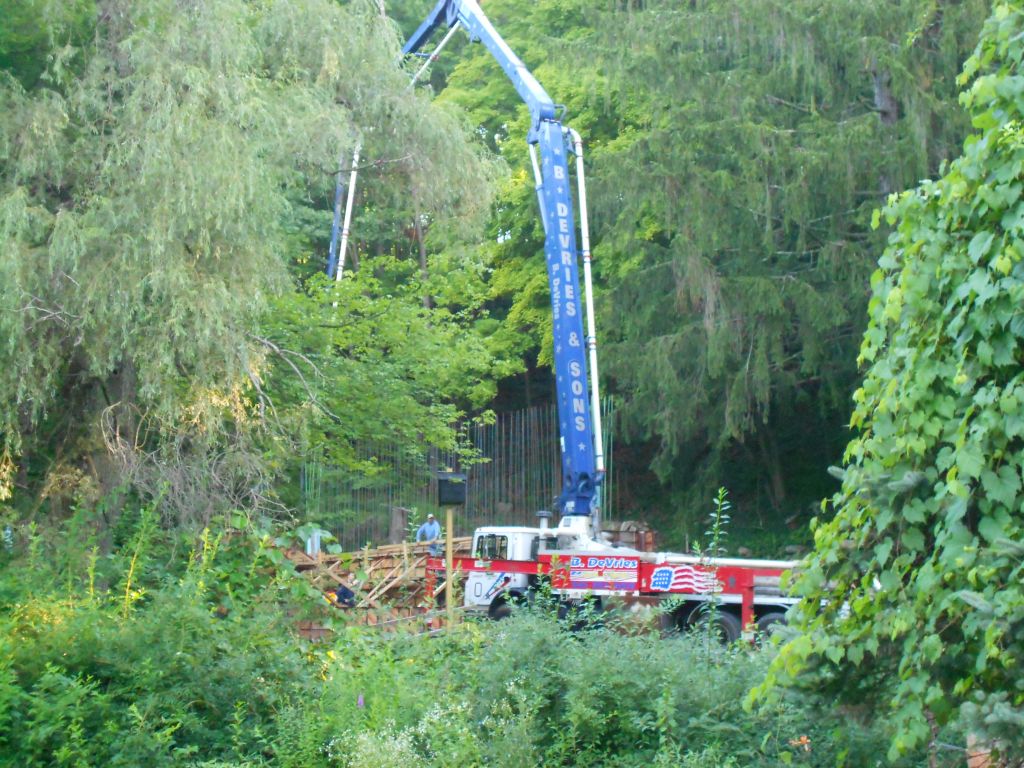
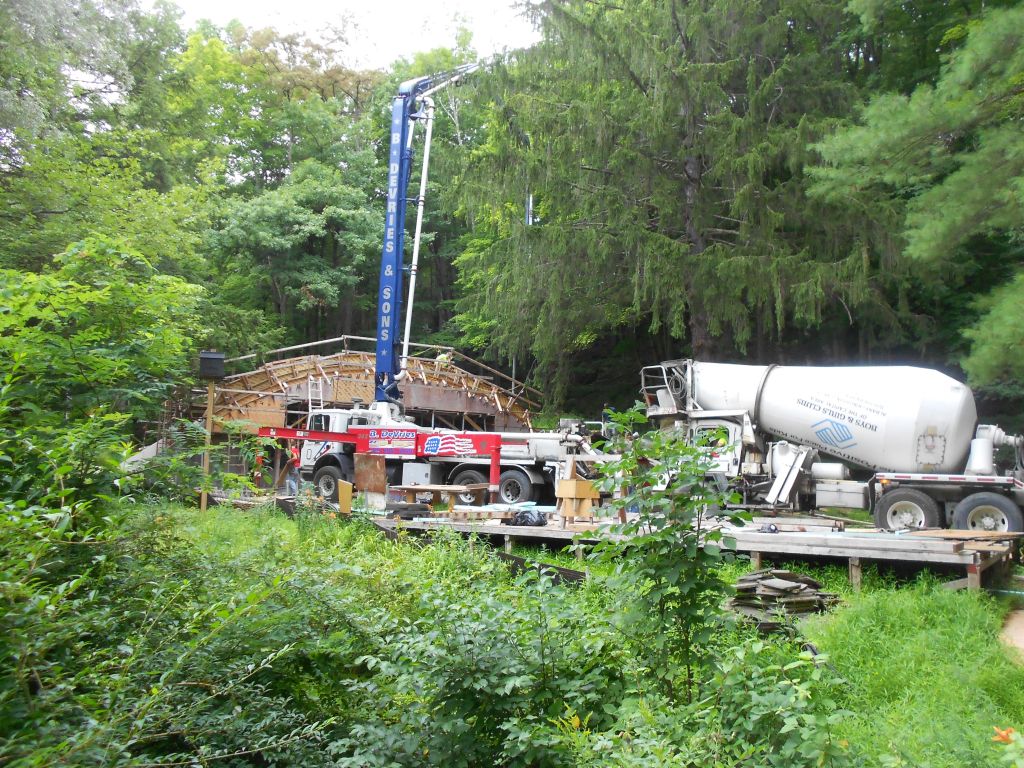
First truck of the day.
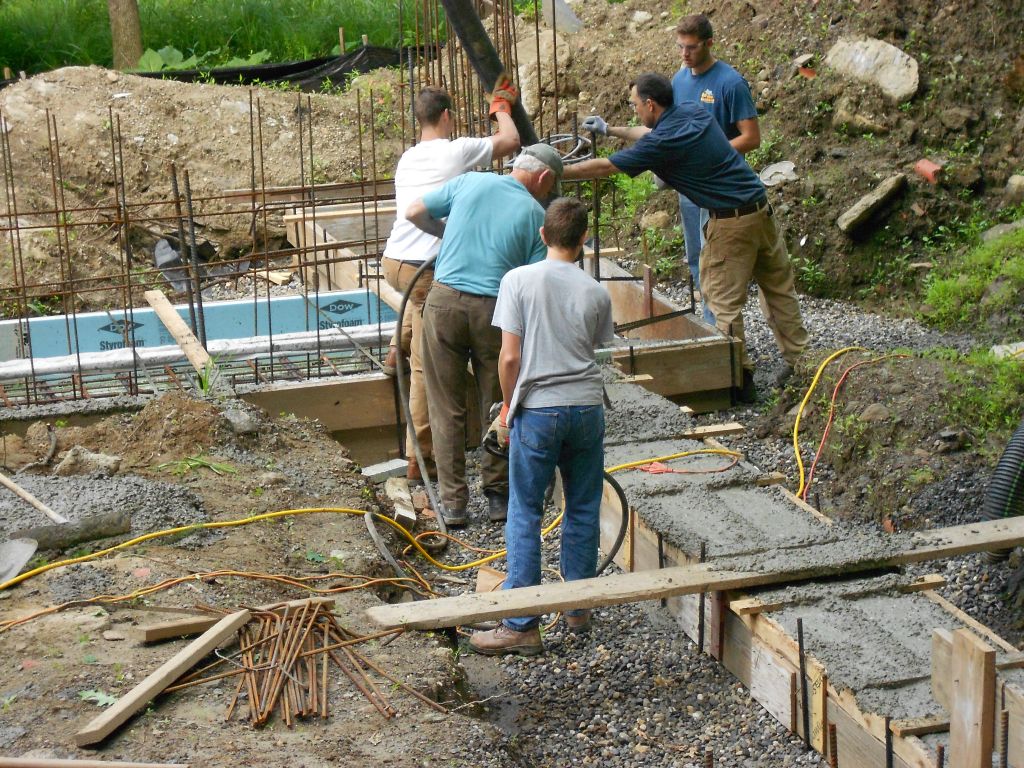
Starting the West footing.
Concrete pump newbies
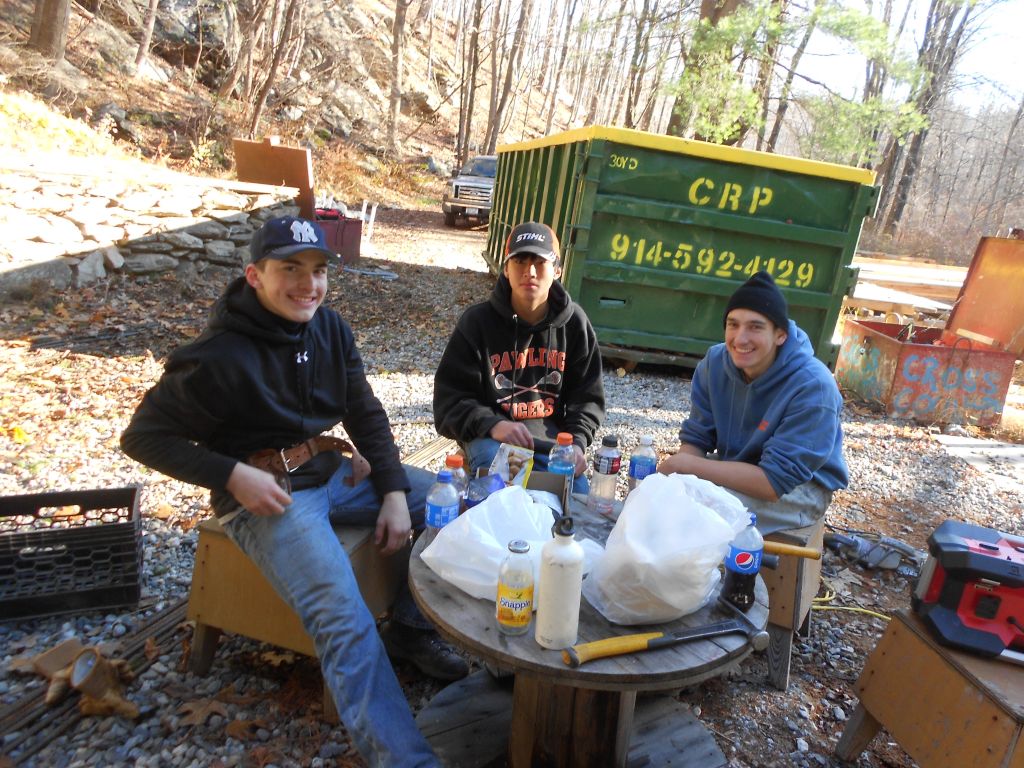
Hobbit Hollow crew stripping the footing forms.Mikey, RJ and Kevin….Jude took the picture.
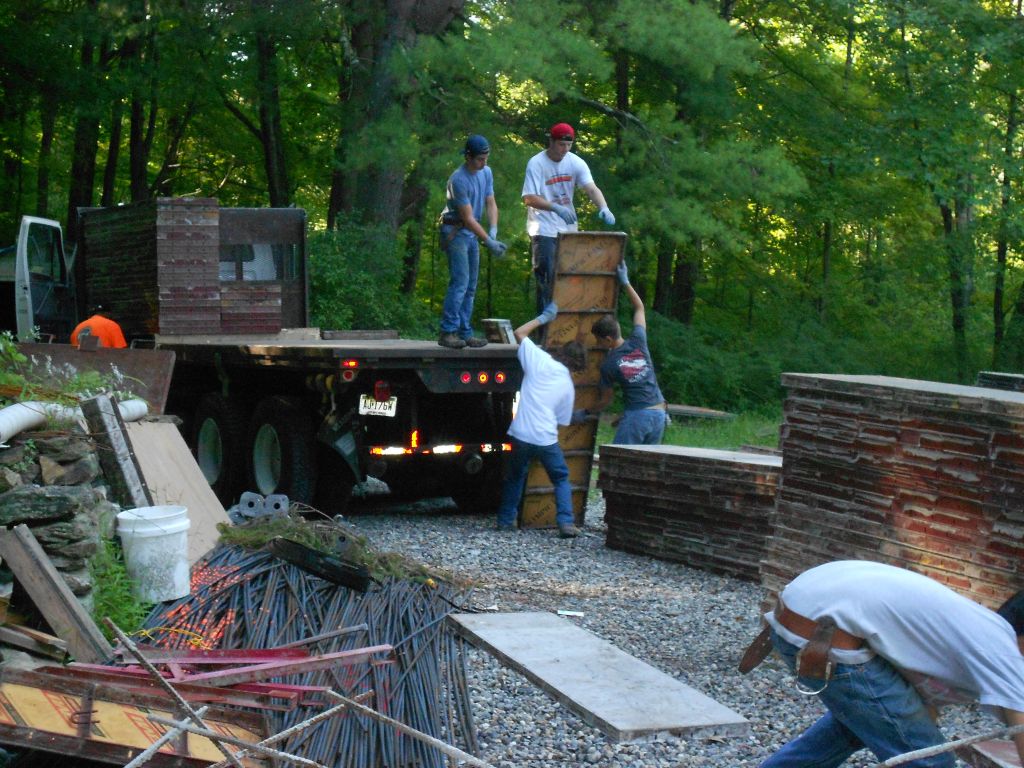
Hobbit Hollow crew unloading the symmons form truck.
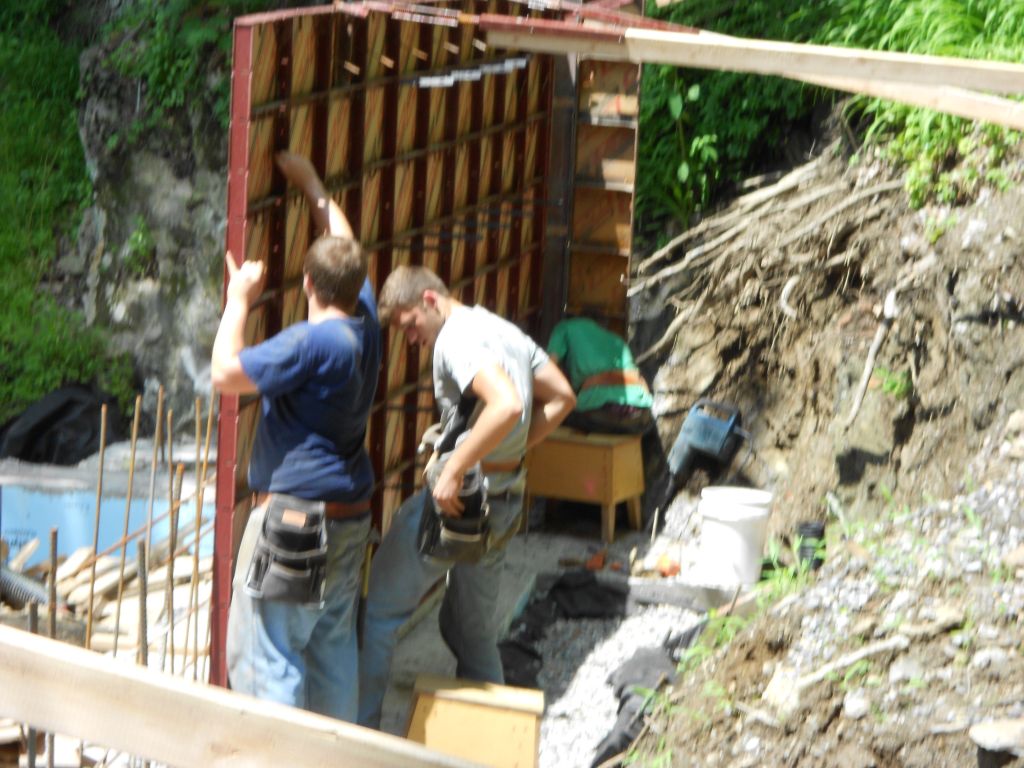
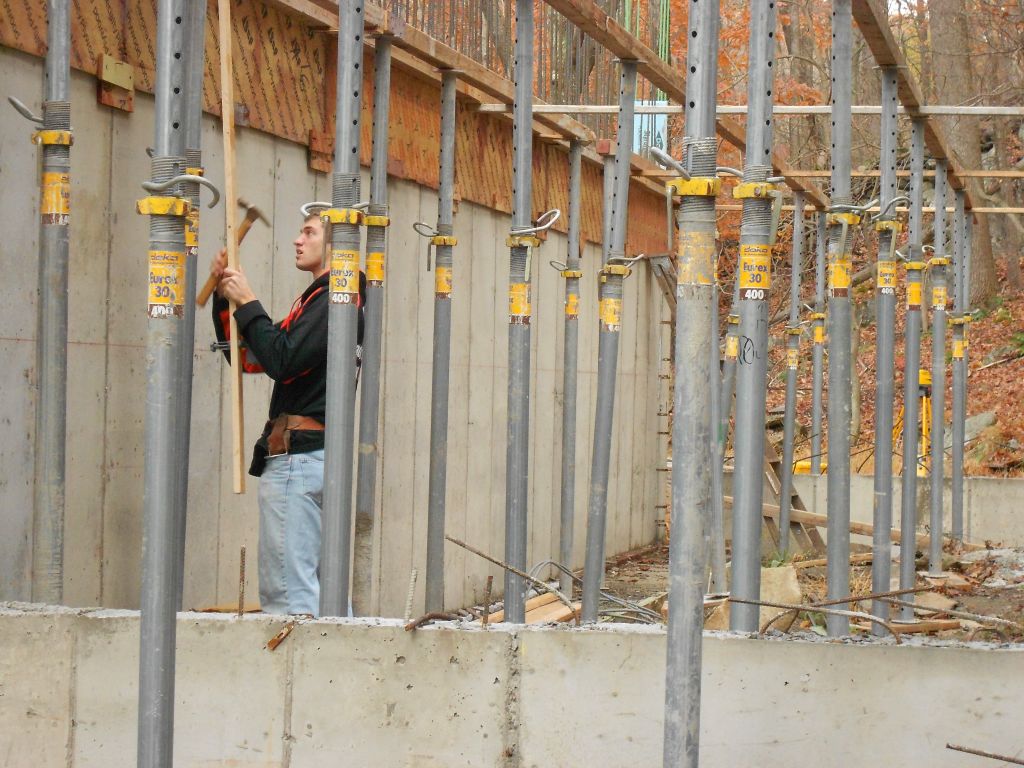
Darren getting the first forms in place and plumb.
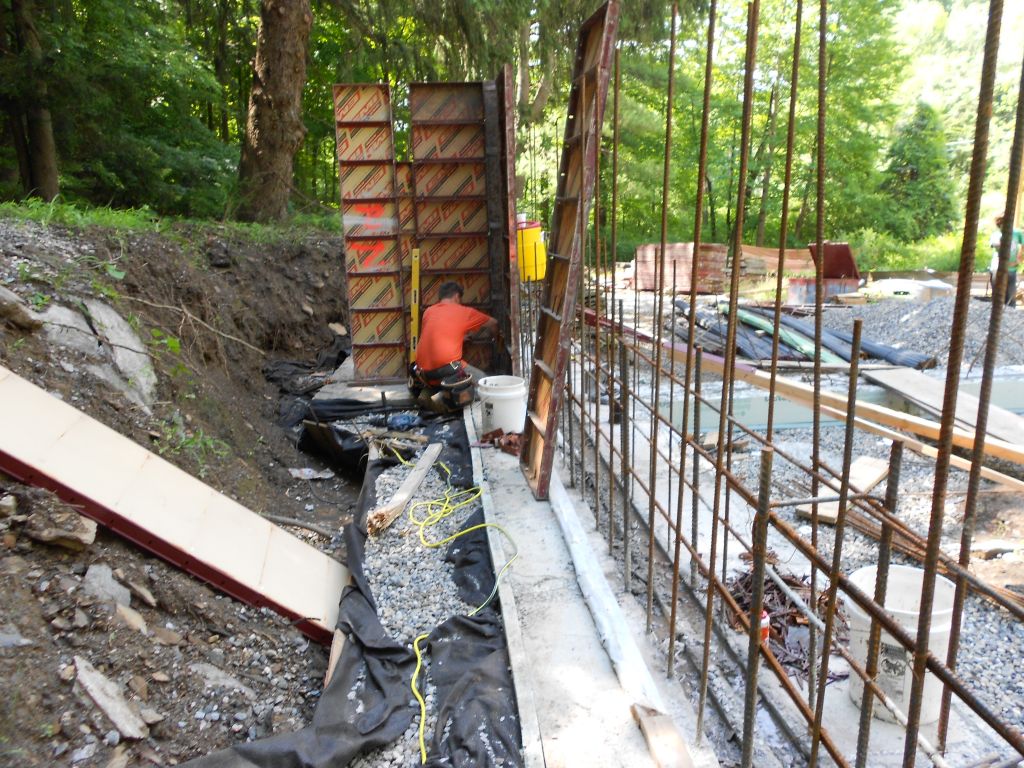
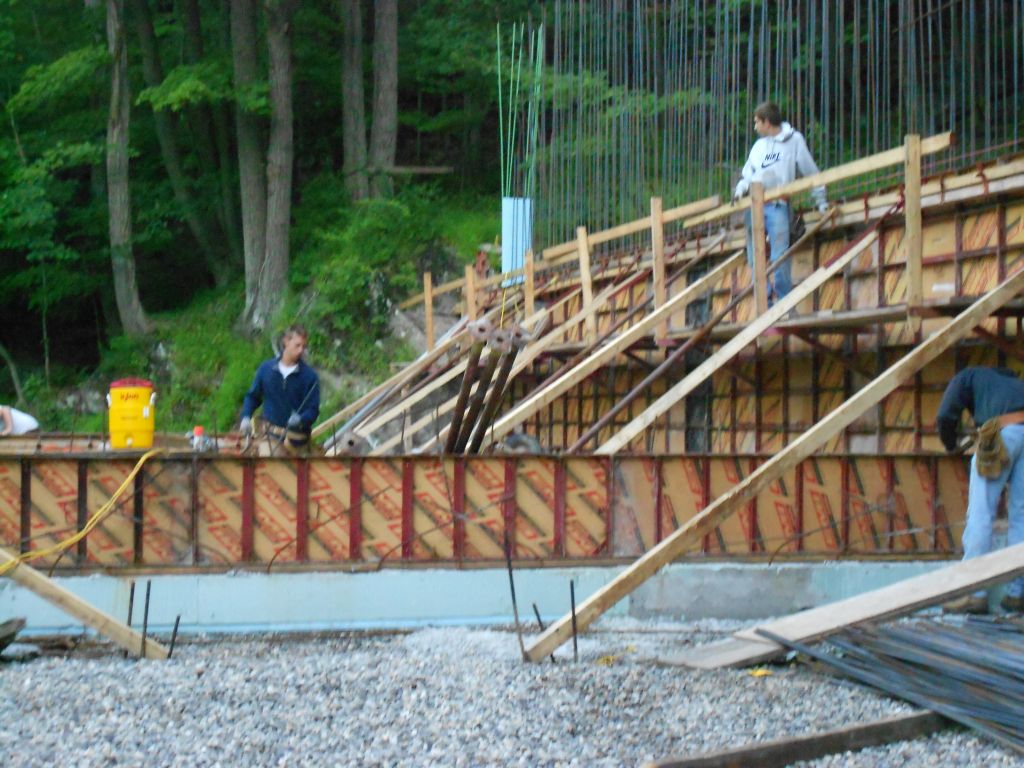
Putting up forms.Mike installing form ties and pinning them to the forms.I don’t know where RJ is. He’s supposed to be helping Mike.
End of day Saturday.
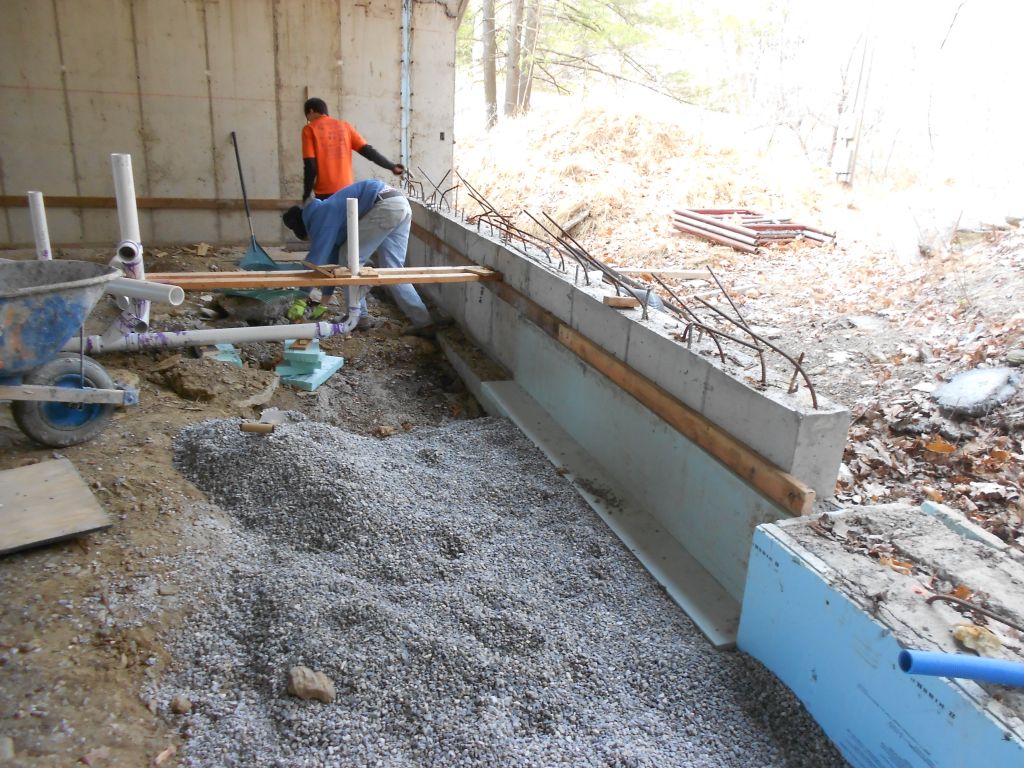
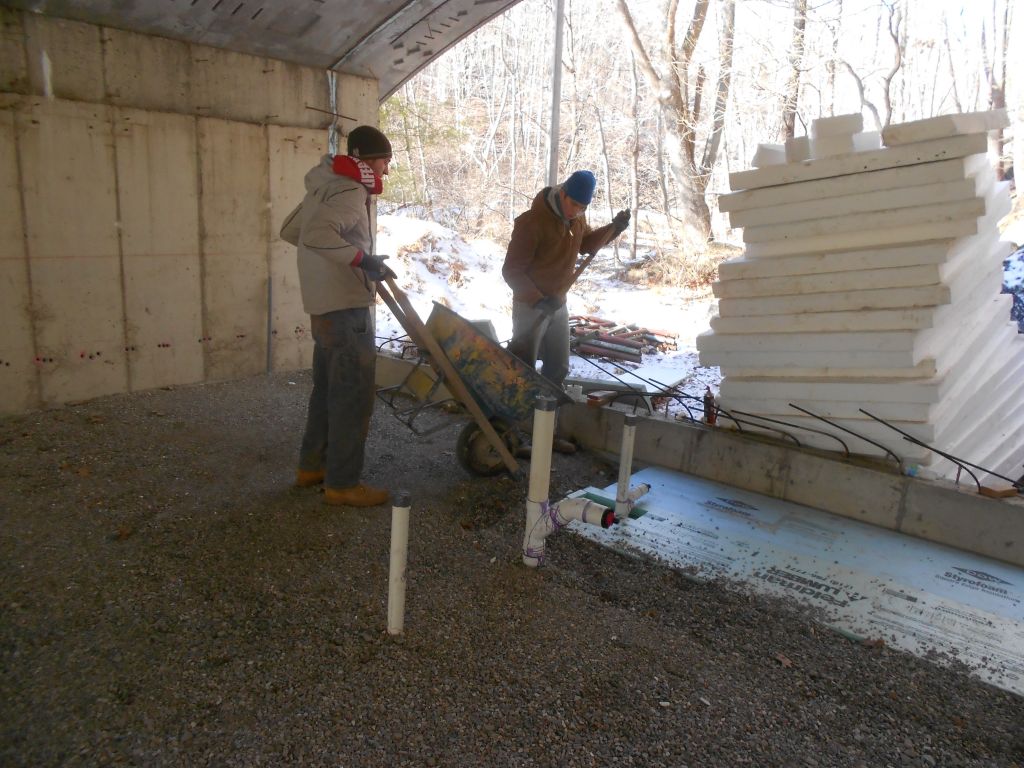
Additional drainage for the house. I wanted to have a gravel bed to the top of the footing.
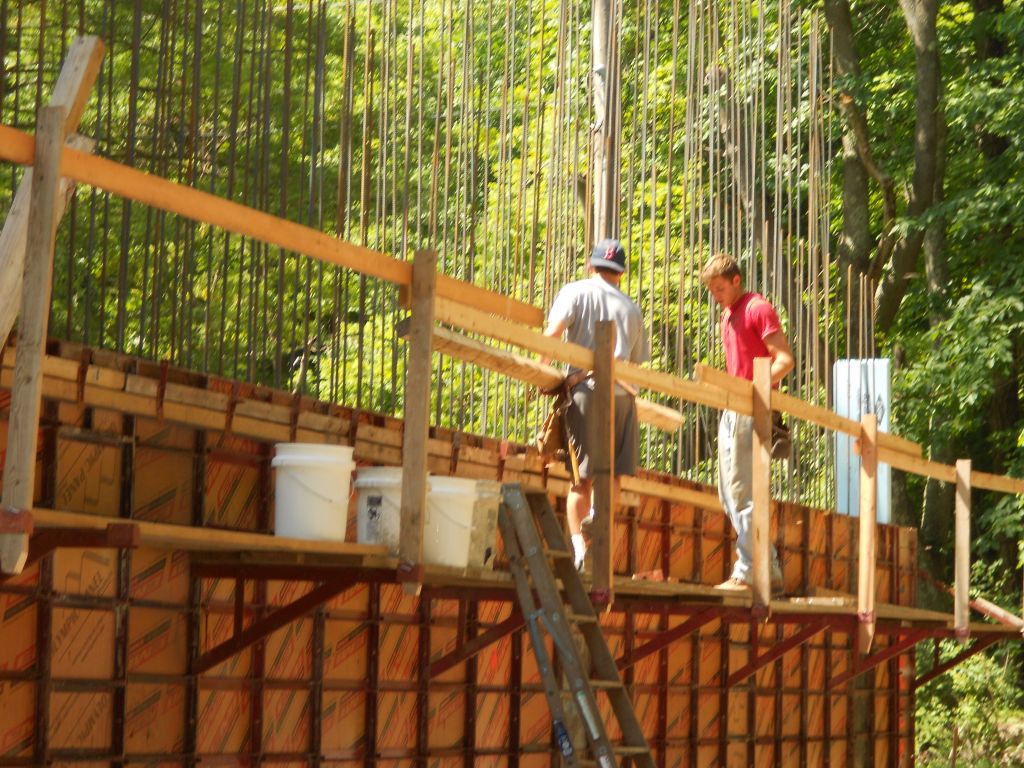
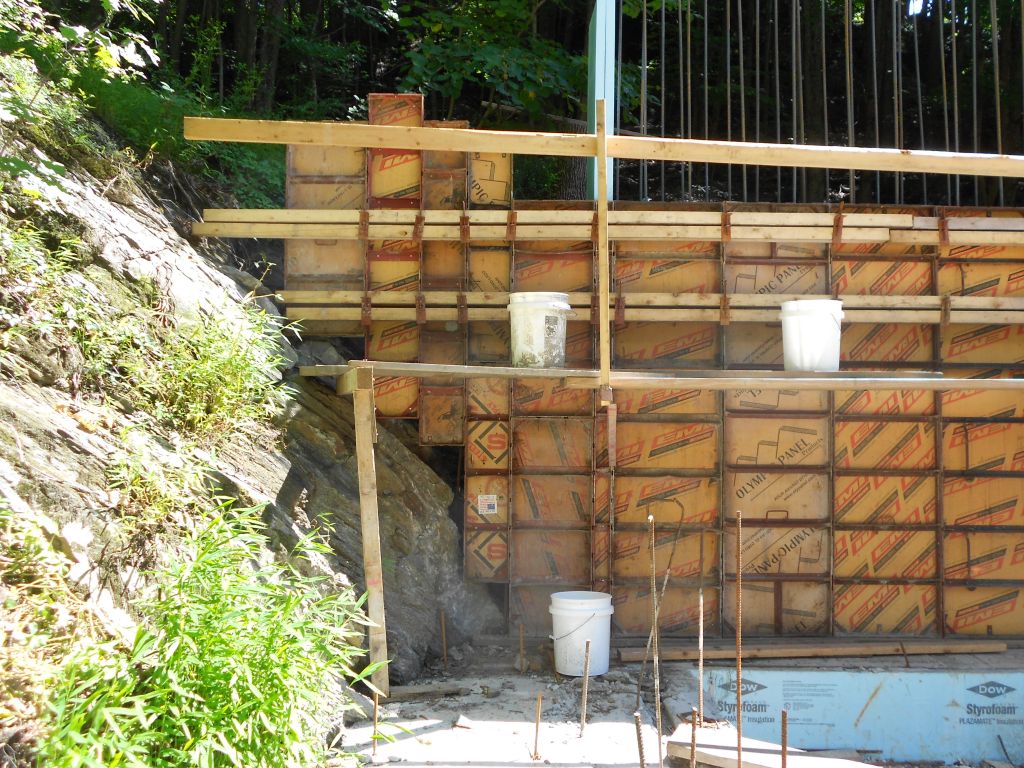
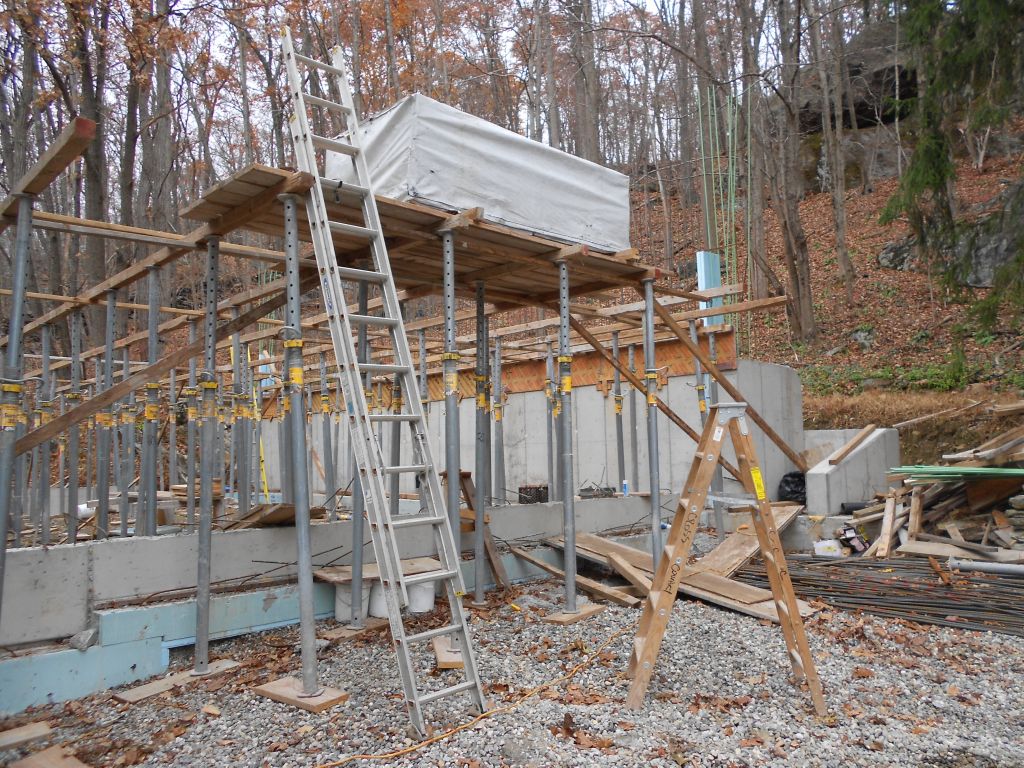
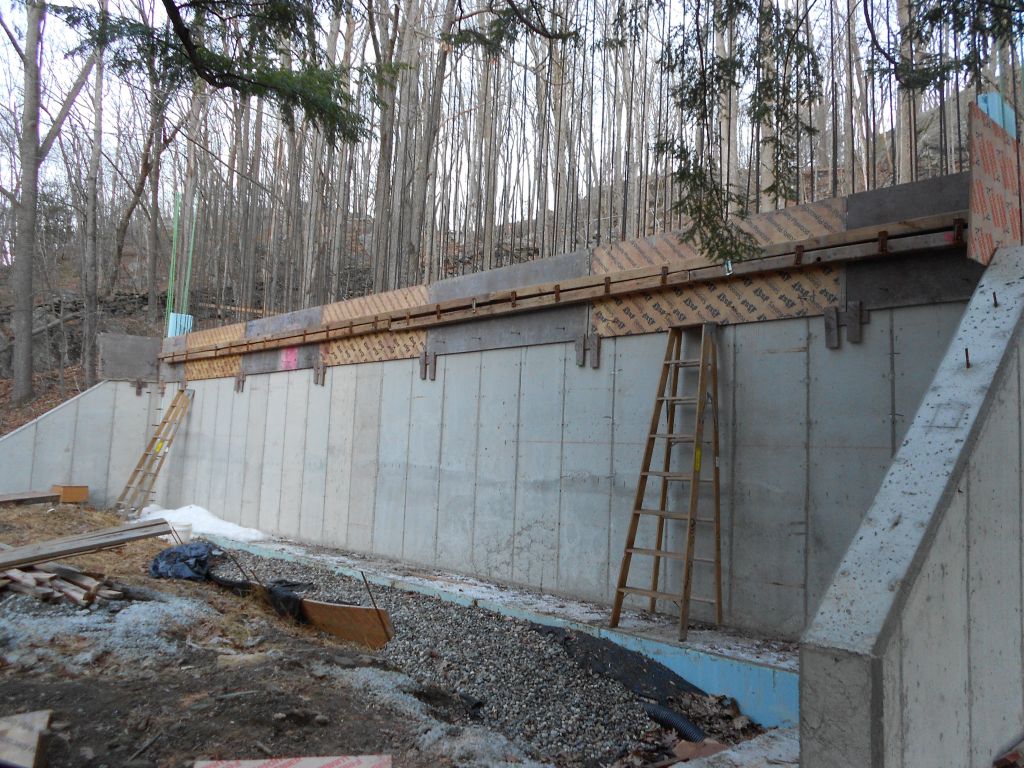
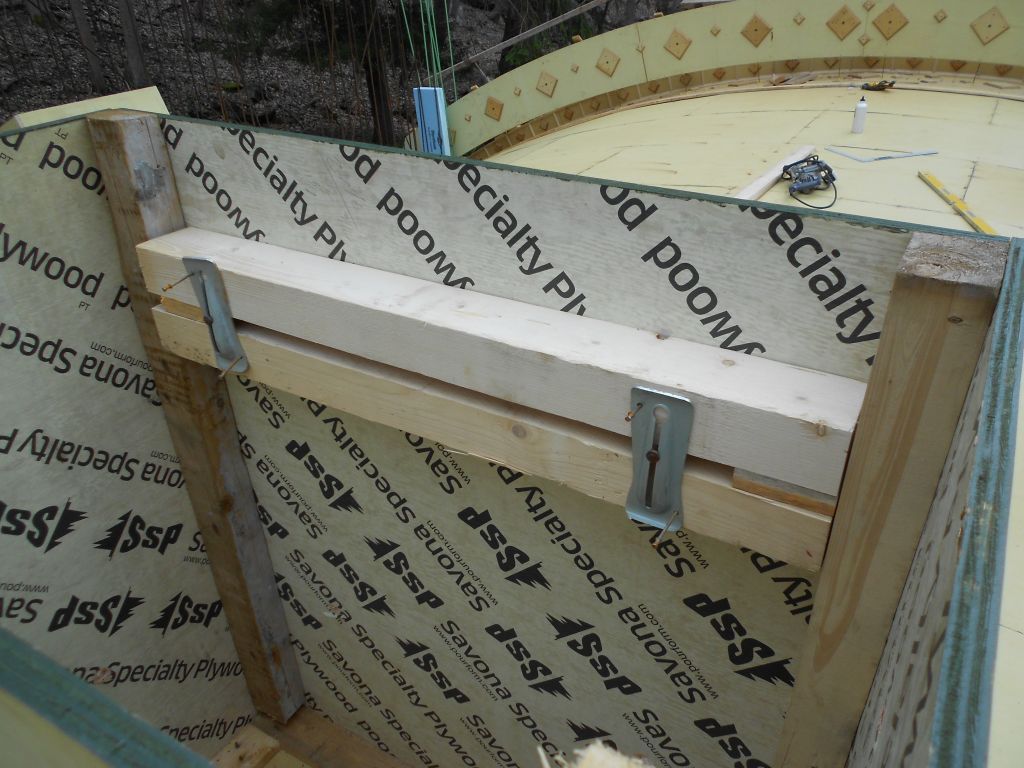
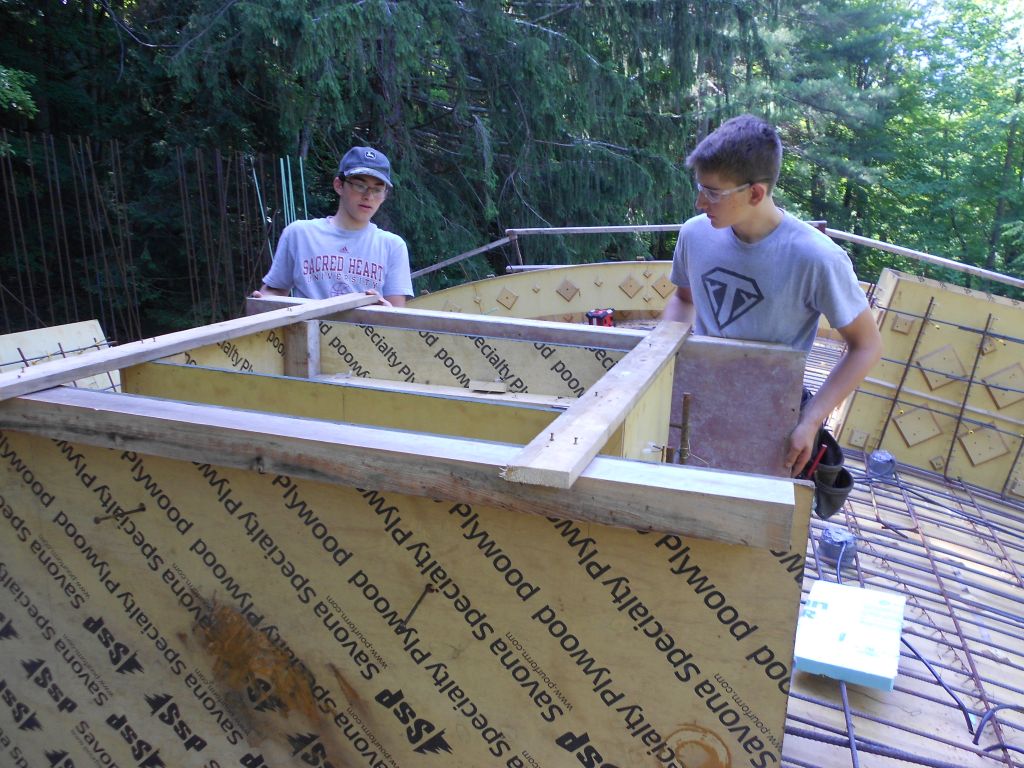
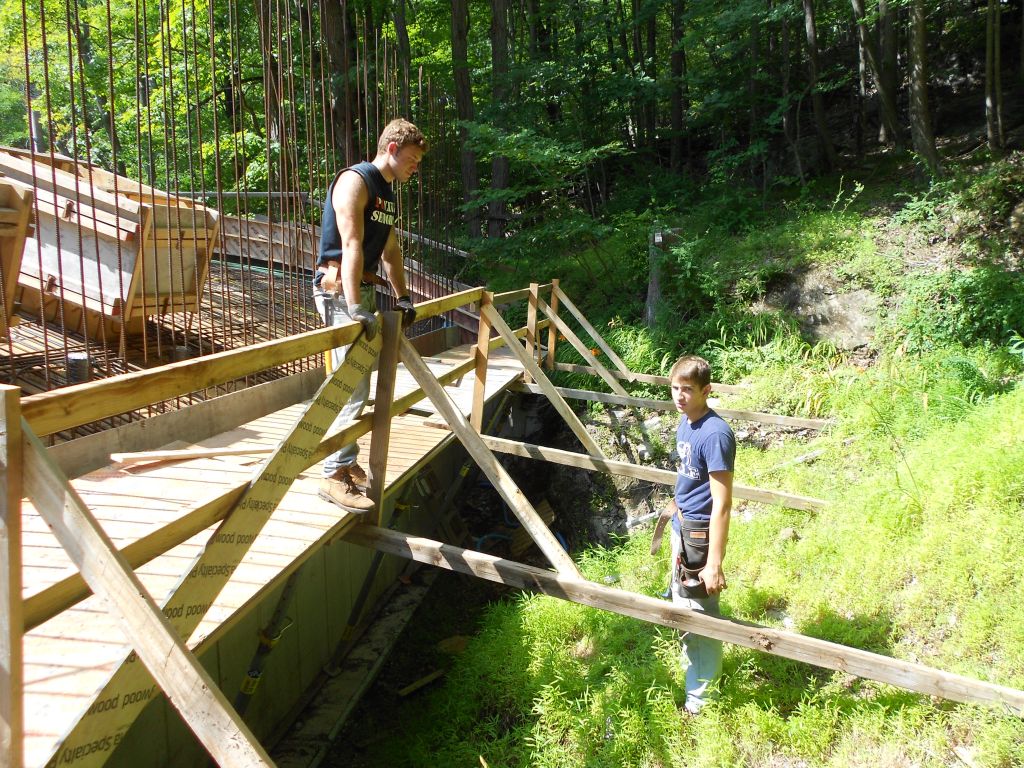
Jude and Zack finishing off the scaffold and adding a waler.
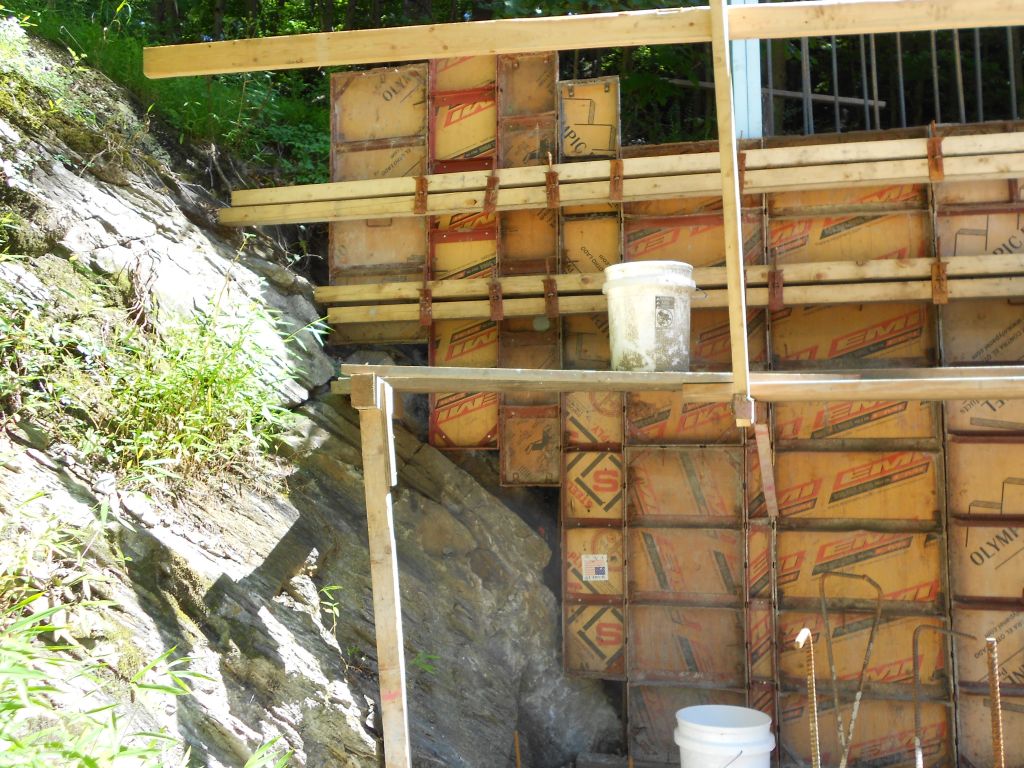
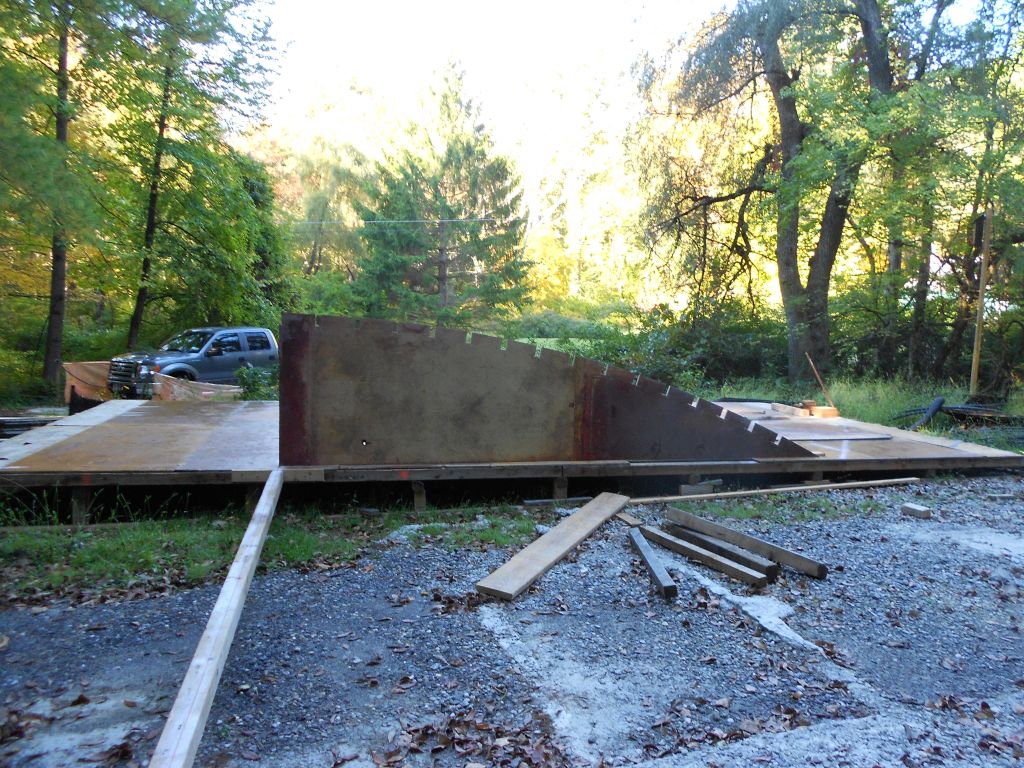
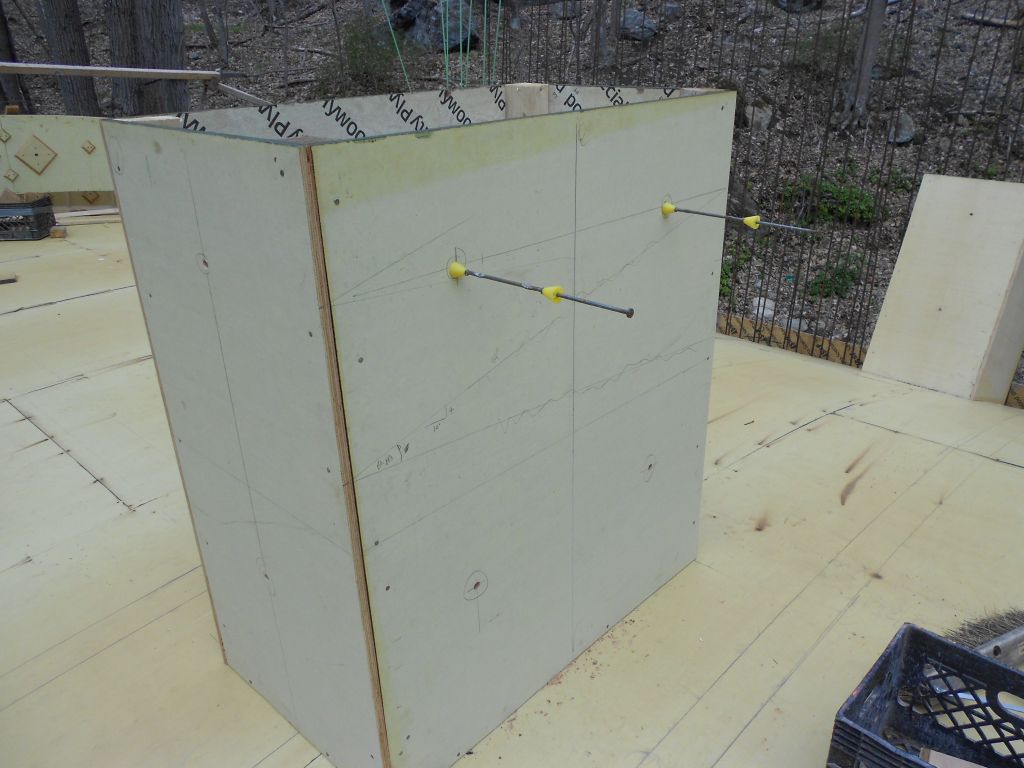
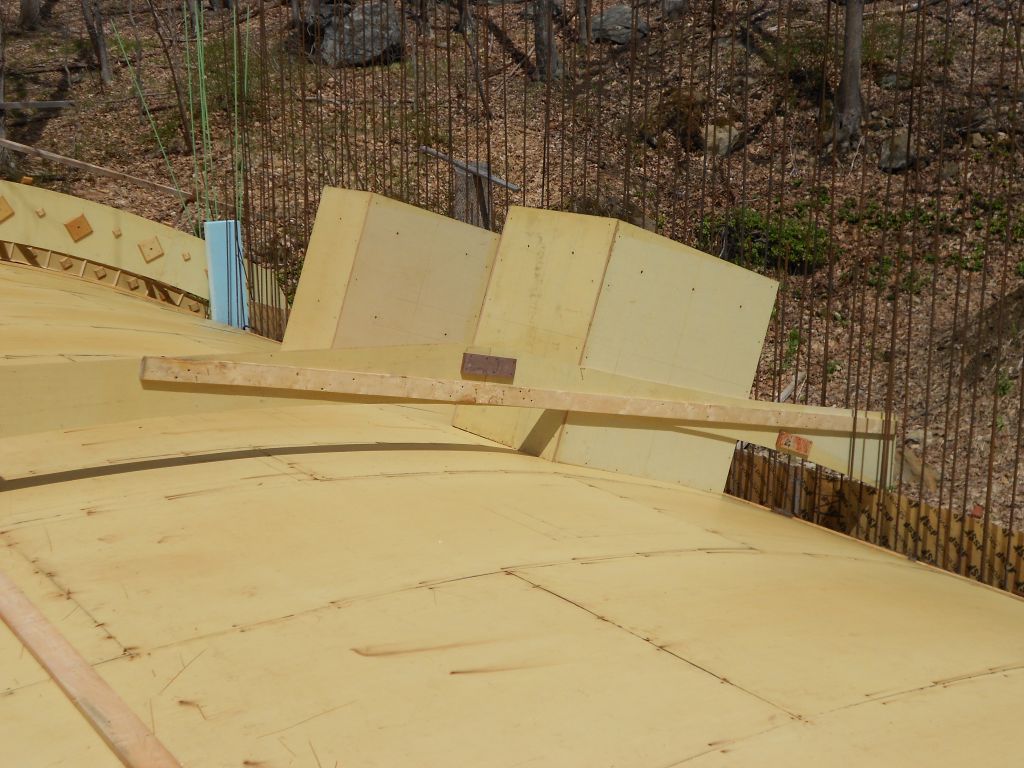
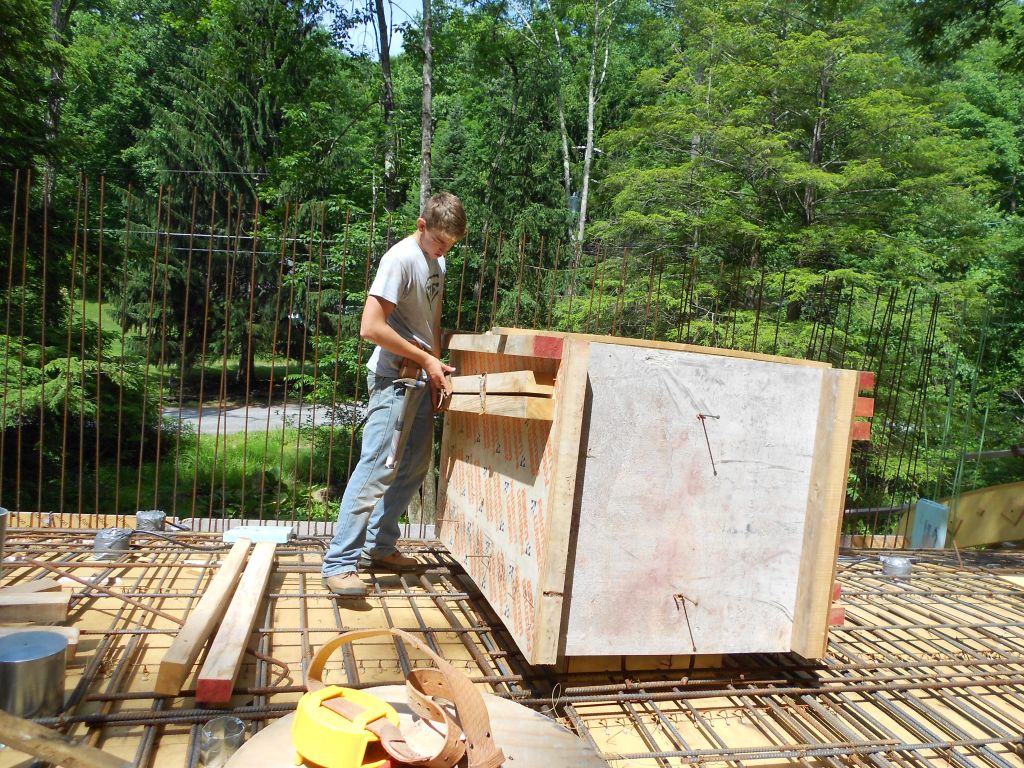
Wooden cap panel used to form out the angle of the retaining wall.
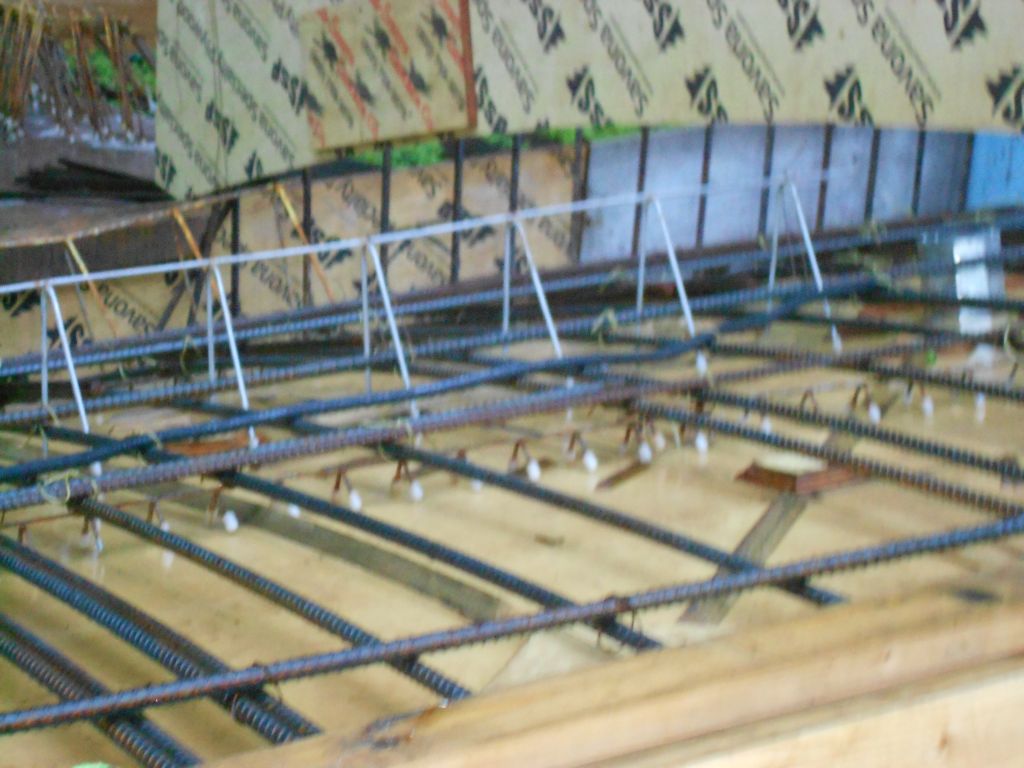
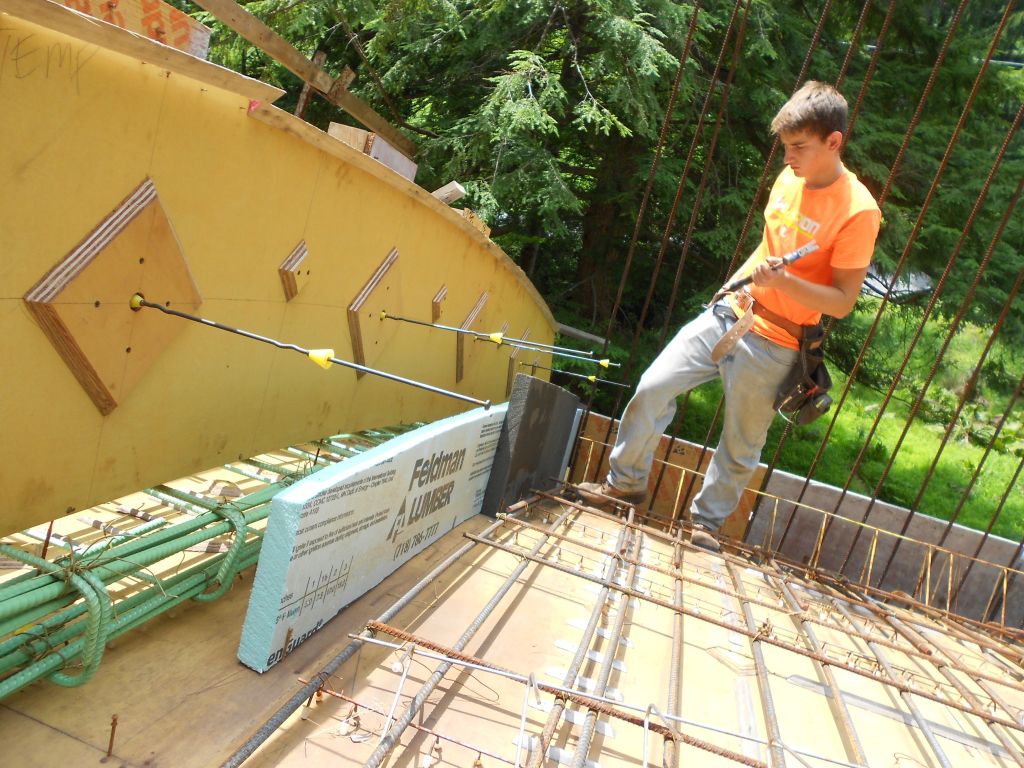
Rebar through styrofoam tying the walls together.
Box secured with bandind wire.
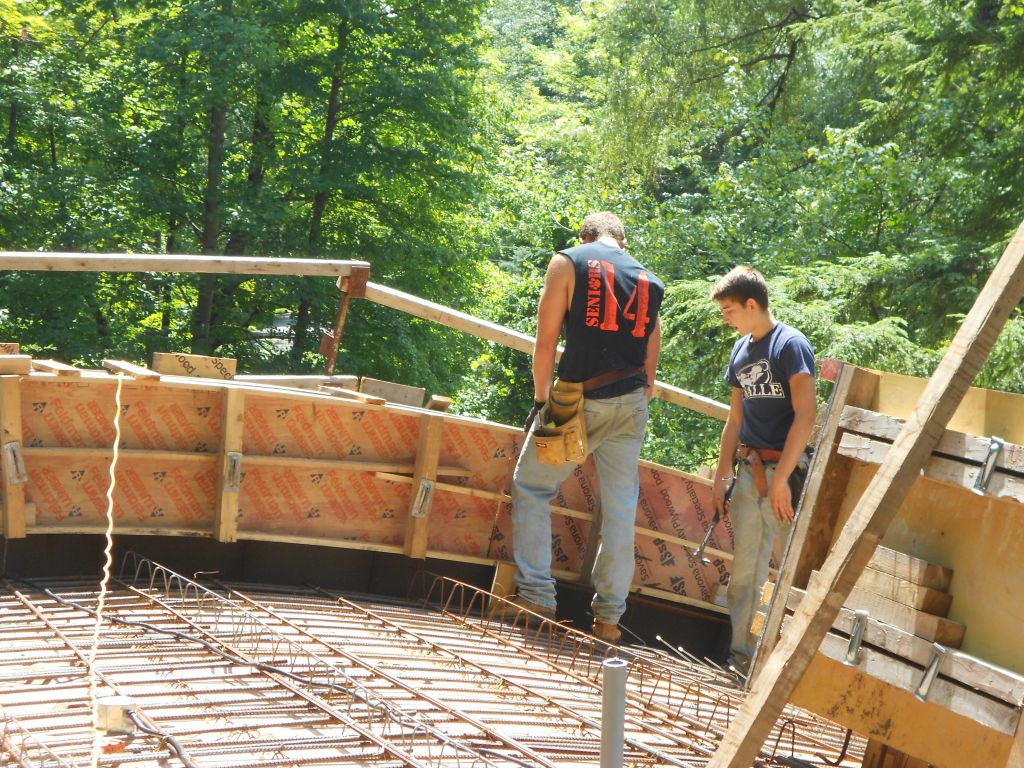
Jude and Ethan working of the West wall.
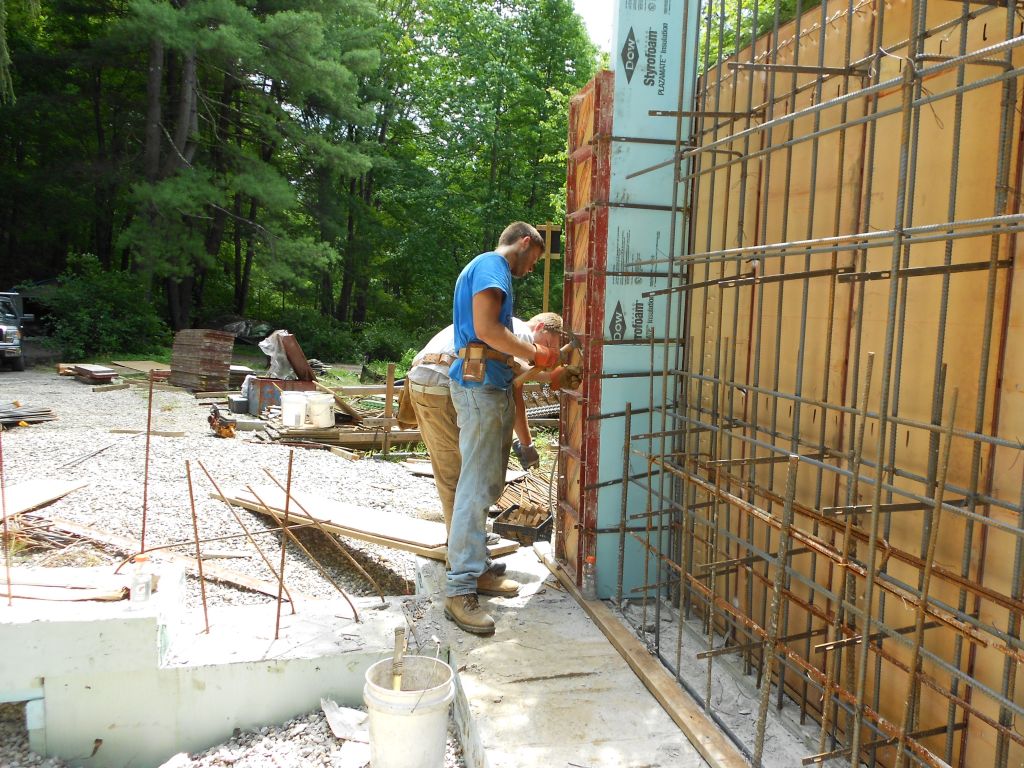
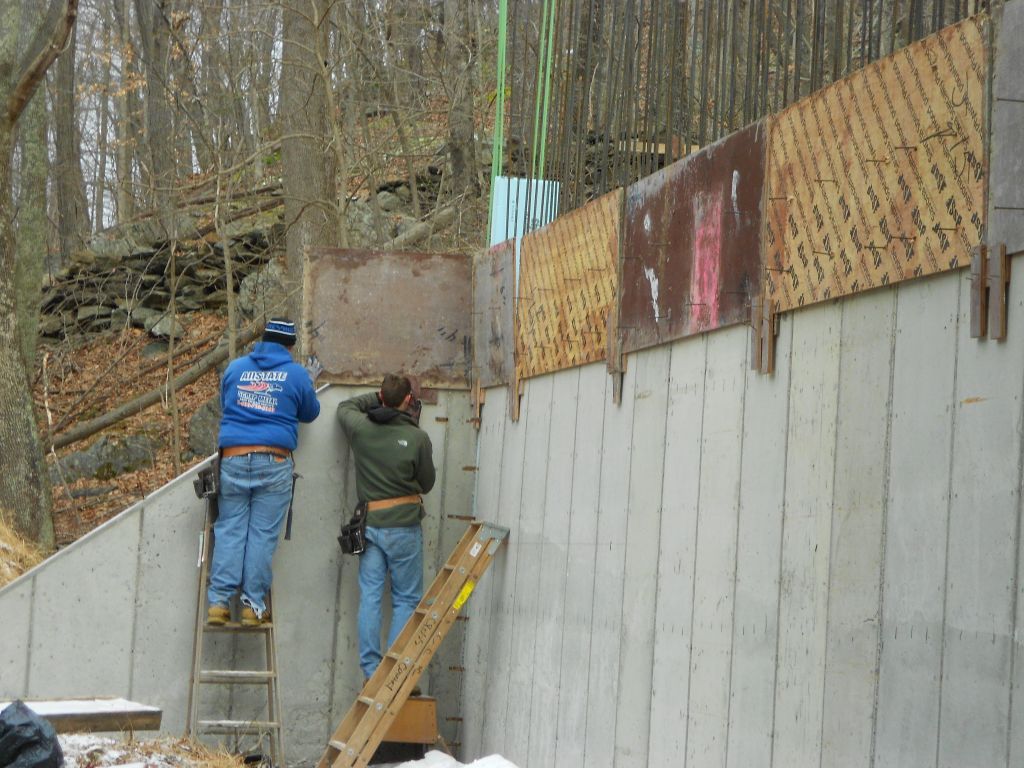
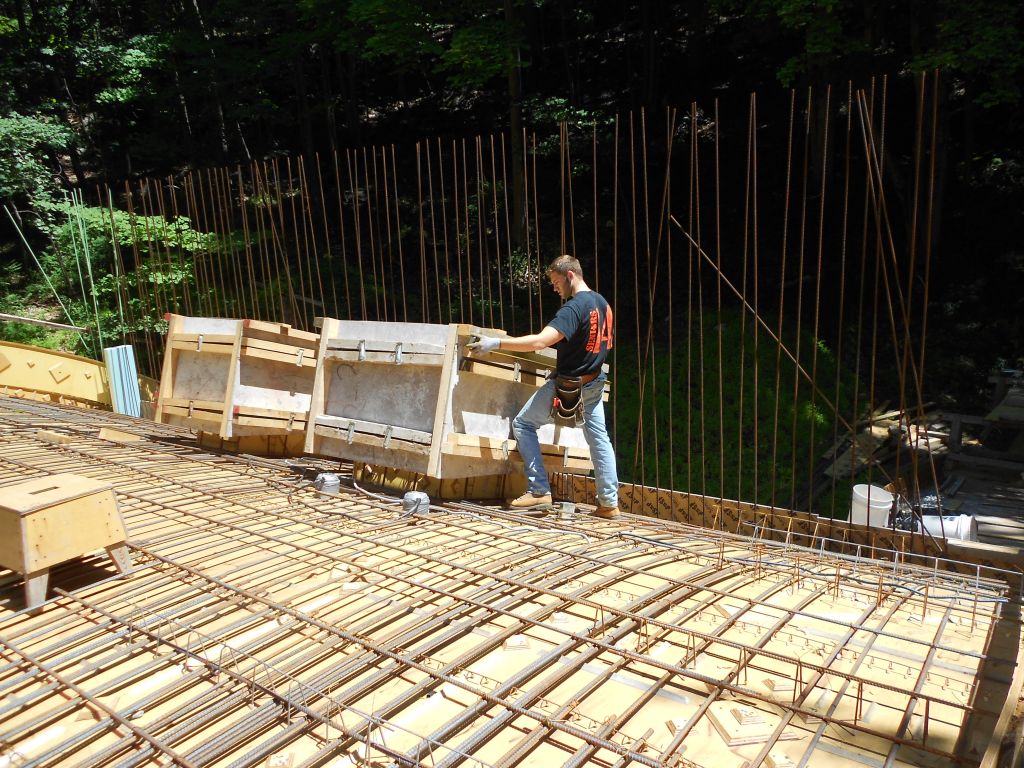
Installation of the back faced verticals.Jude Leary and RJ.
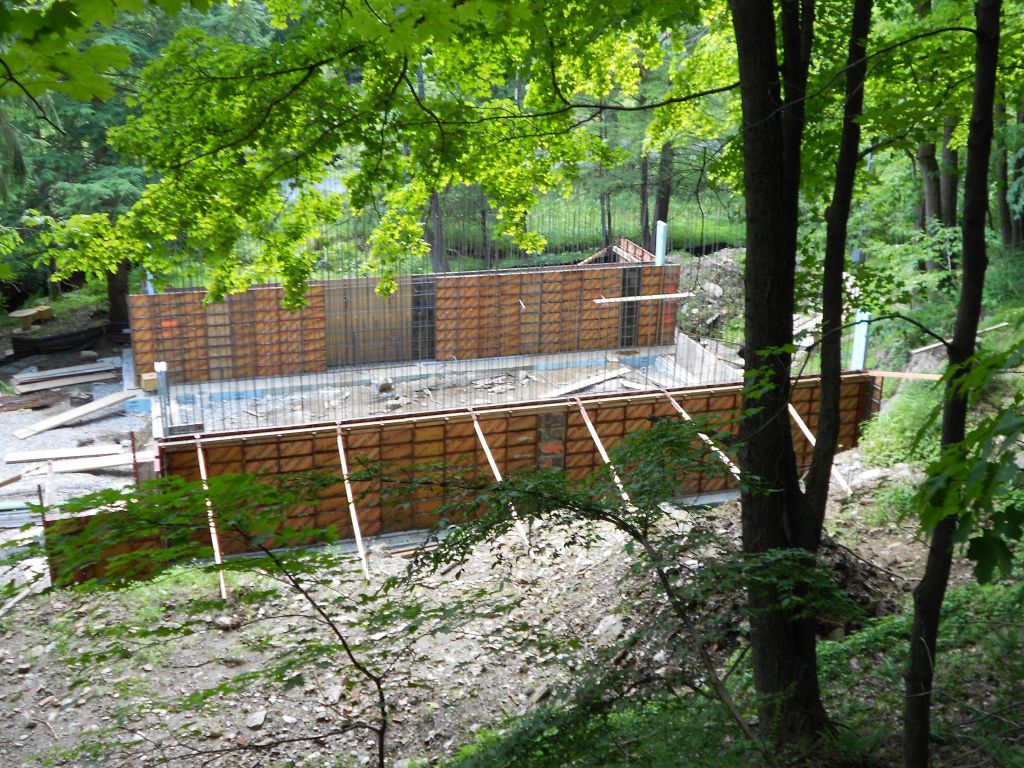
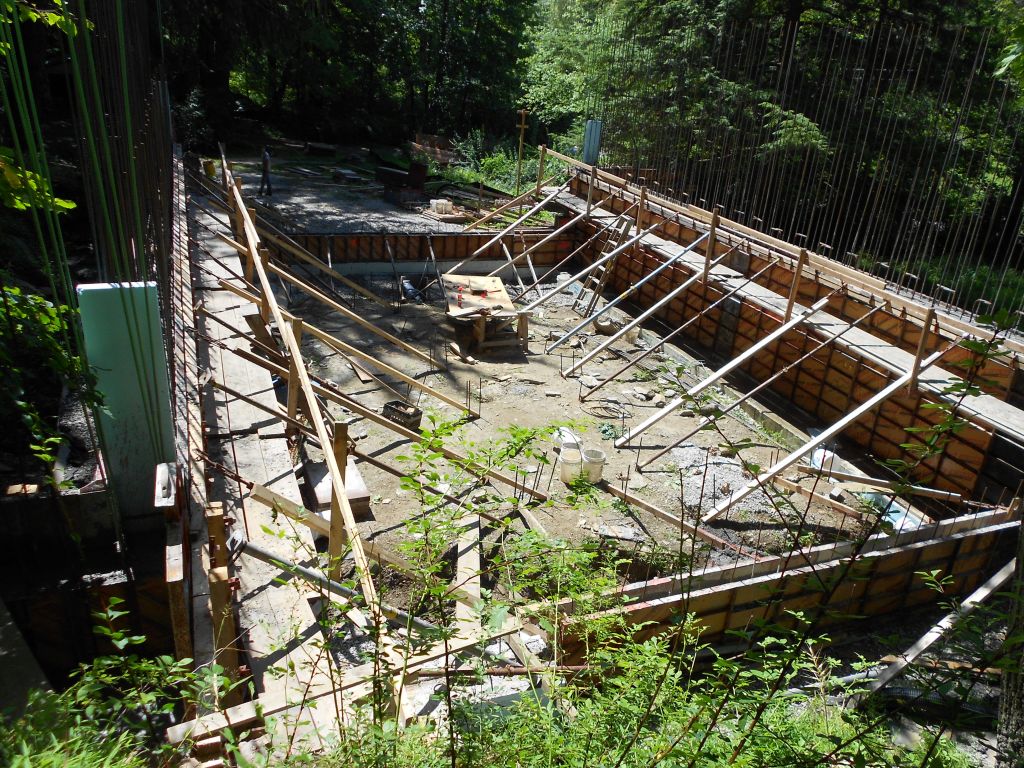
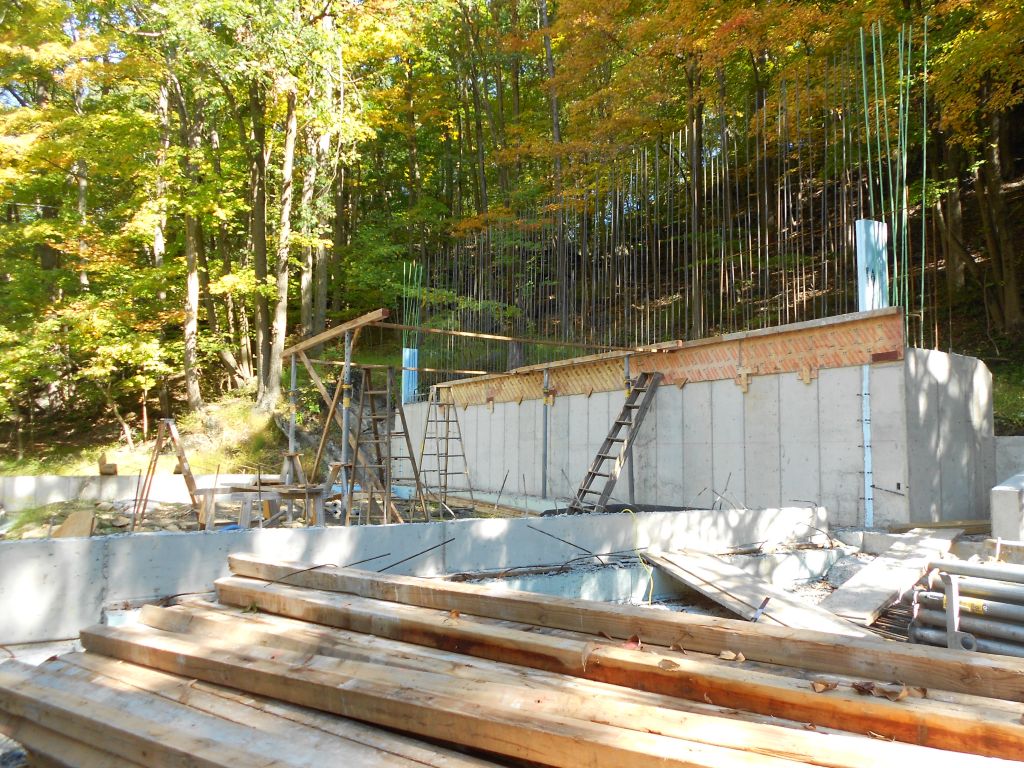
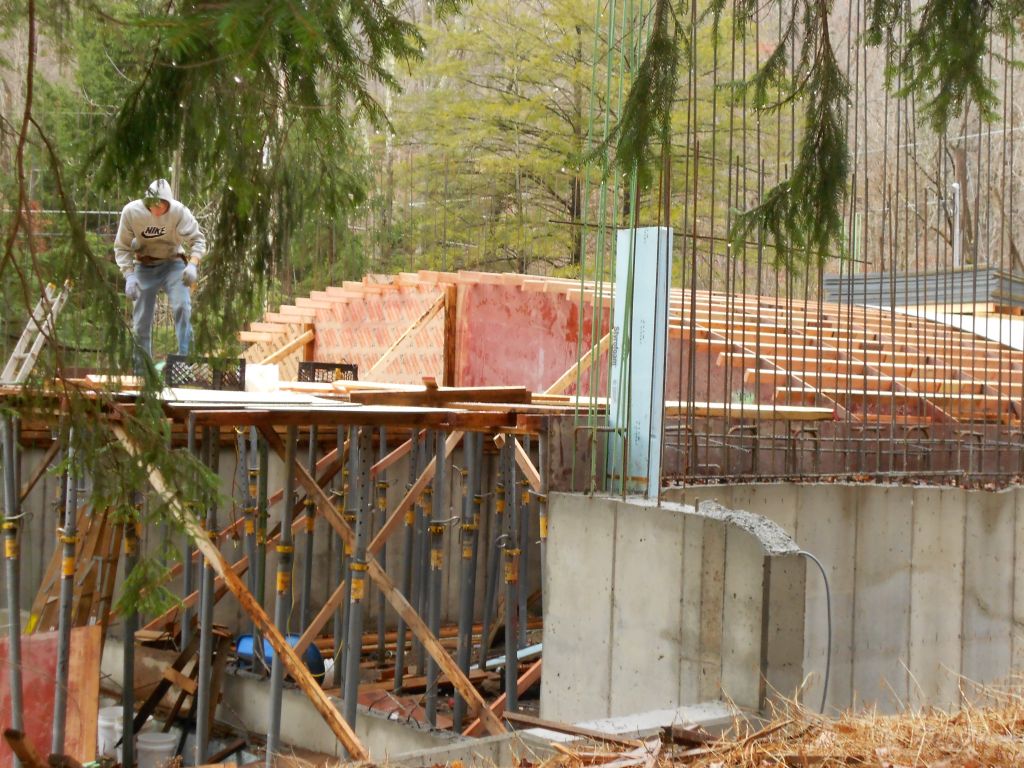
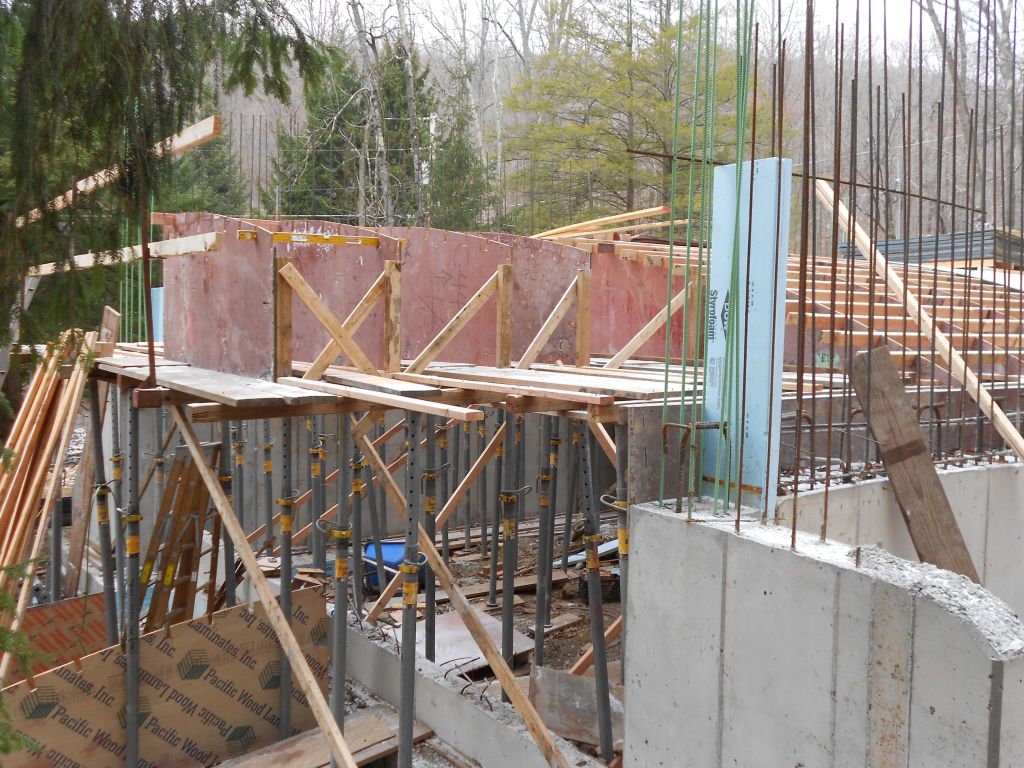
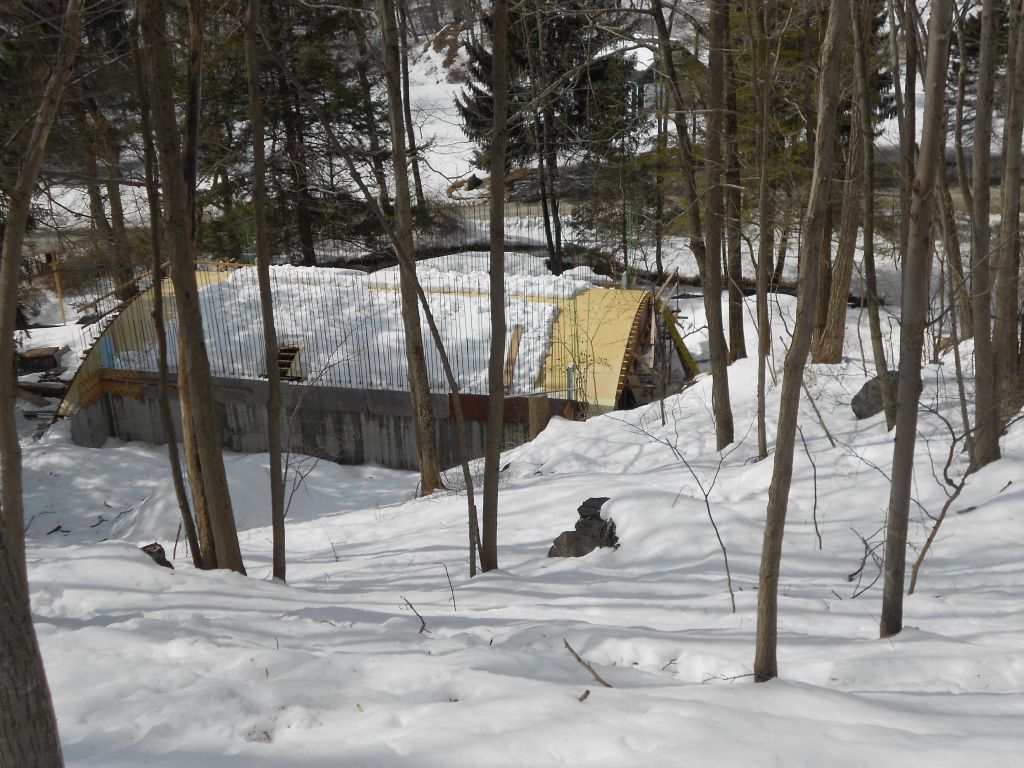
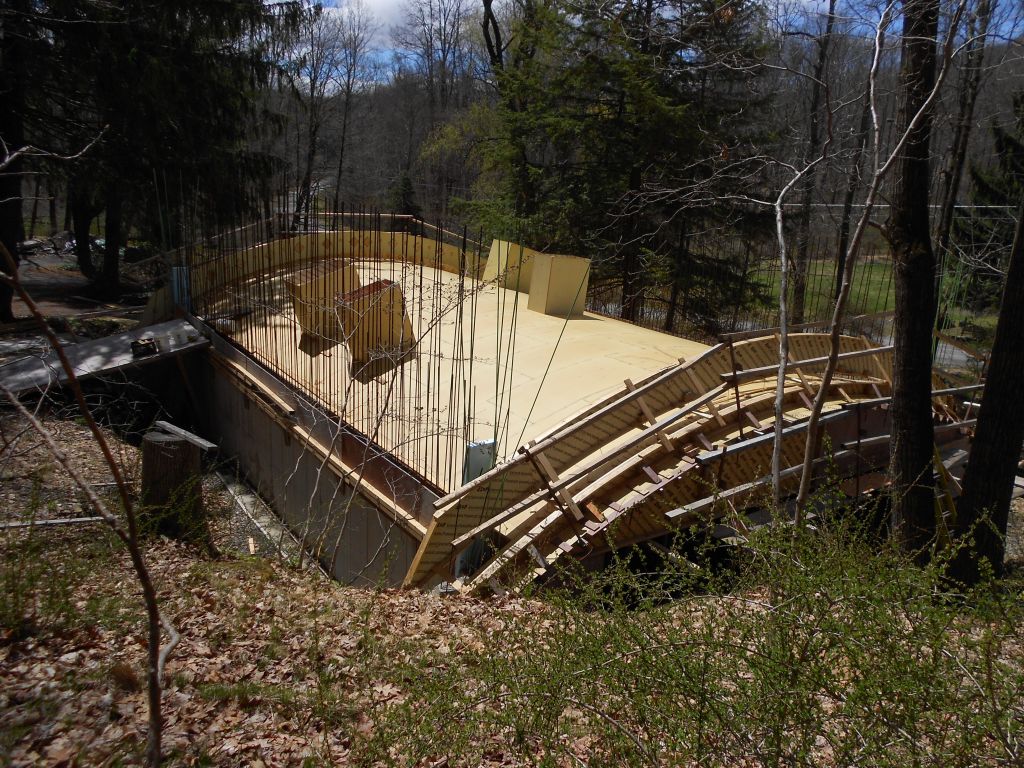
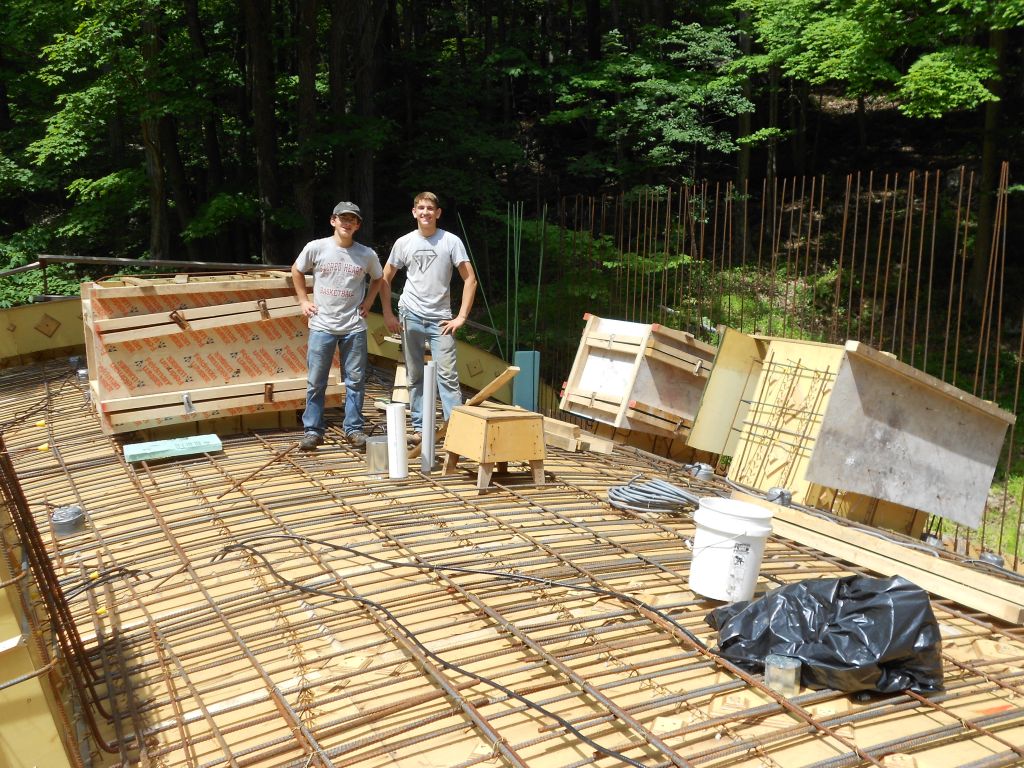
Overall site at the end of the day Saturday.
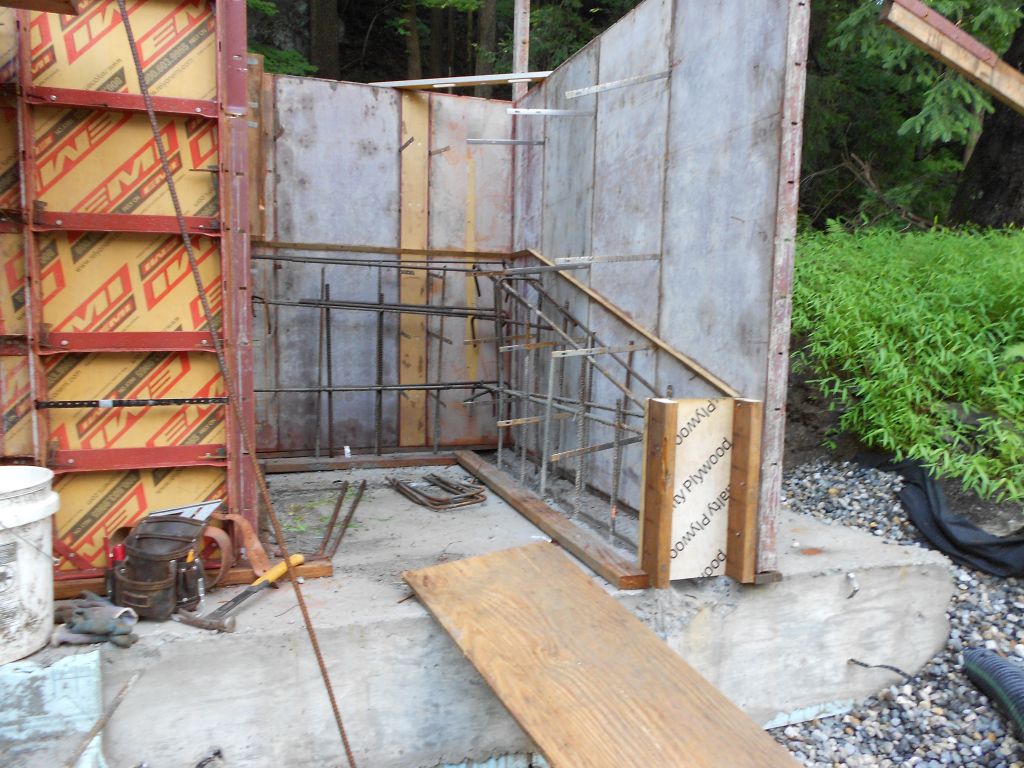
Formwork at the Dreaded Northeast Corner.
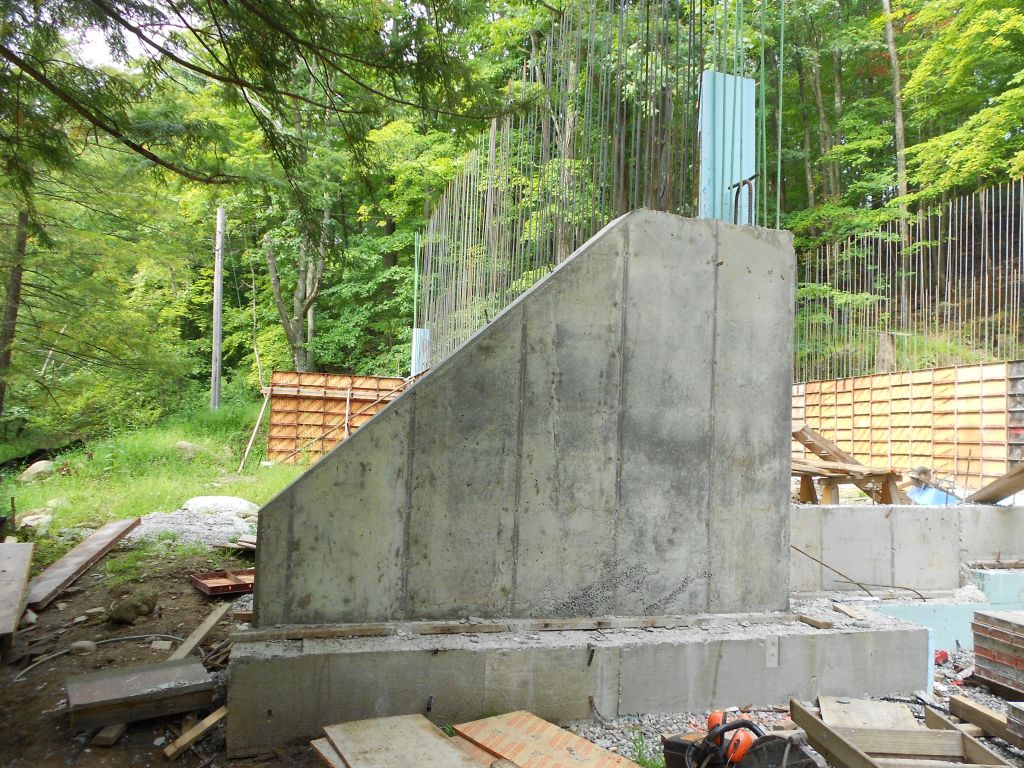
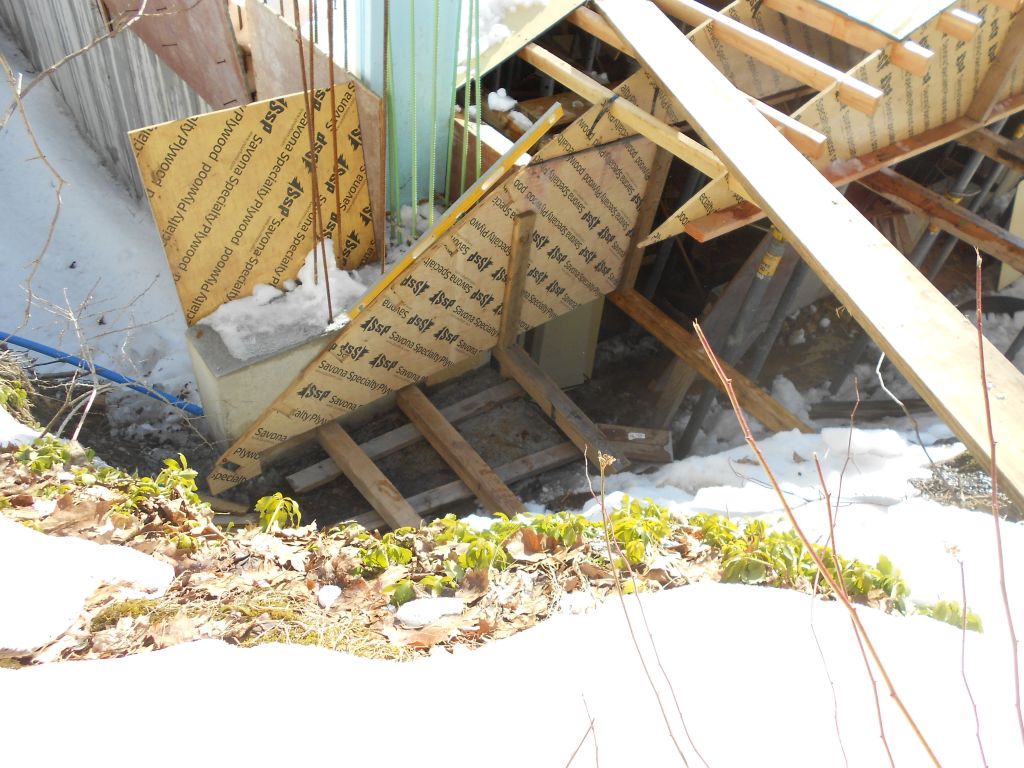
Stair retaining wall showing slope .
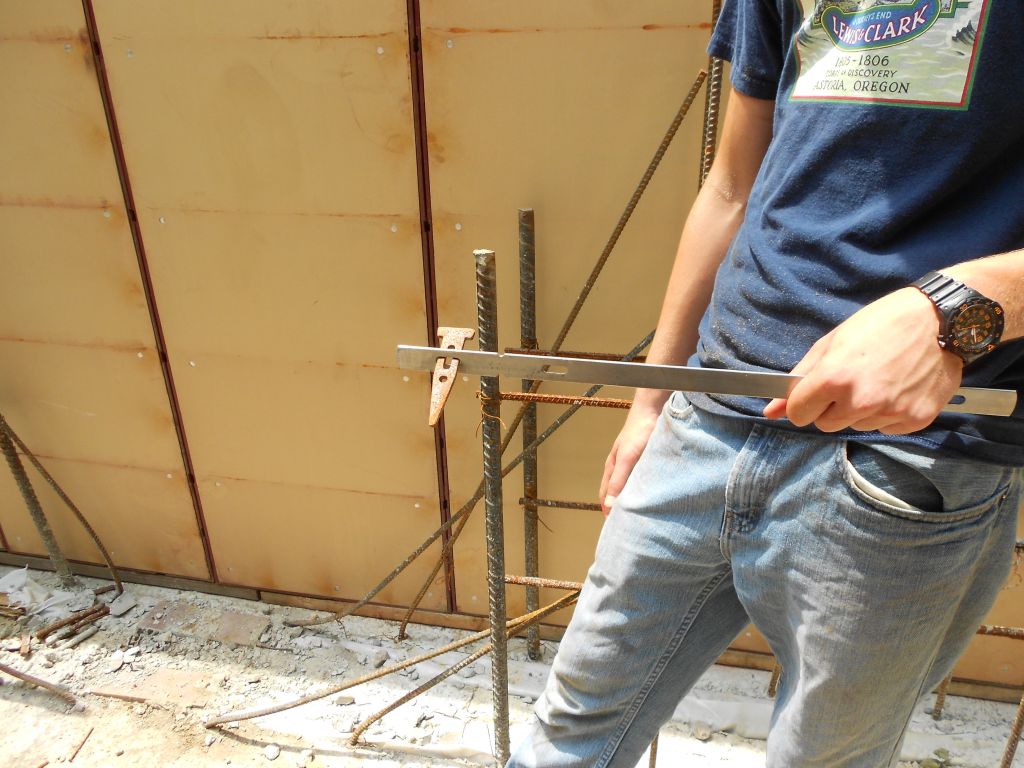
Terence using the offset block to align the walls with.
Doka jack system I used to push the wall plumb.
Final adjusments before the pour.
Pump set up waiting for concrete.
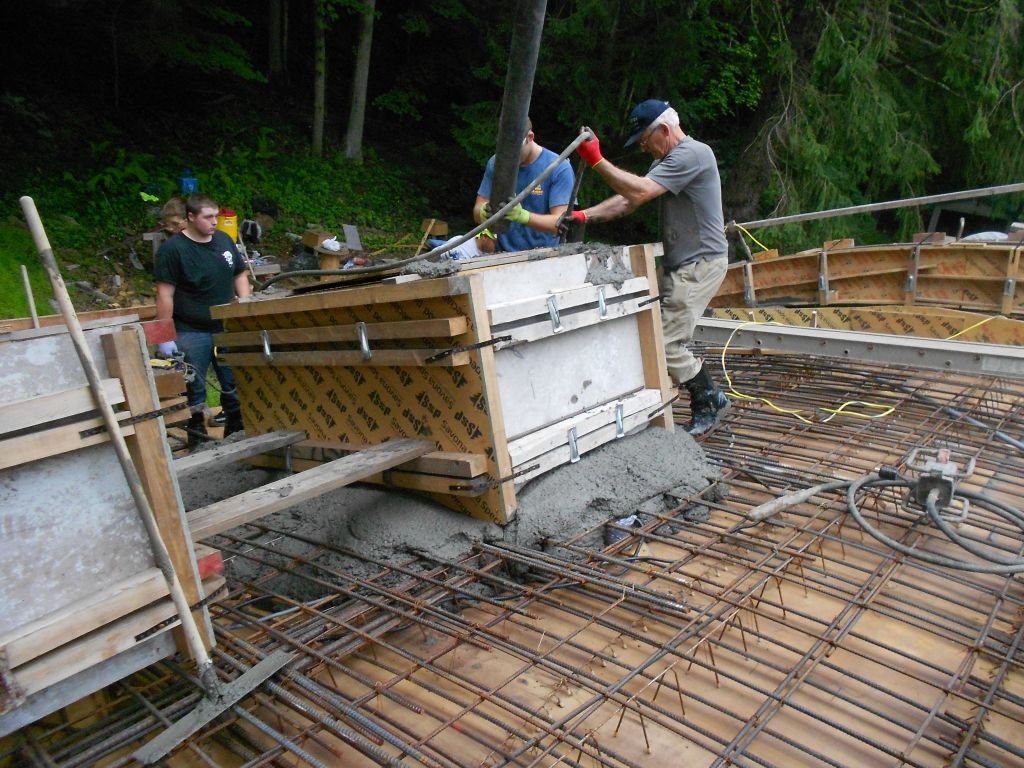
Jude.Ethan, and Kevein pouring the East wall/
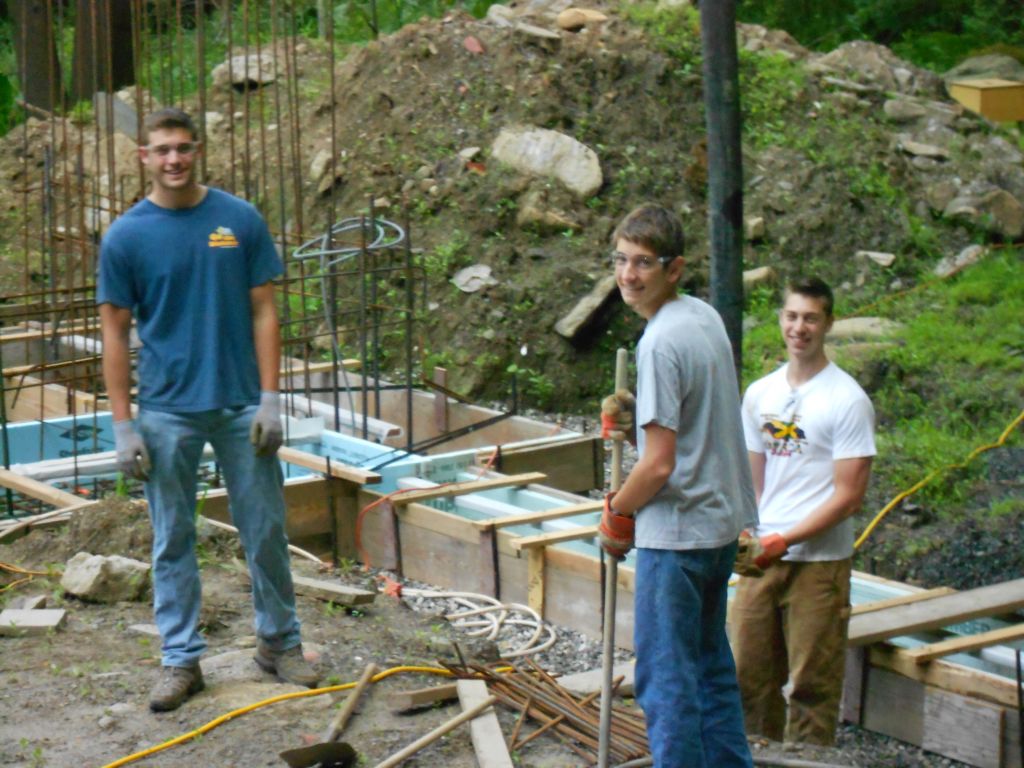
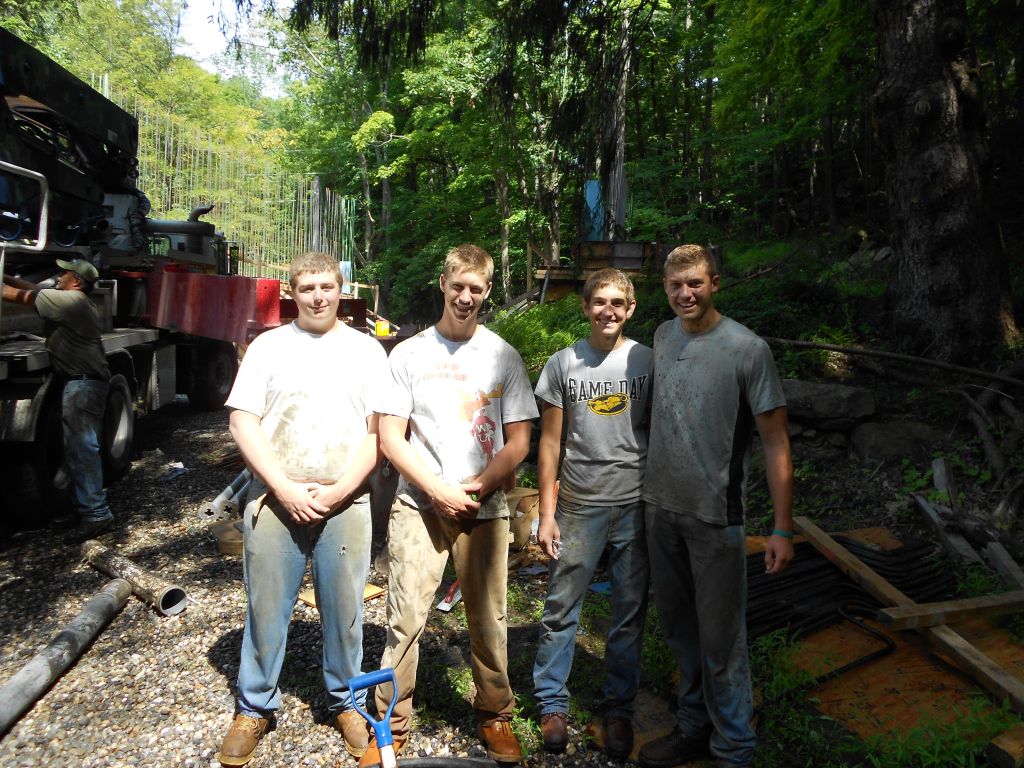
Hobbit Hollow Crew:Kevin,Ethan,Terence,and Jude.
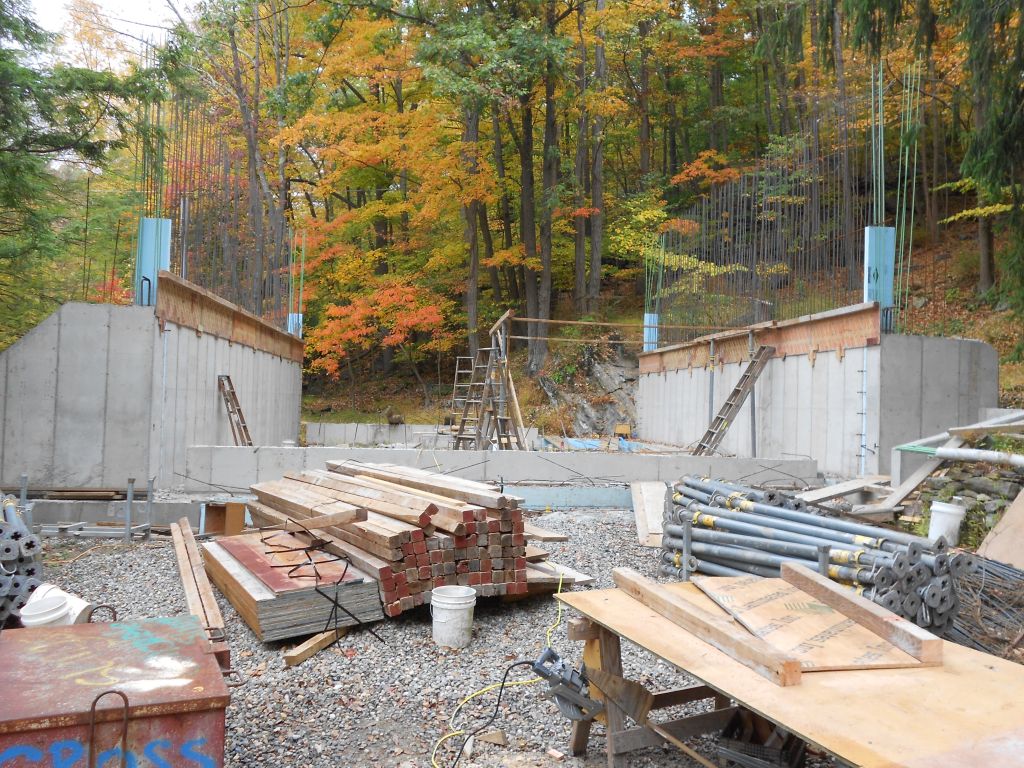
Site after the pour.
Stair retaining wall forms stipped out.
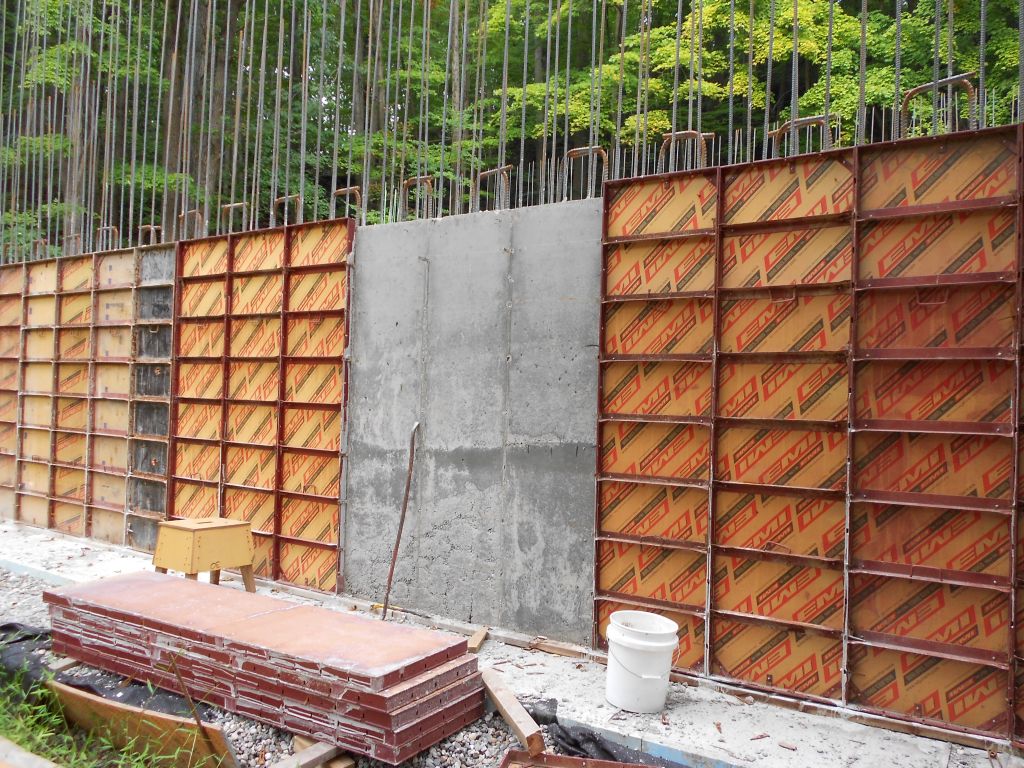
Retaining wall stripped.
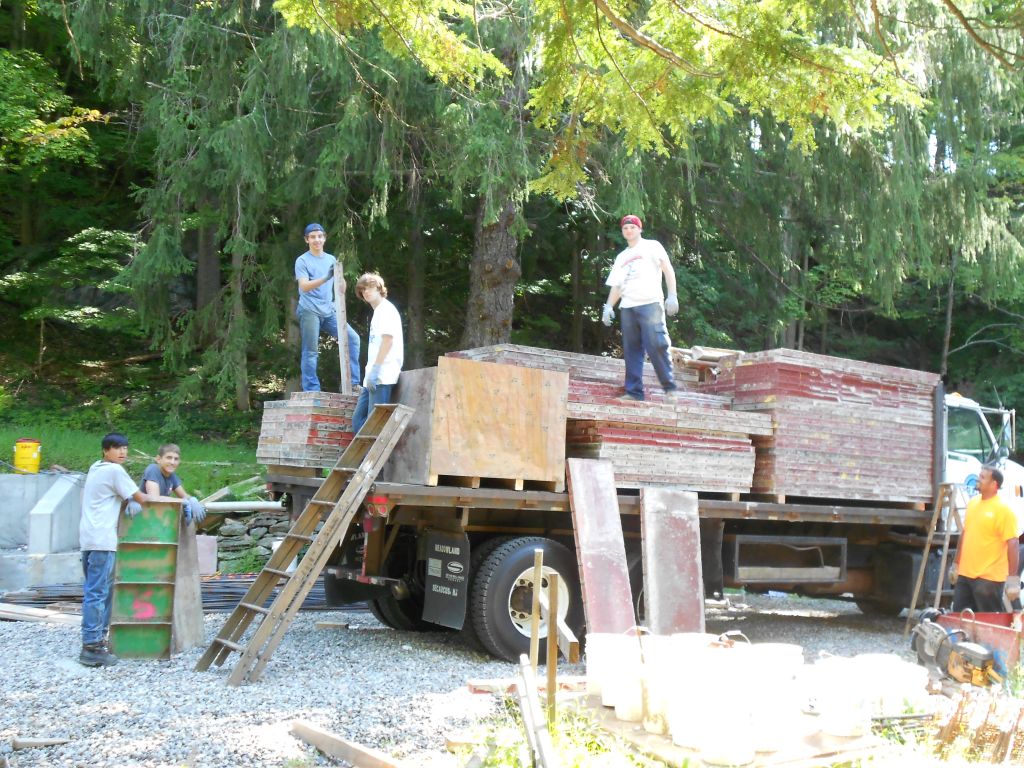
The Loadout Crew: Mikey,Terence Peter,Taylor, and Zack.
This truck went back fully loaded.
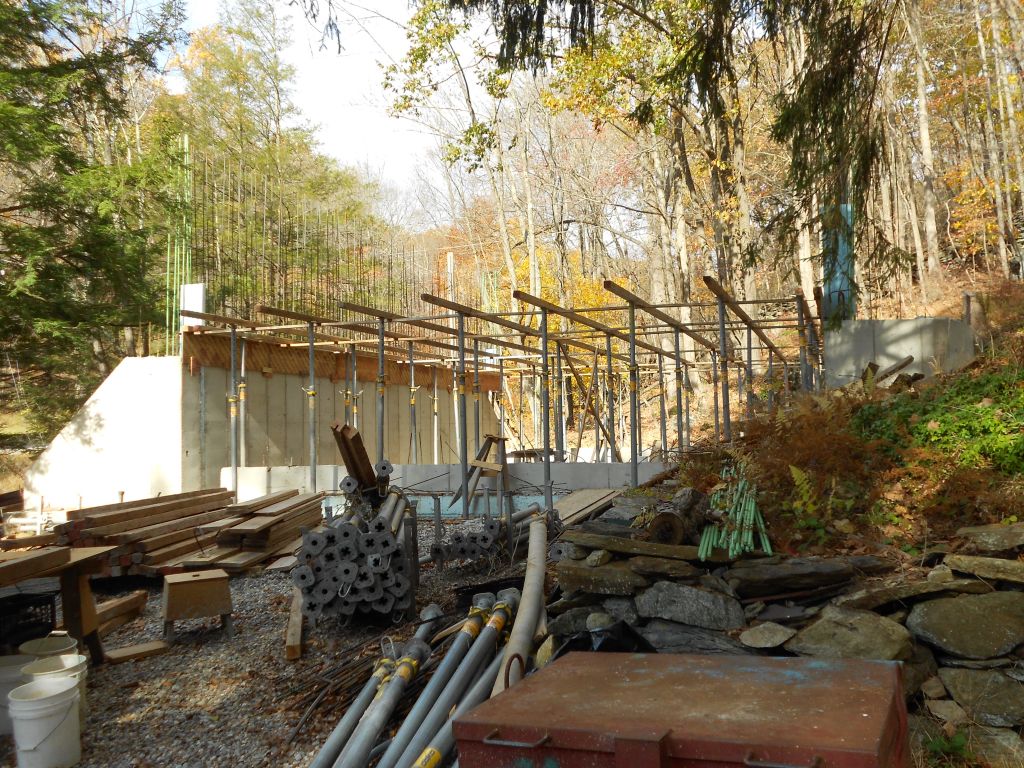
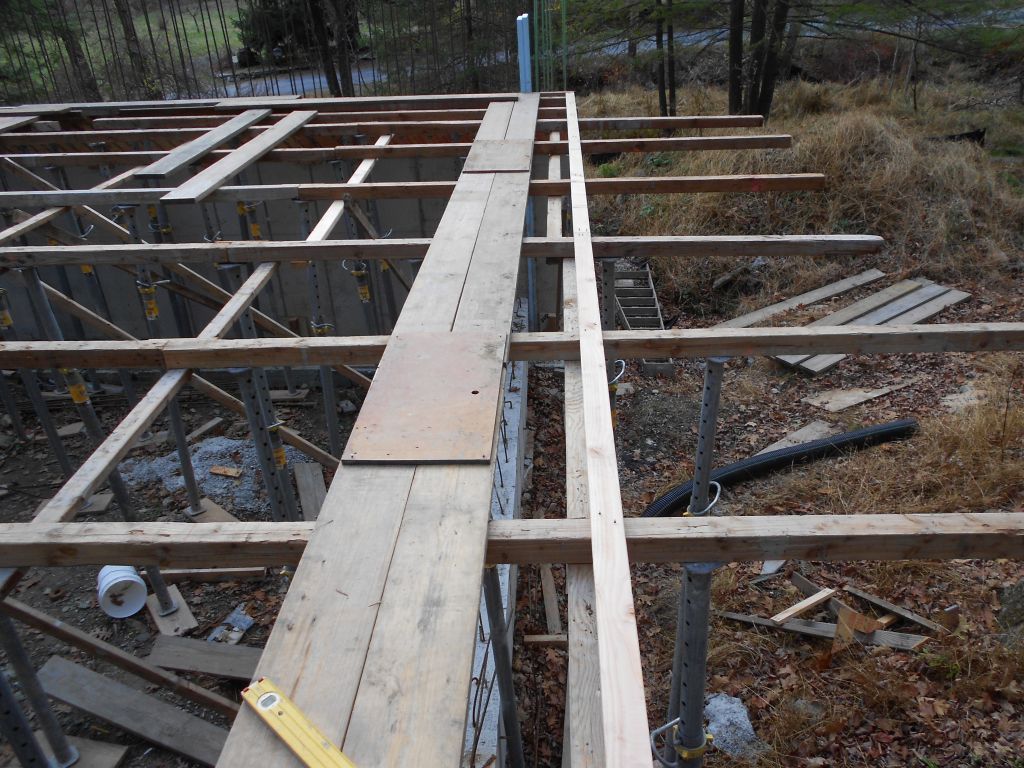
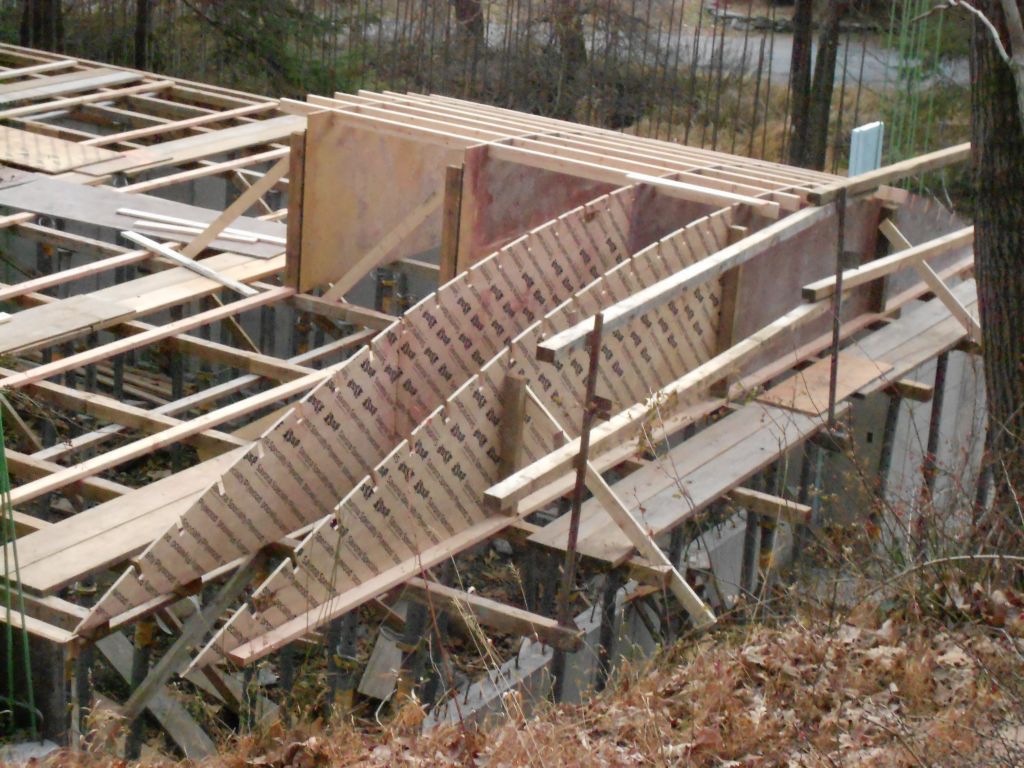
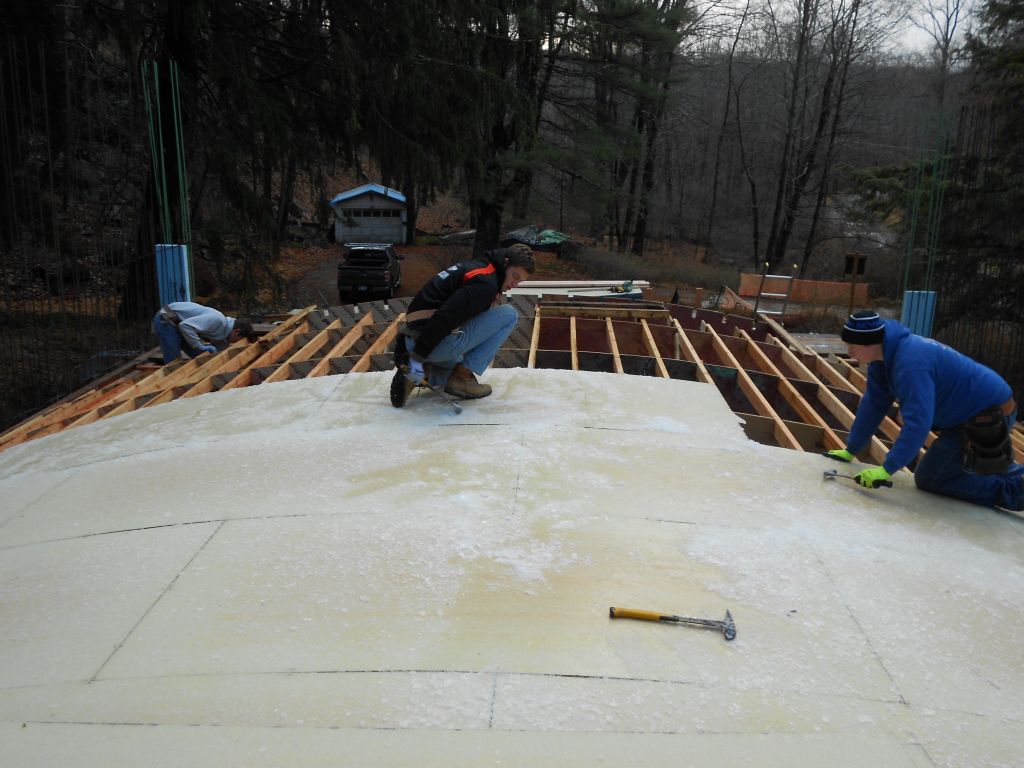
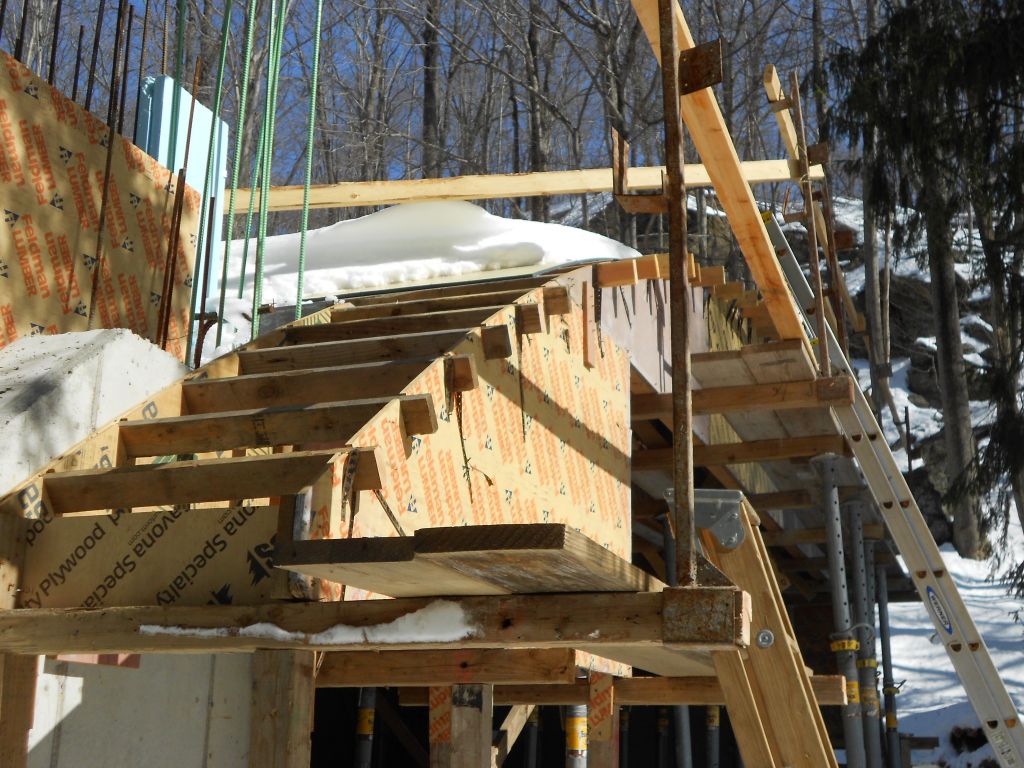
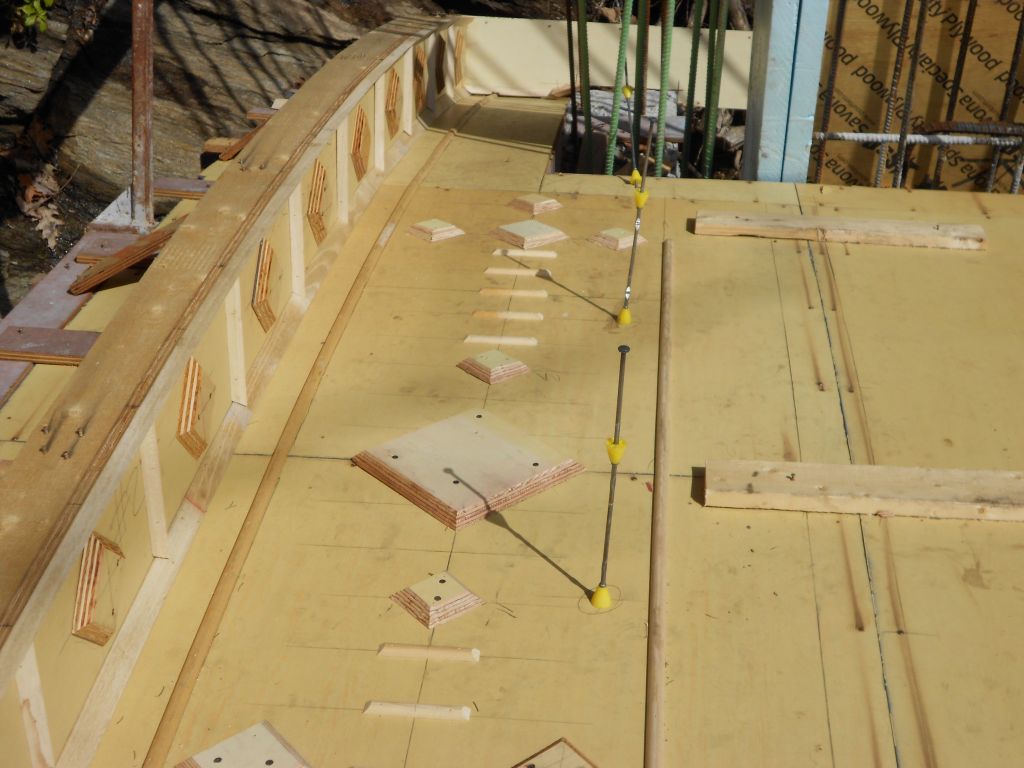
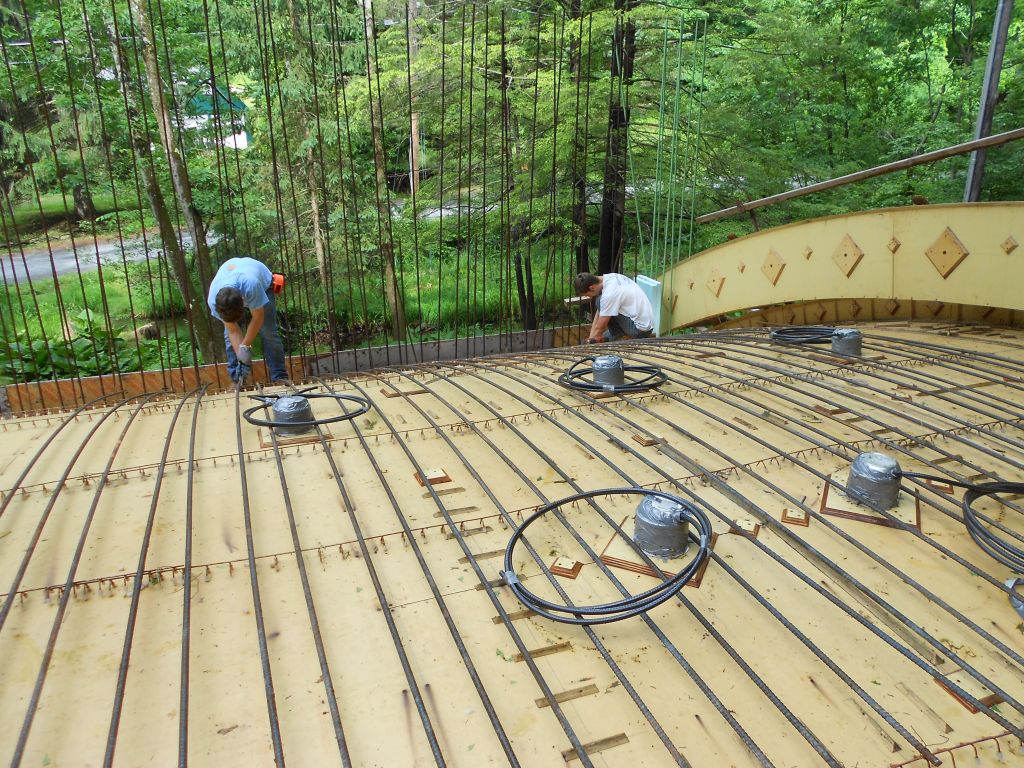
Deck ribbed out with 16 foot stringers 16 inches on center.
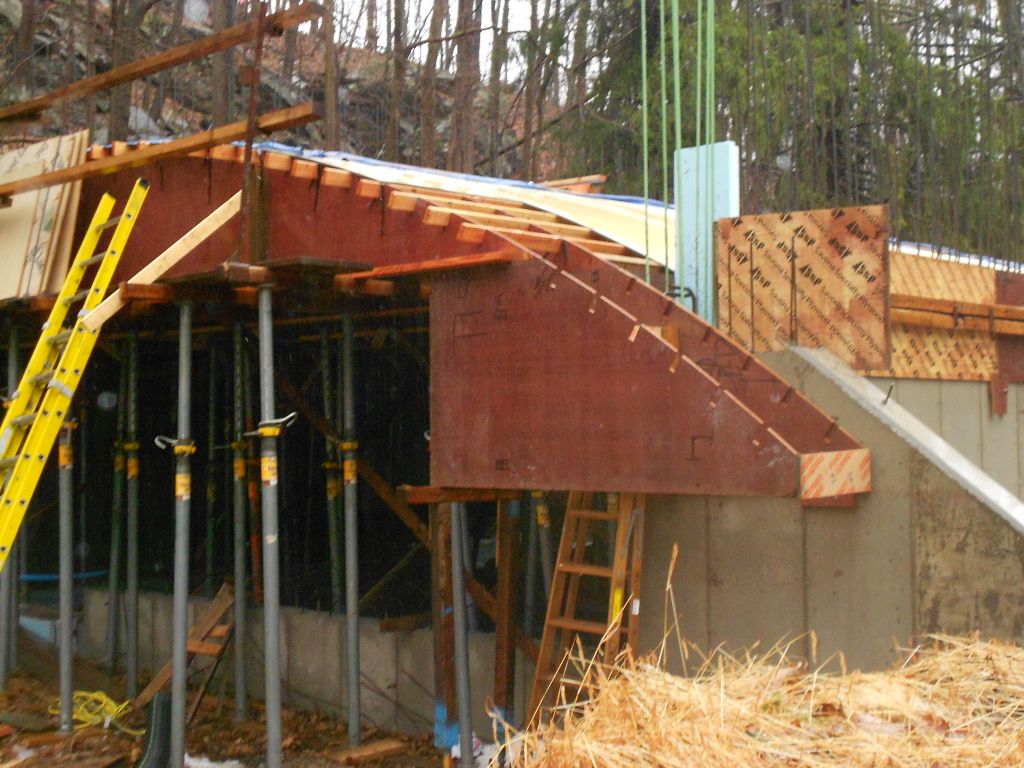
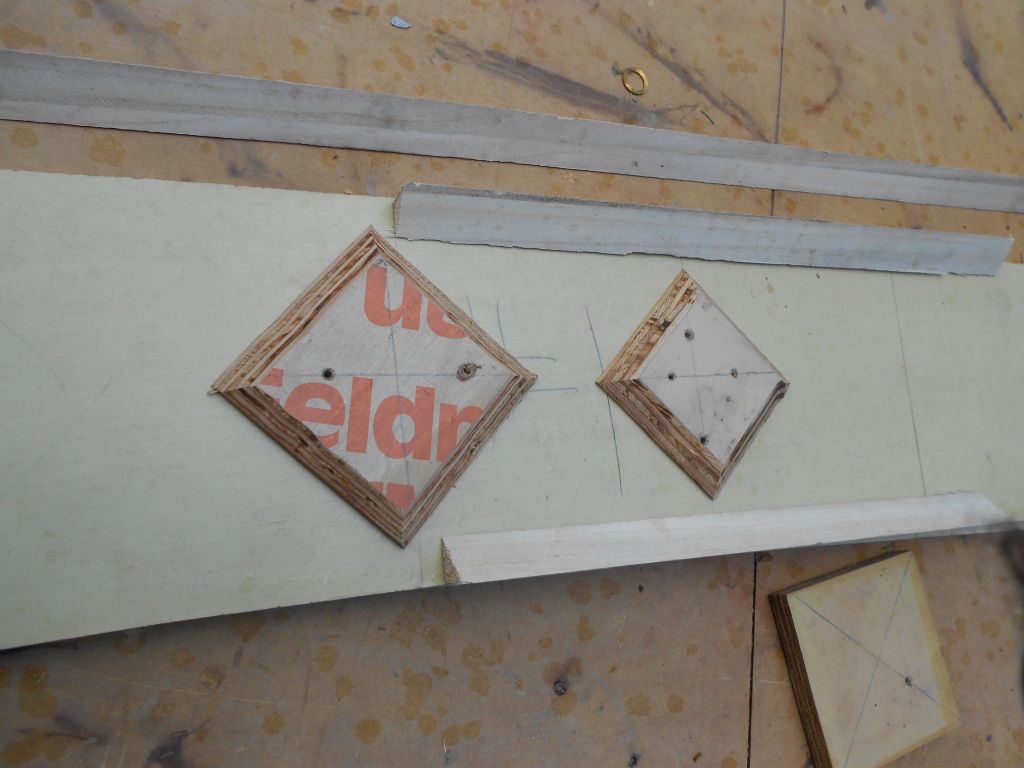
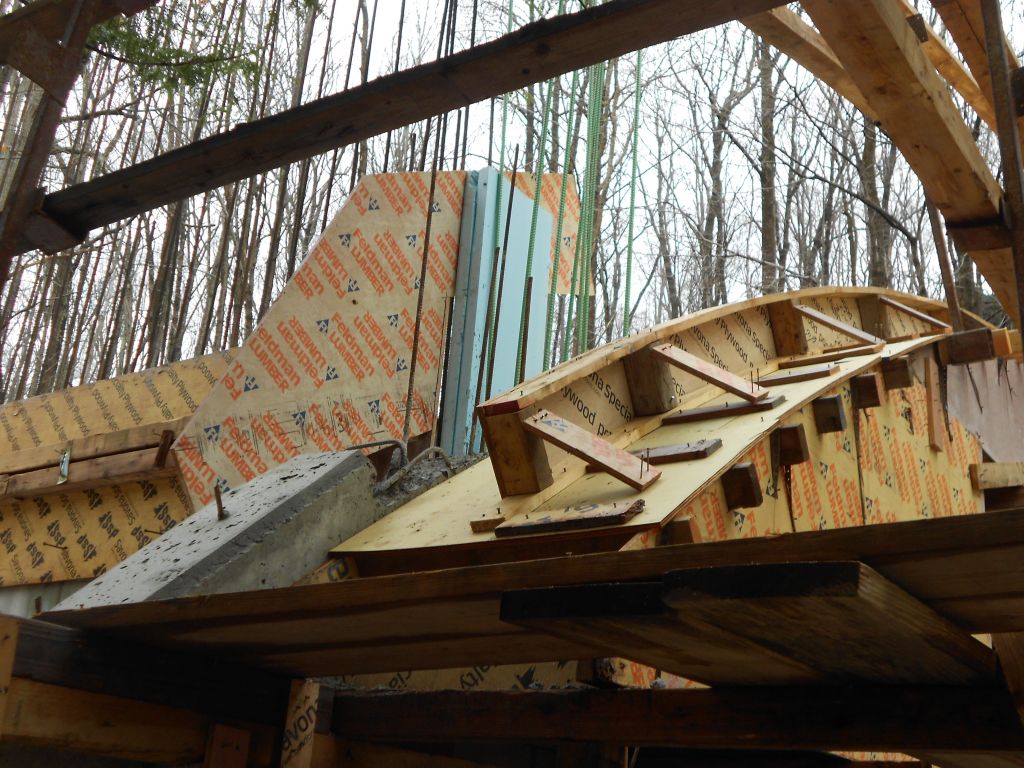
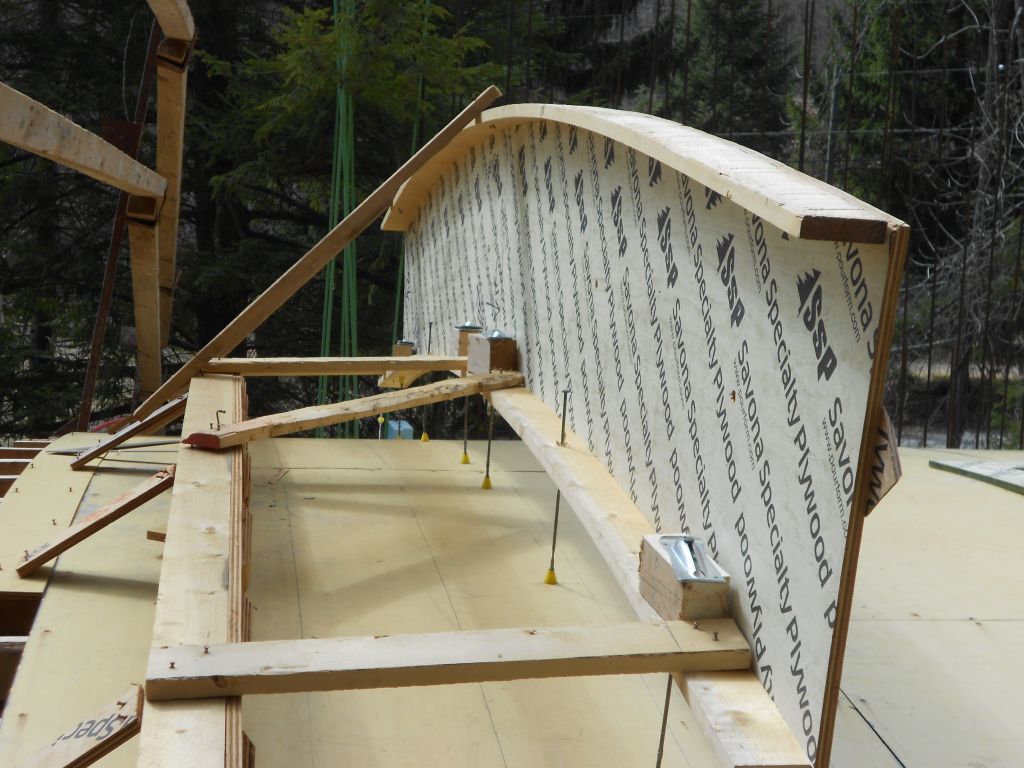
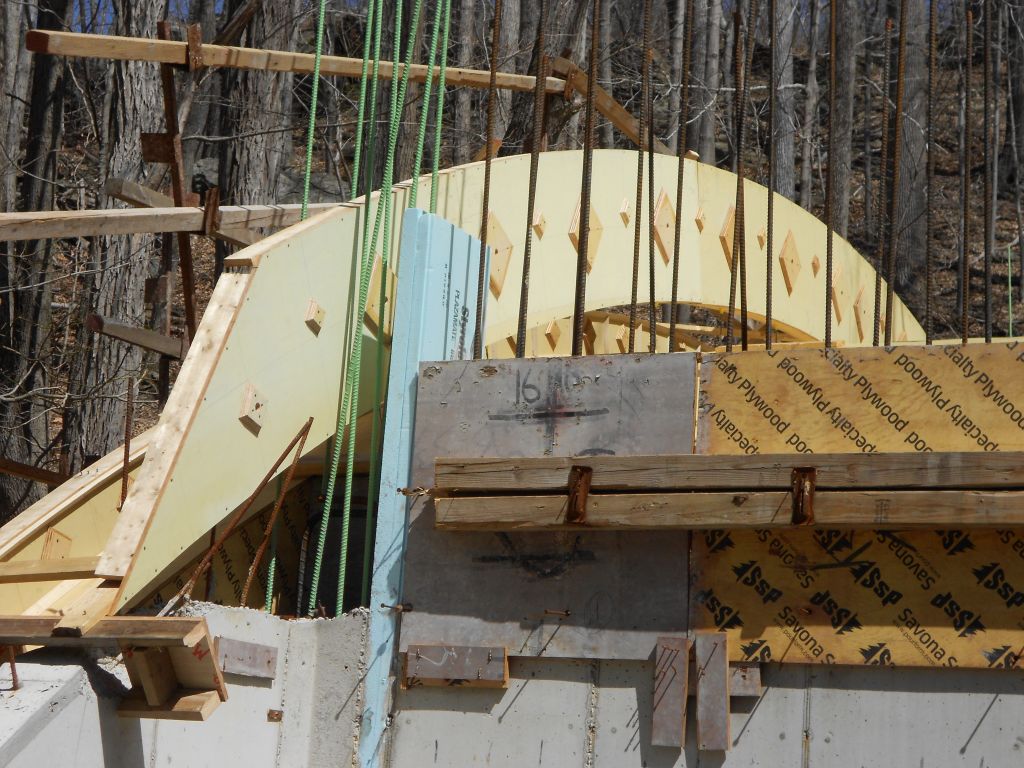
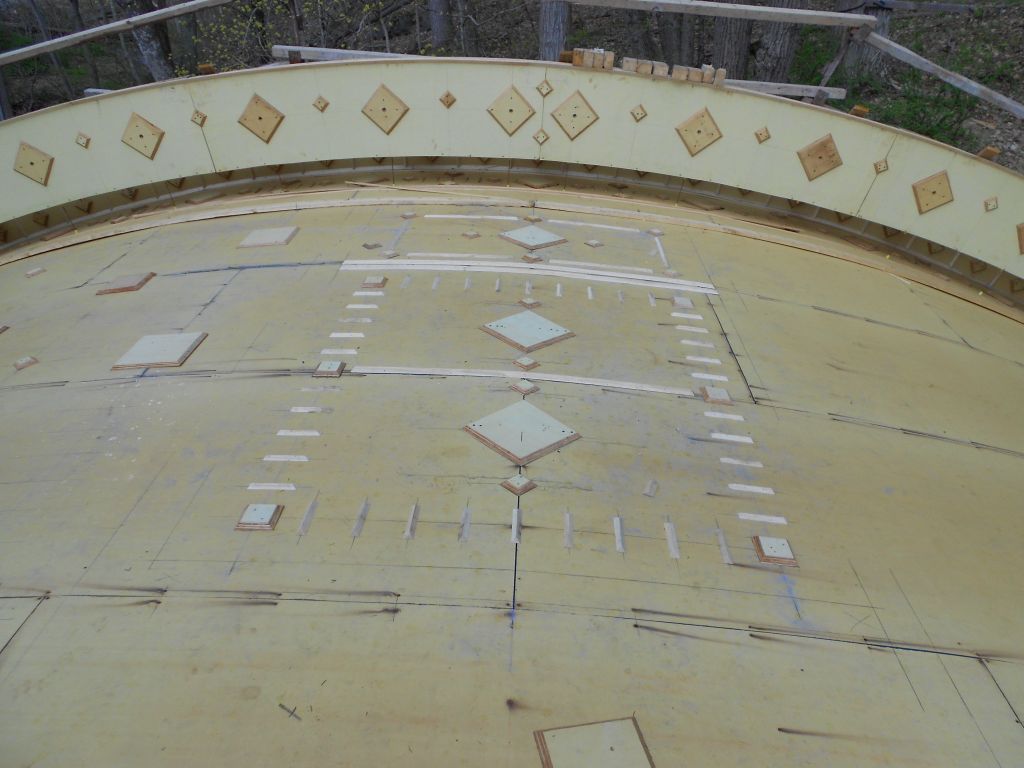
Detailed elements of spandrel and curb positioned on house.
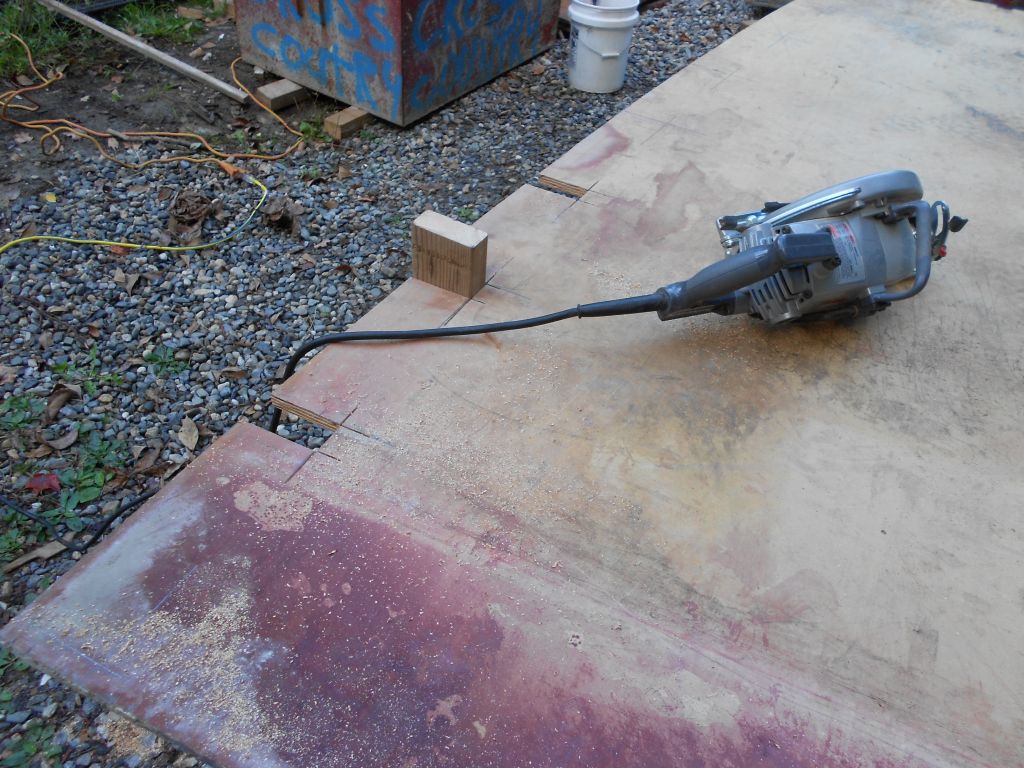
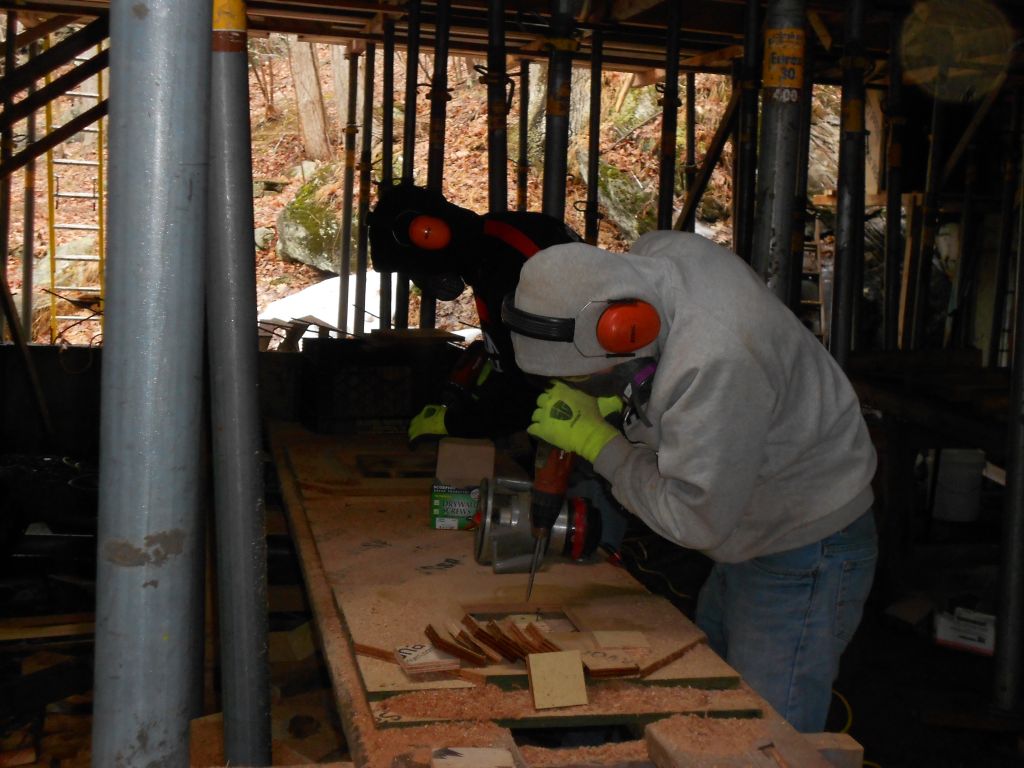
Cutting the 2×4 notches into the template.
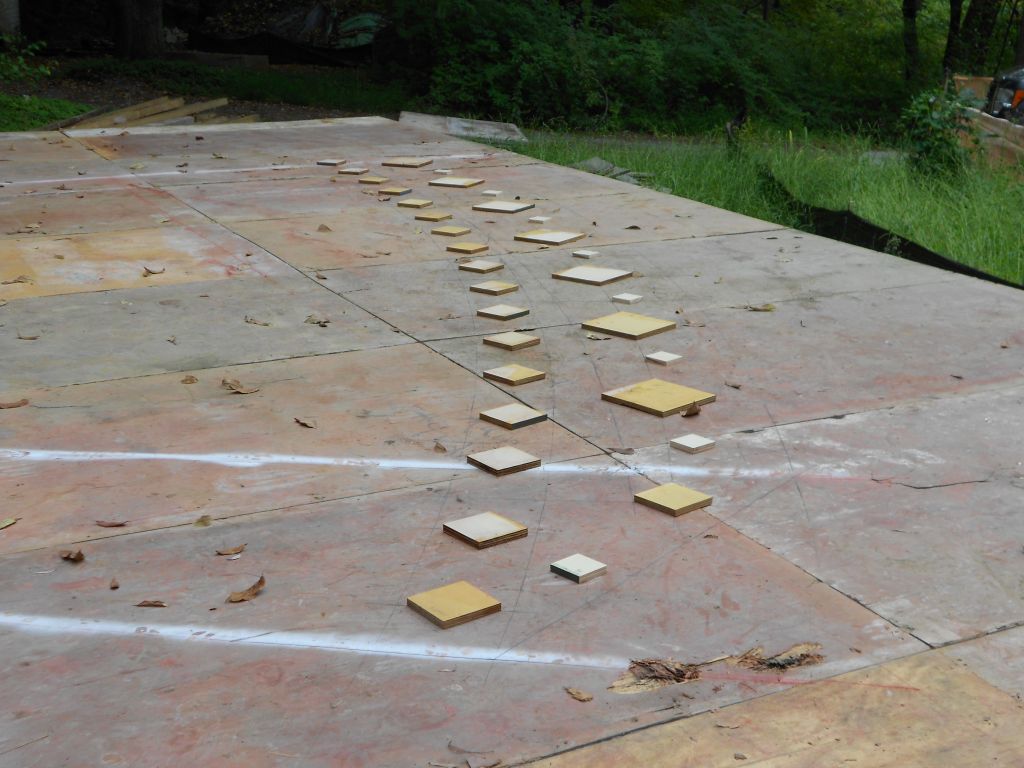
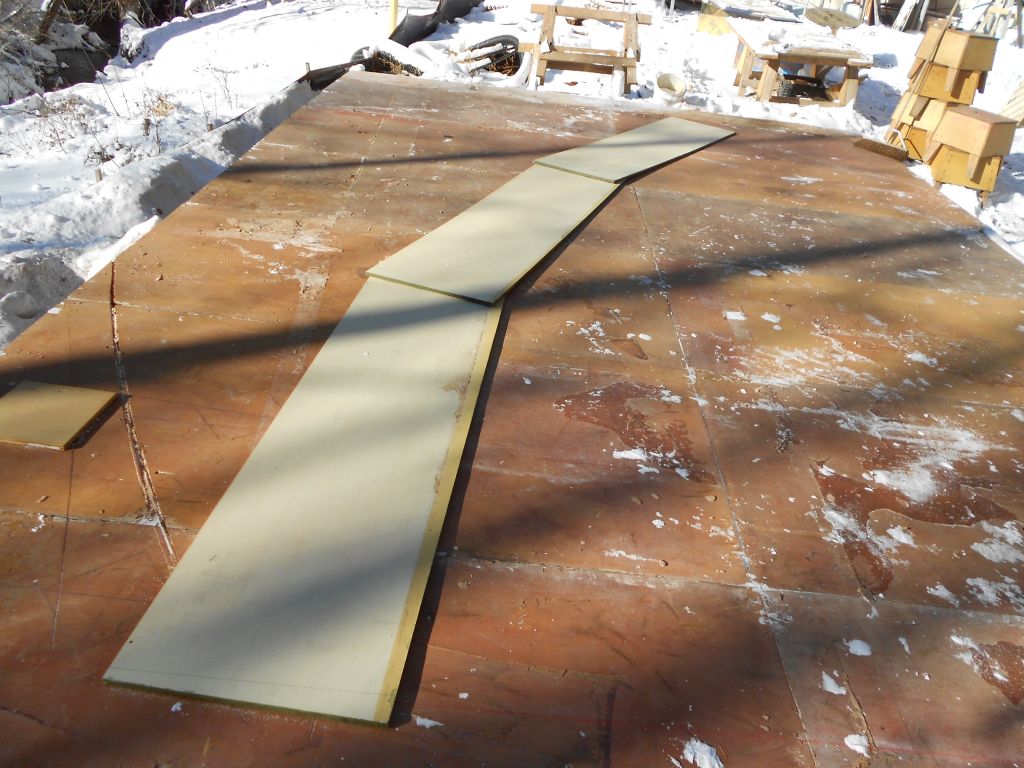
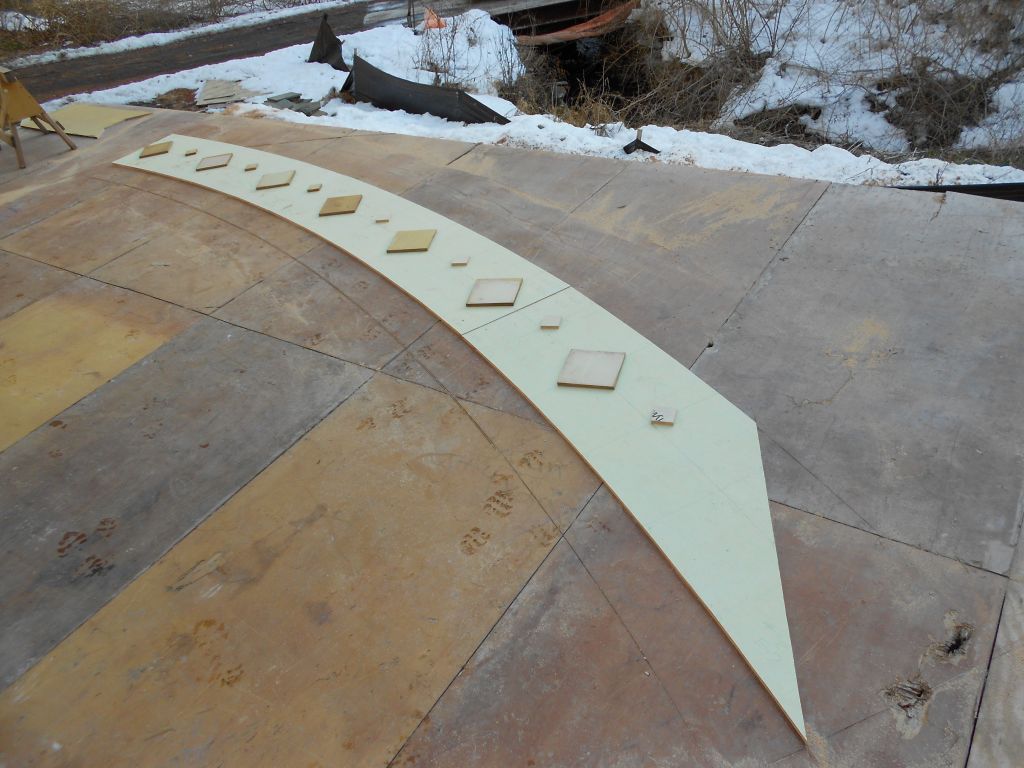
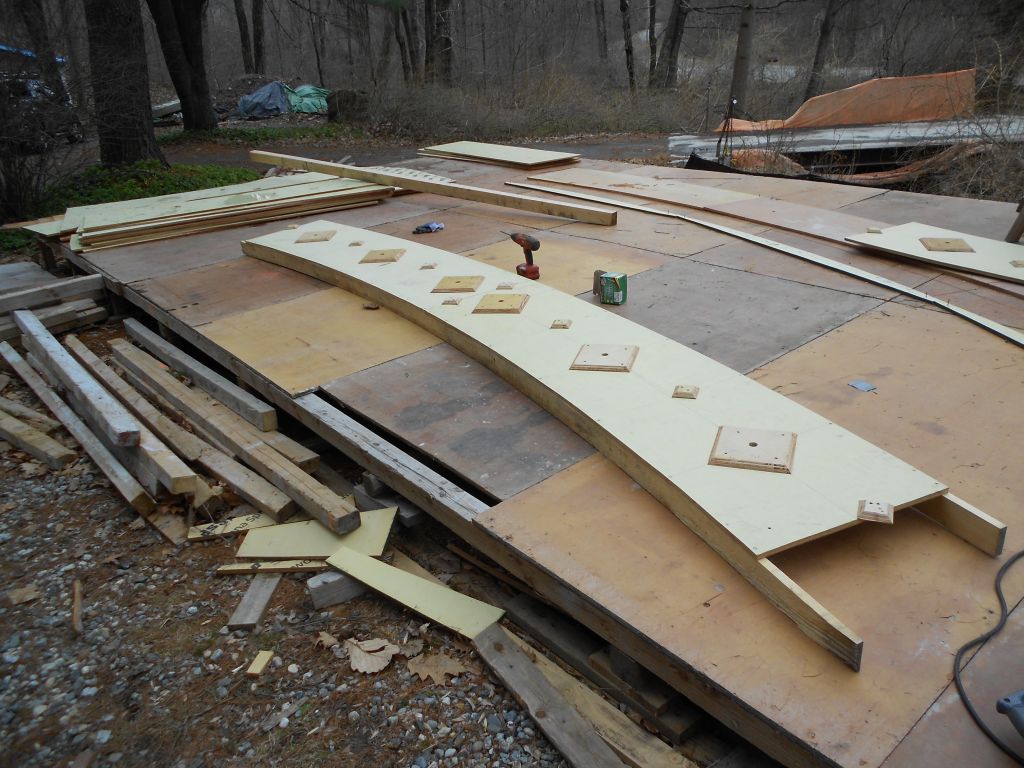
Plywood template of the Hobbit House roof line.
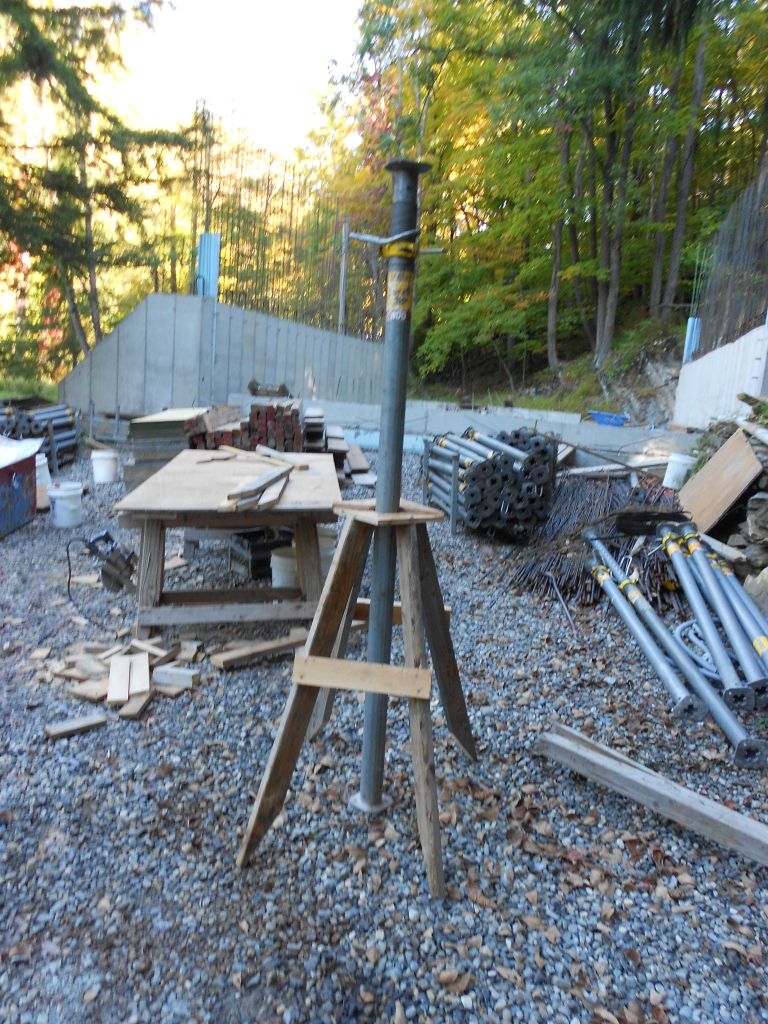
Homemade jack stands. Pretty cool huh.
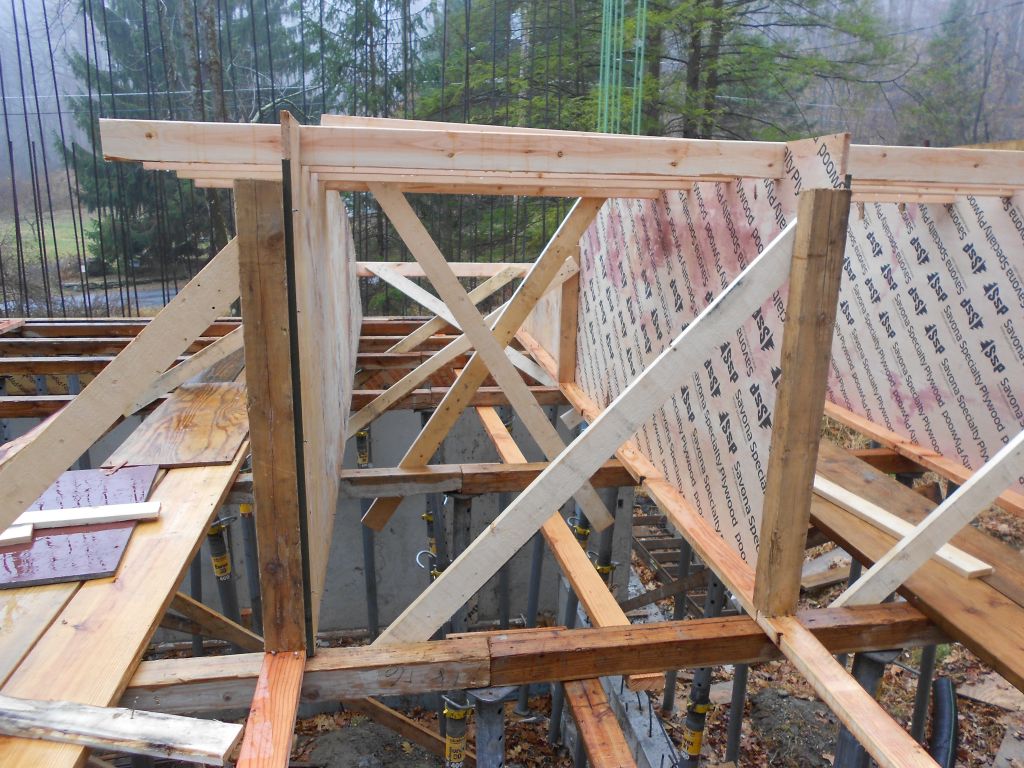
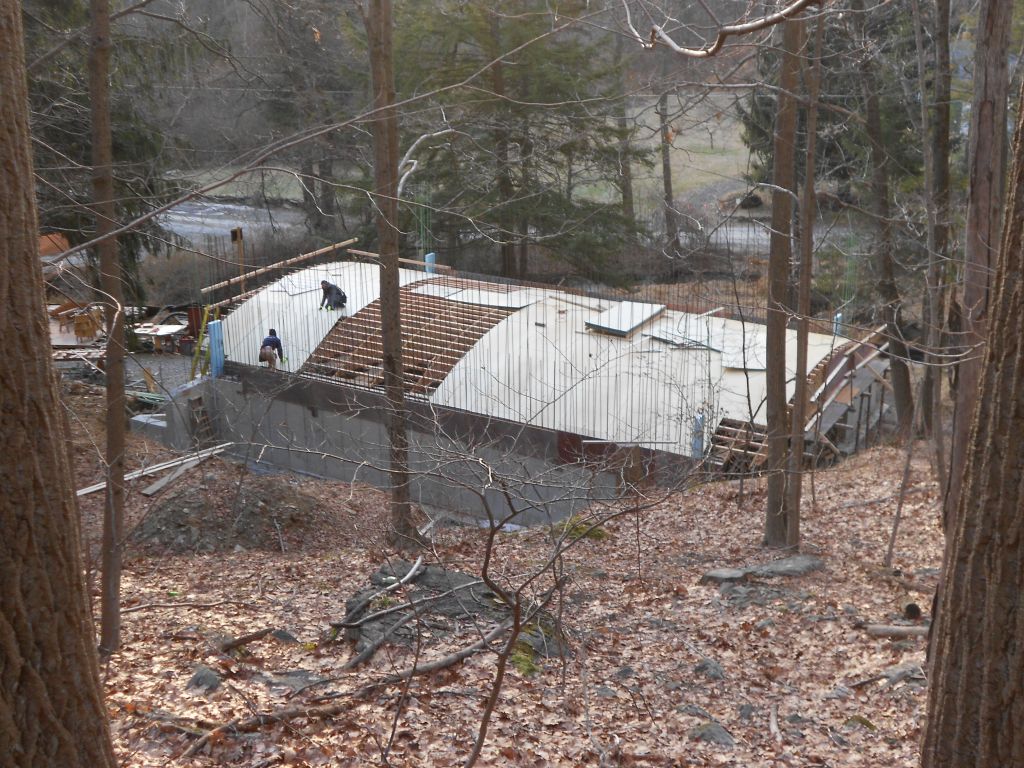
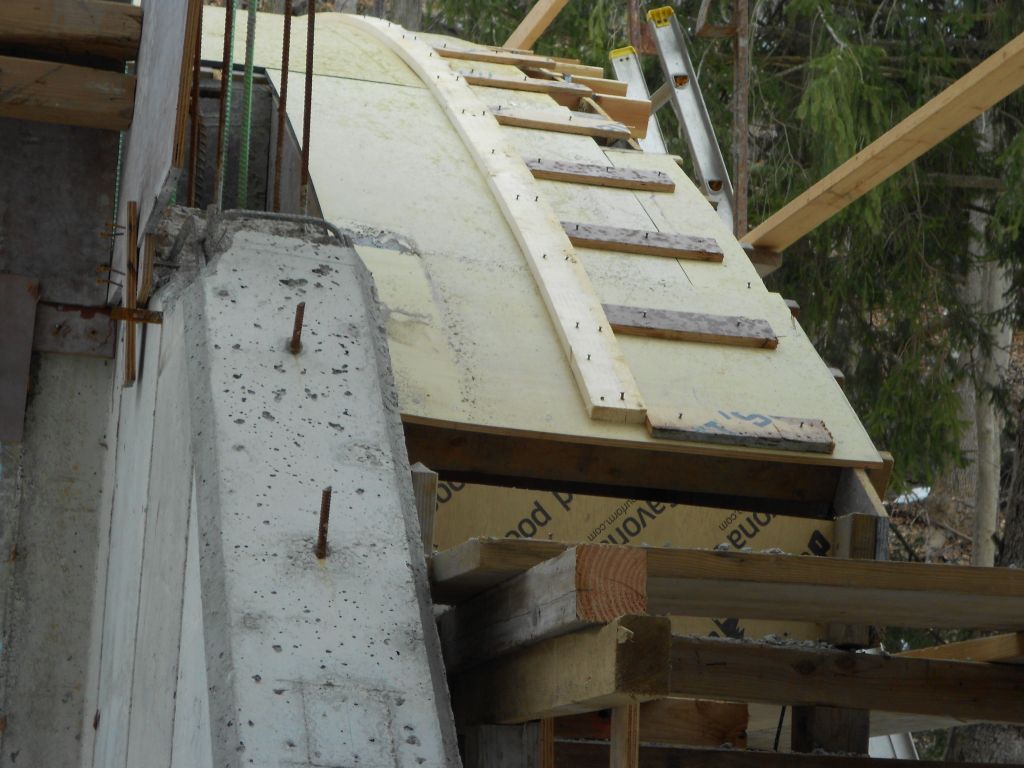
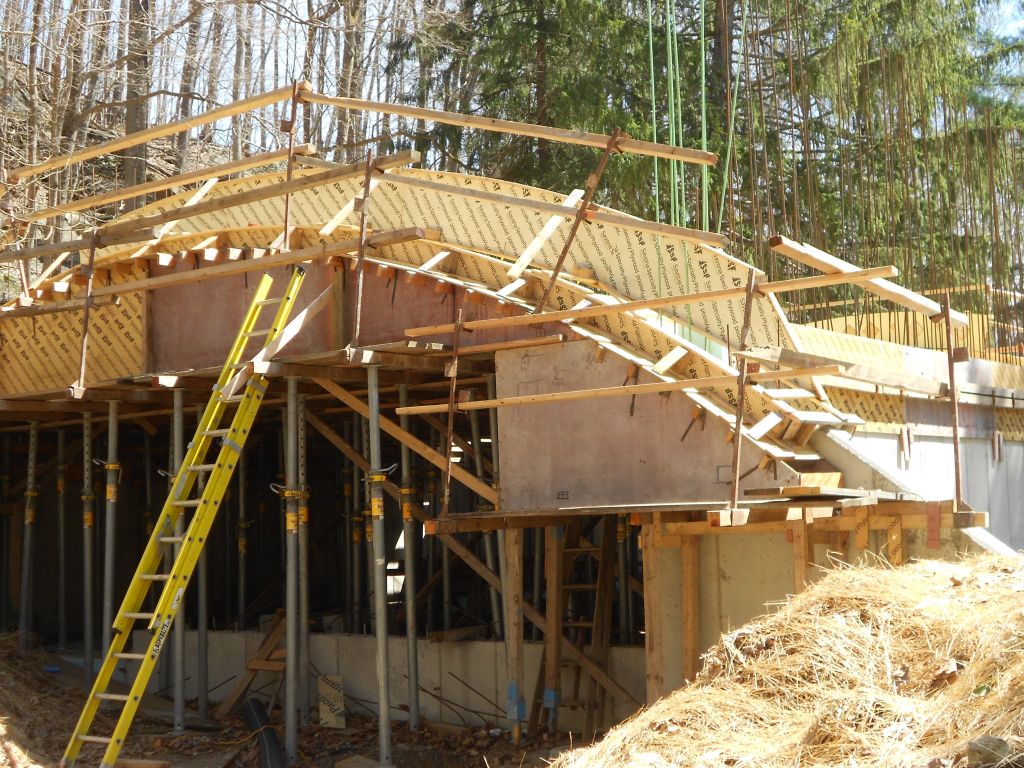
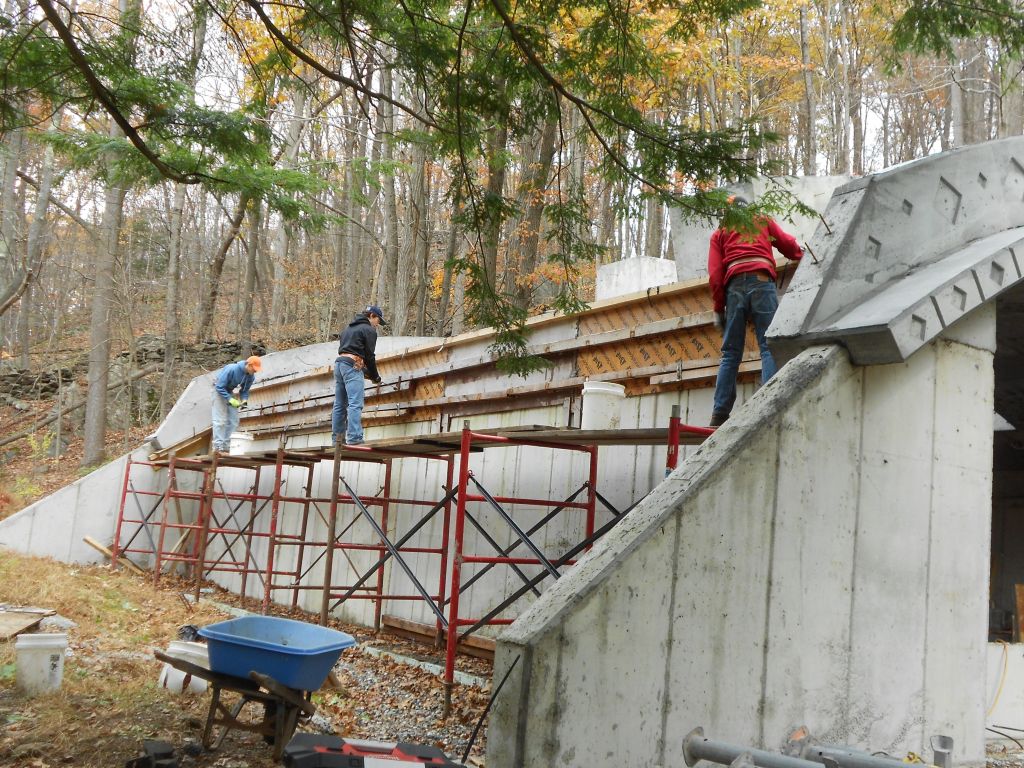
Begining the framing for the roof.
End of the day Monday
Radius point locator.
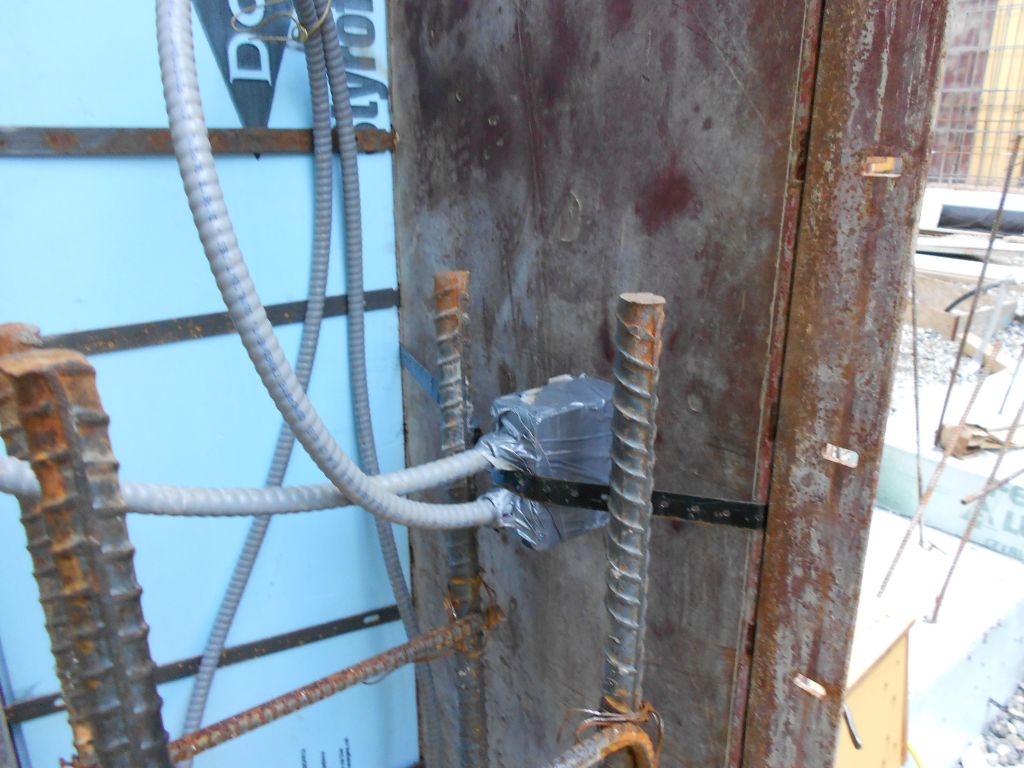
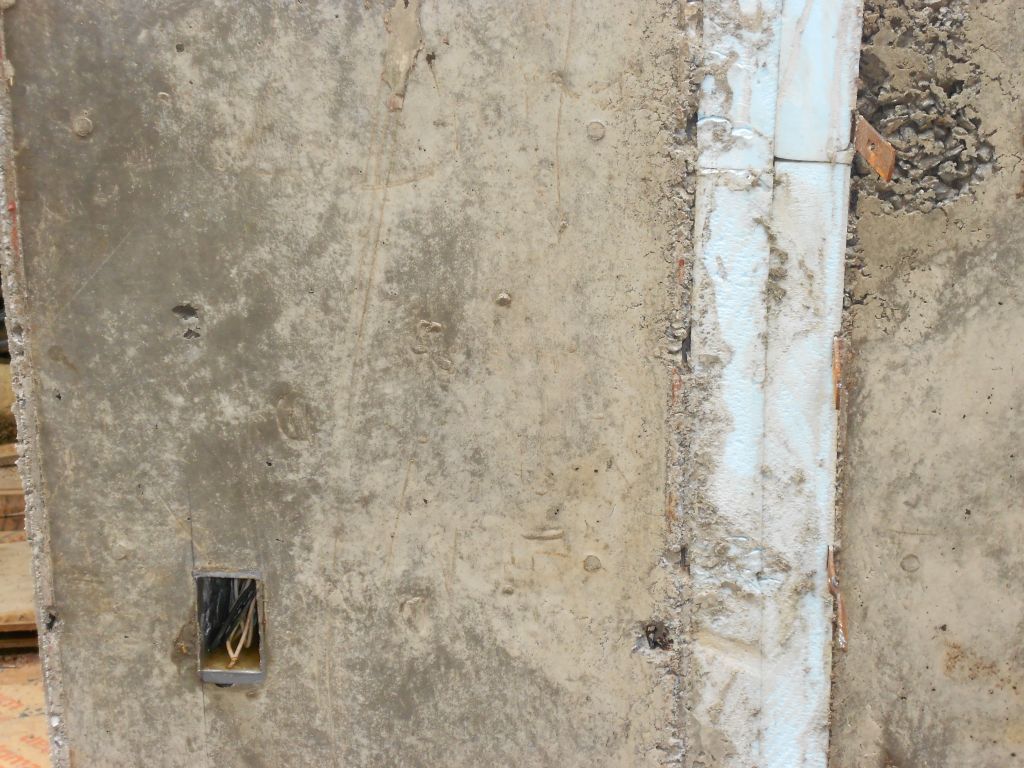
Exterior electrical box and thermal break at exterior wall assembly.
Center stringer set in place.
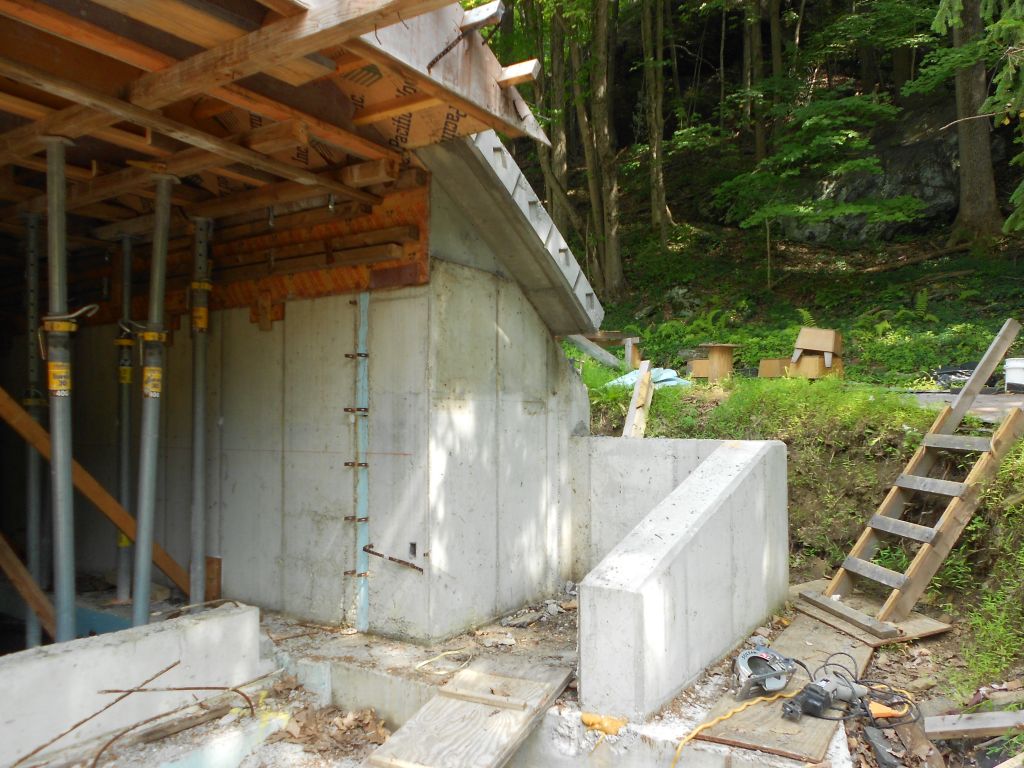
Wall form extensions completed on both sides.
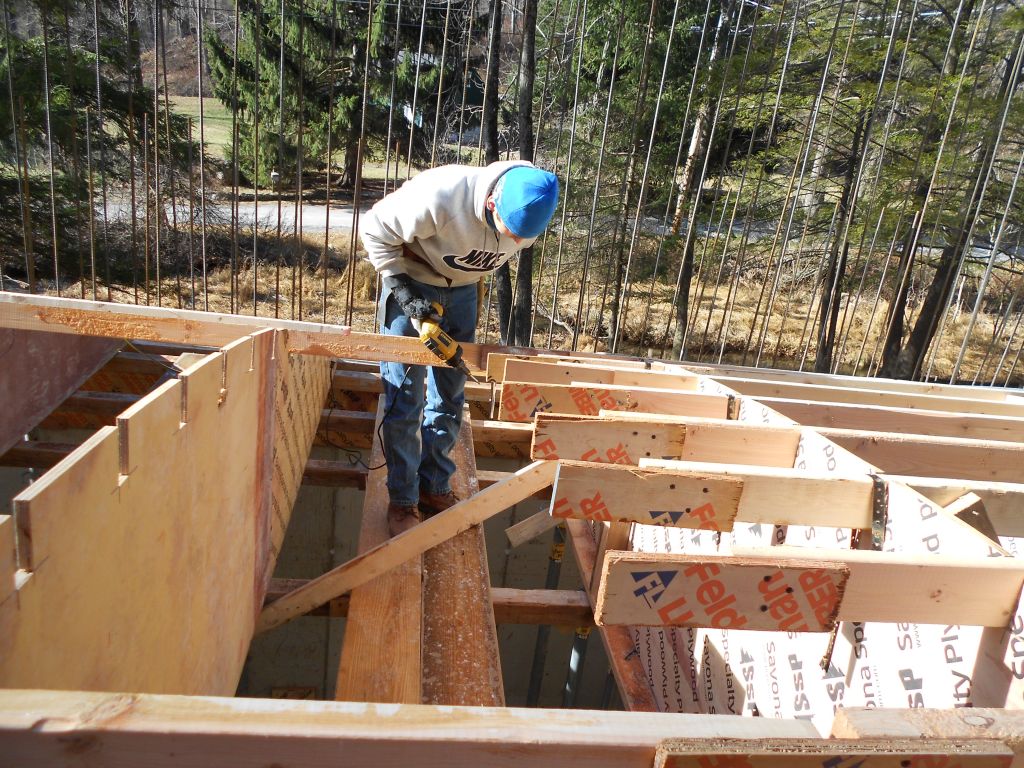
Production stringer installation.
First Stringers up with 2×4 strapping from one wall to the other.
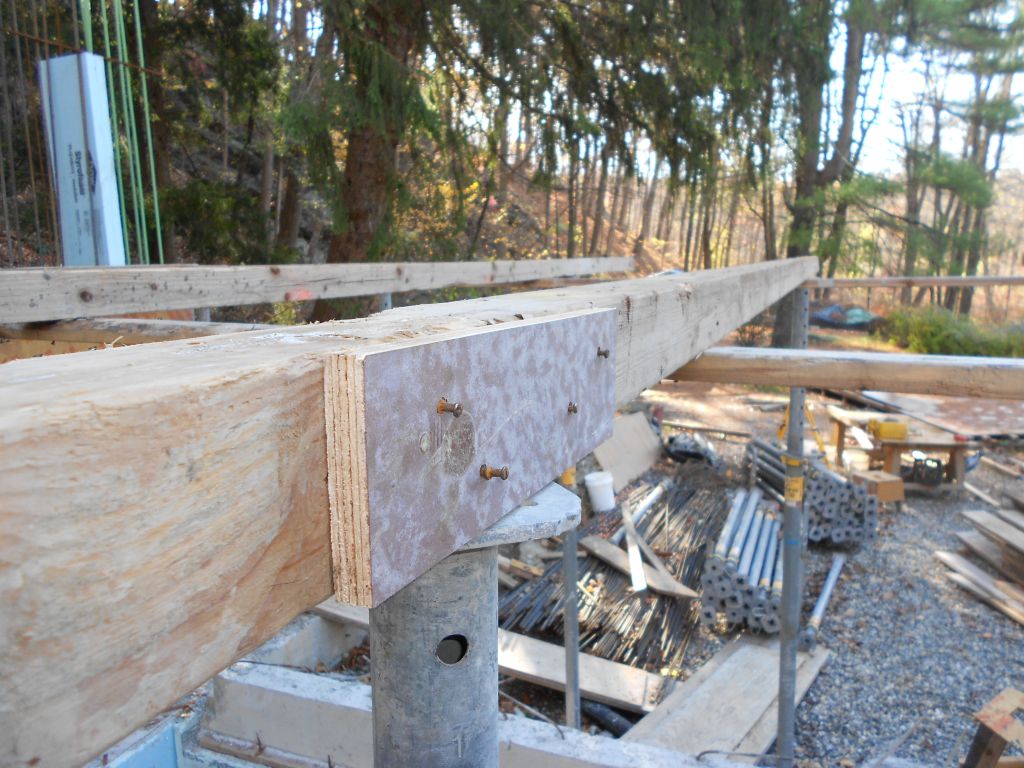
Stringers spliced together with a plywood cleat.
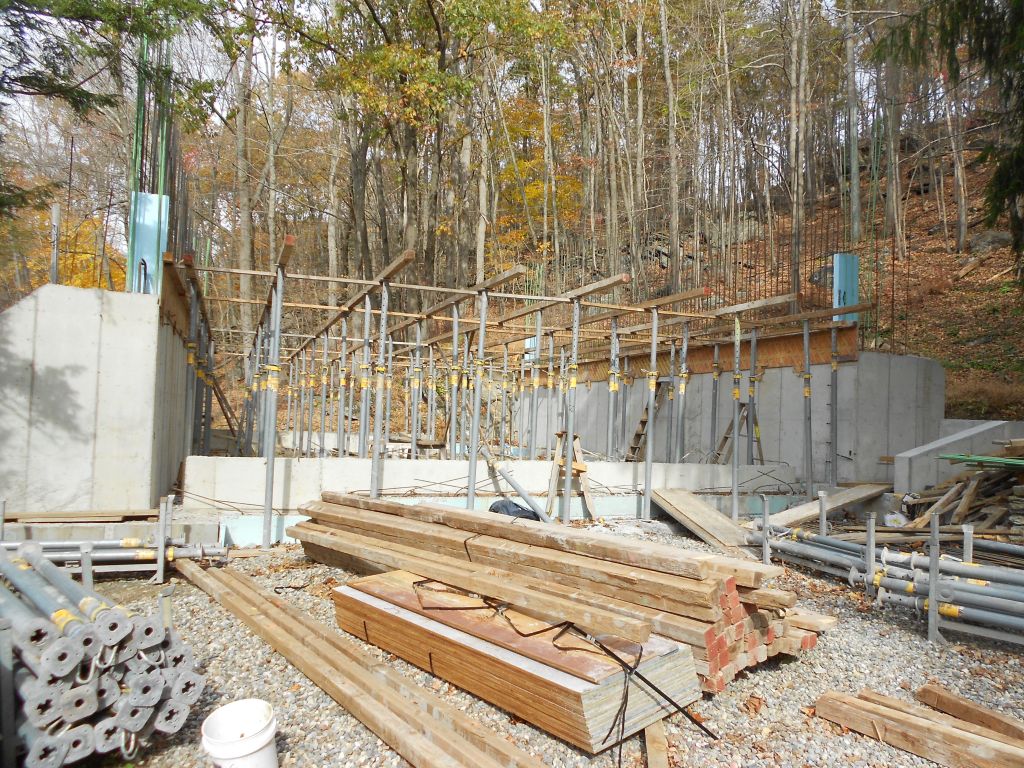
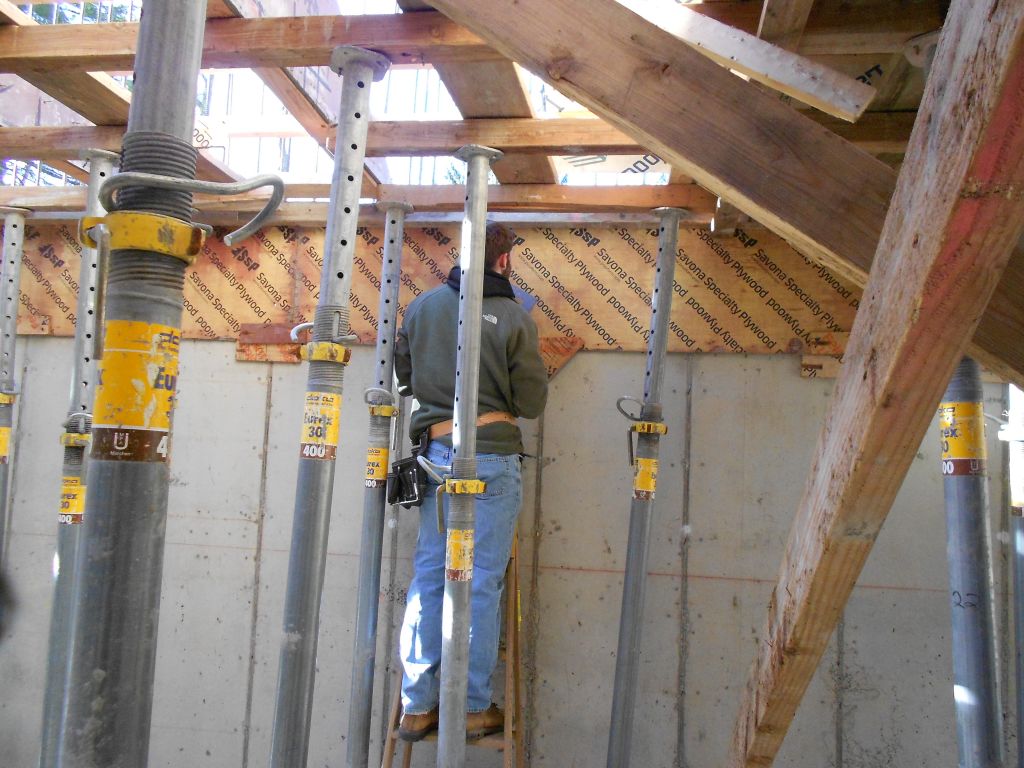
Stingers installed.Jacks 8 foot on center.
Jude jacking up the jacks with the laseer level.
Spider places Hdo right where we need it.
First kicker nailed . North side.
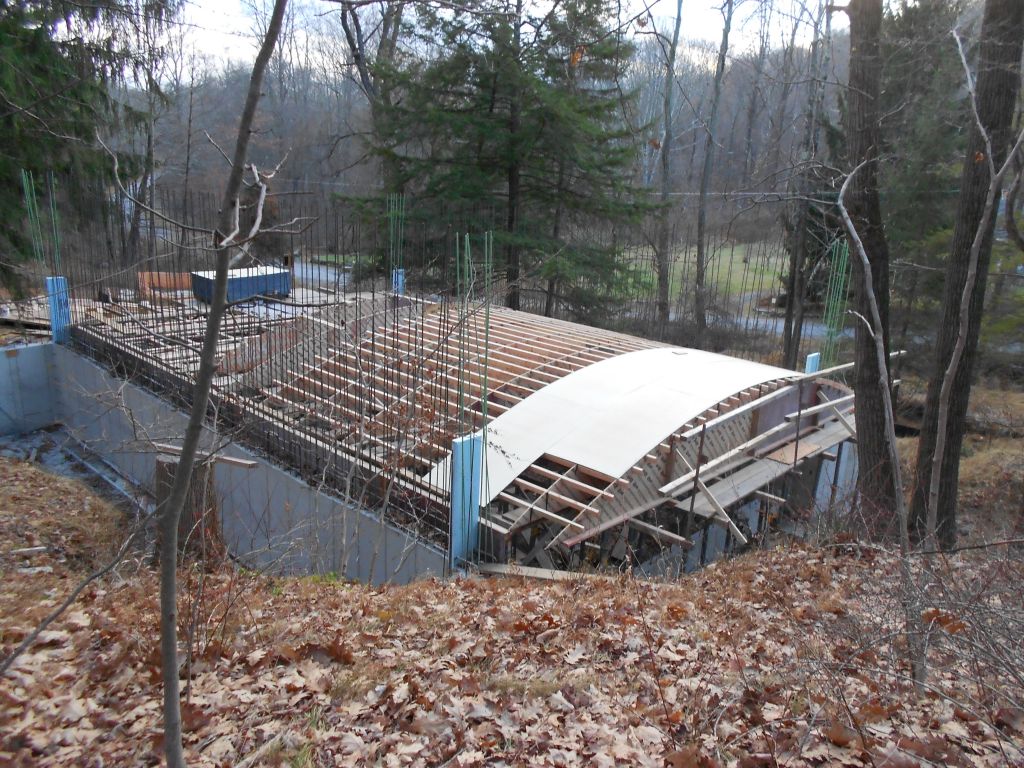
Roof deck before we started installing the templates.
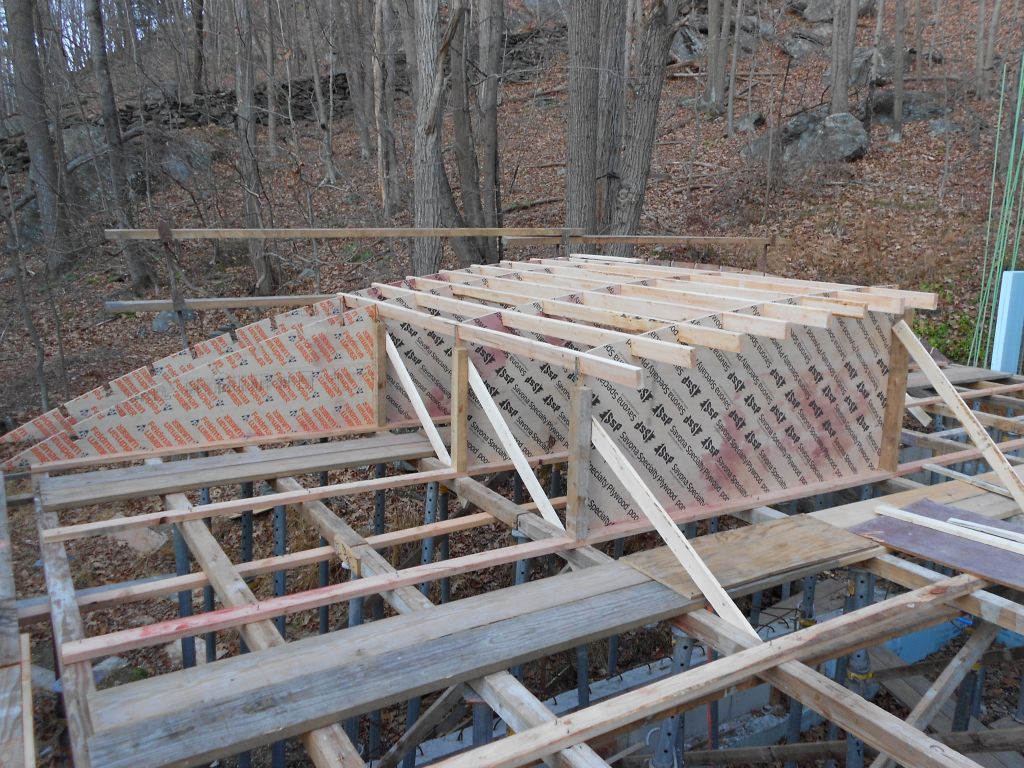
Bracing up the first template.
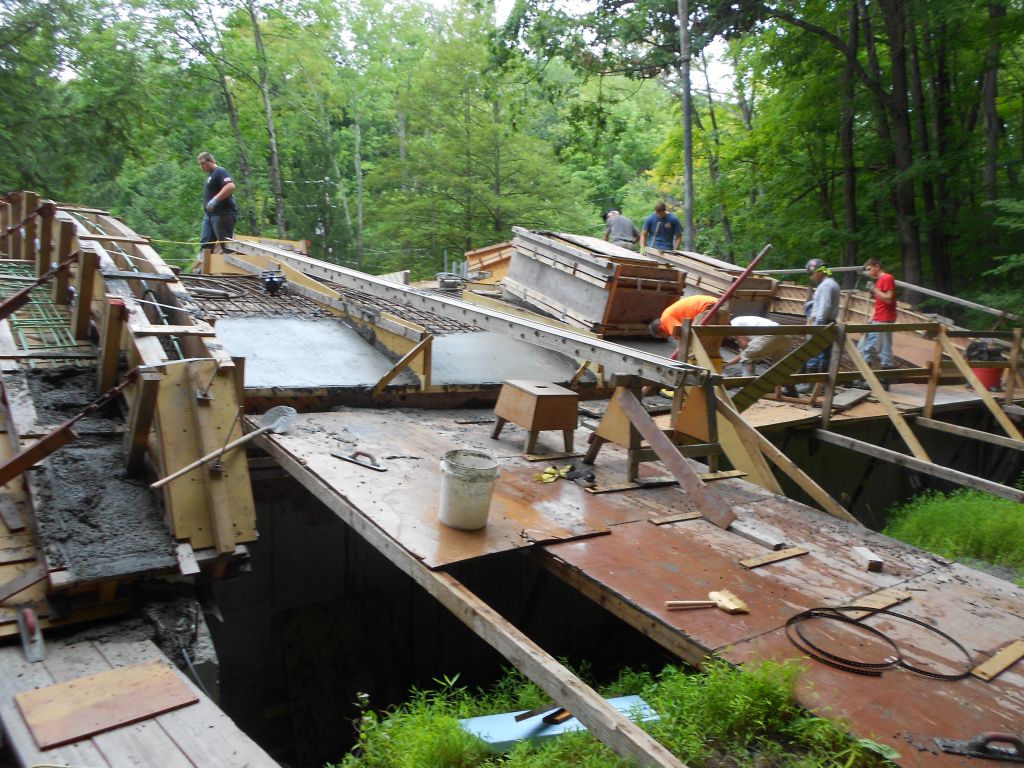
Roof framing progressing.
Bracing detail for the decking.
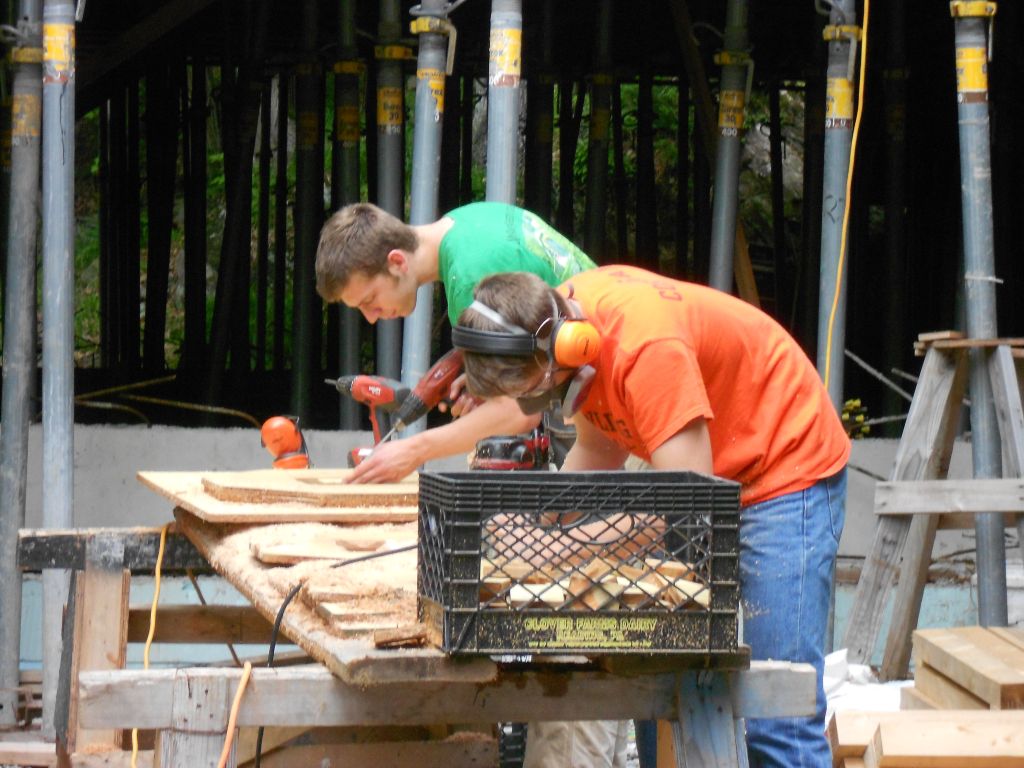
Roof template cutout gang. Egzon, Mikey and Kevin.
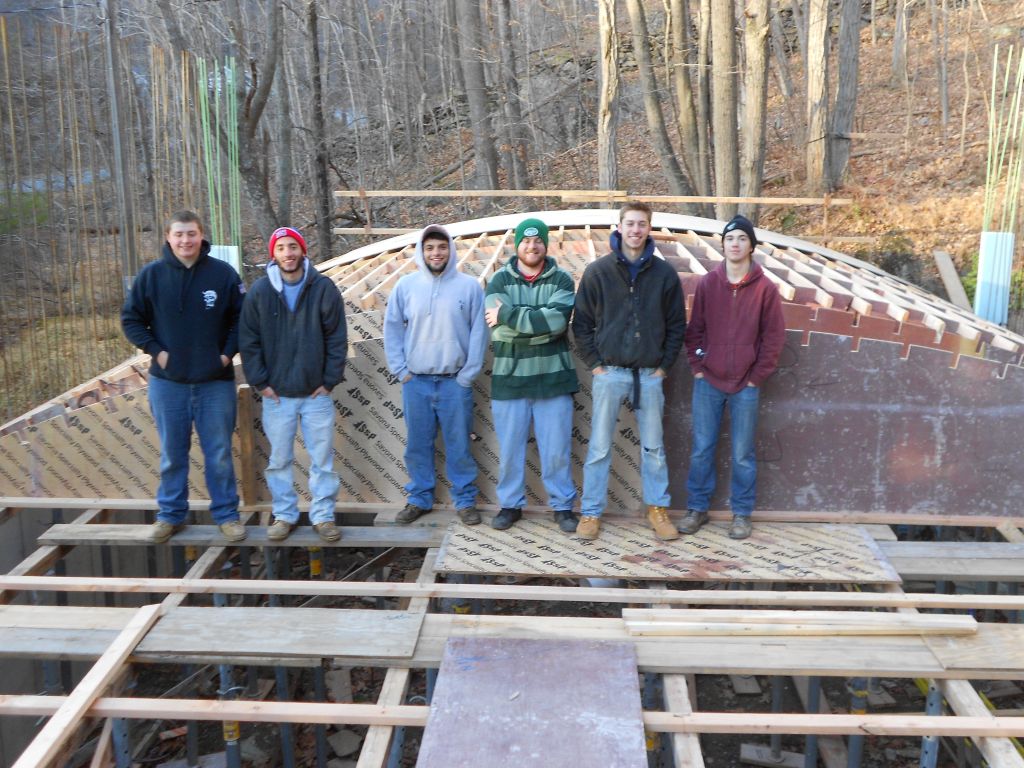
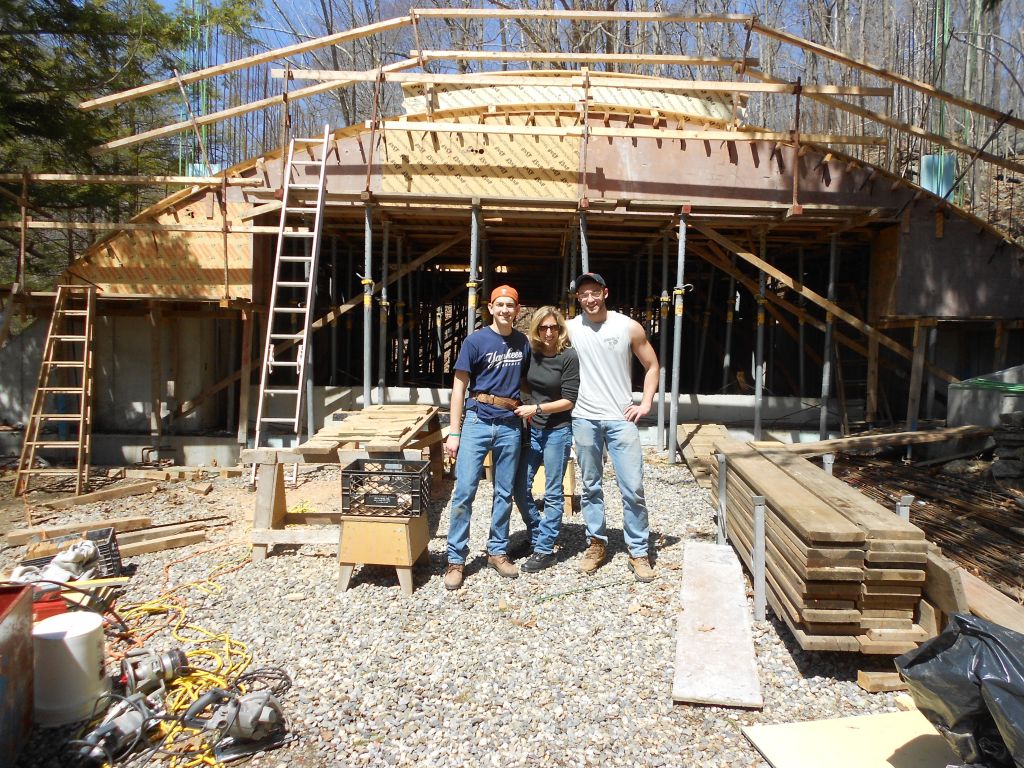
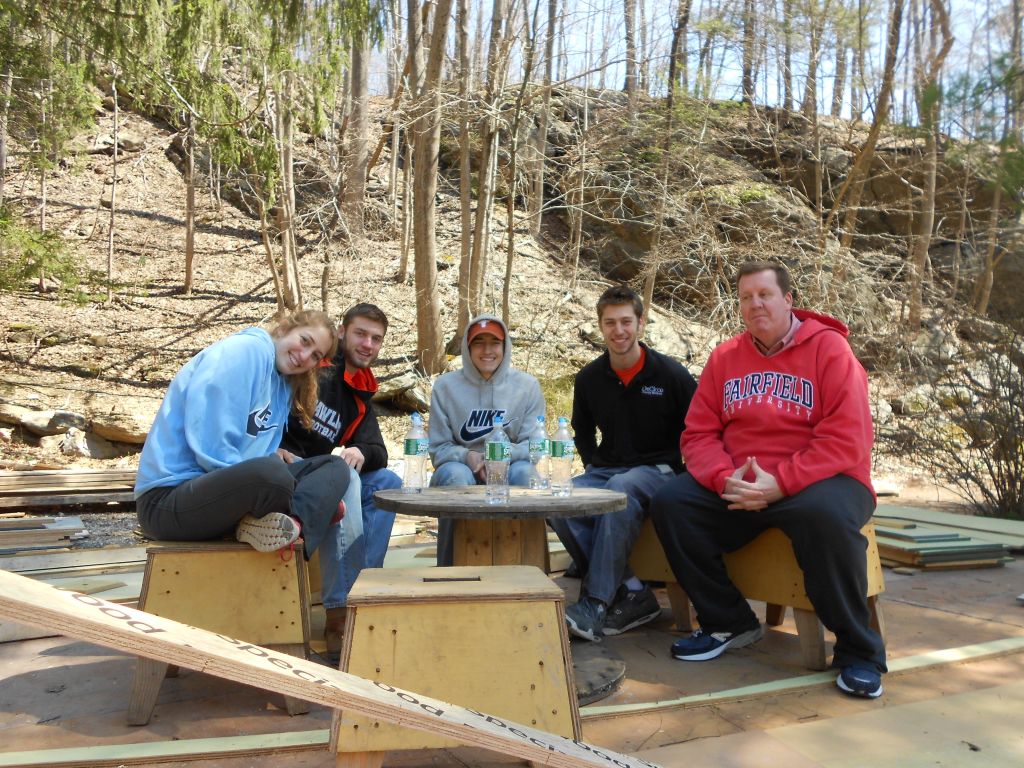
The Traveling Company:Kevin,Egzon,RJ,Mike,Ethan,Mikey
Roof at the end of the day.
Egzon and Ethan installing the roof sheathing.
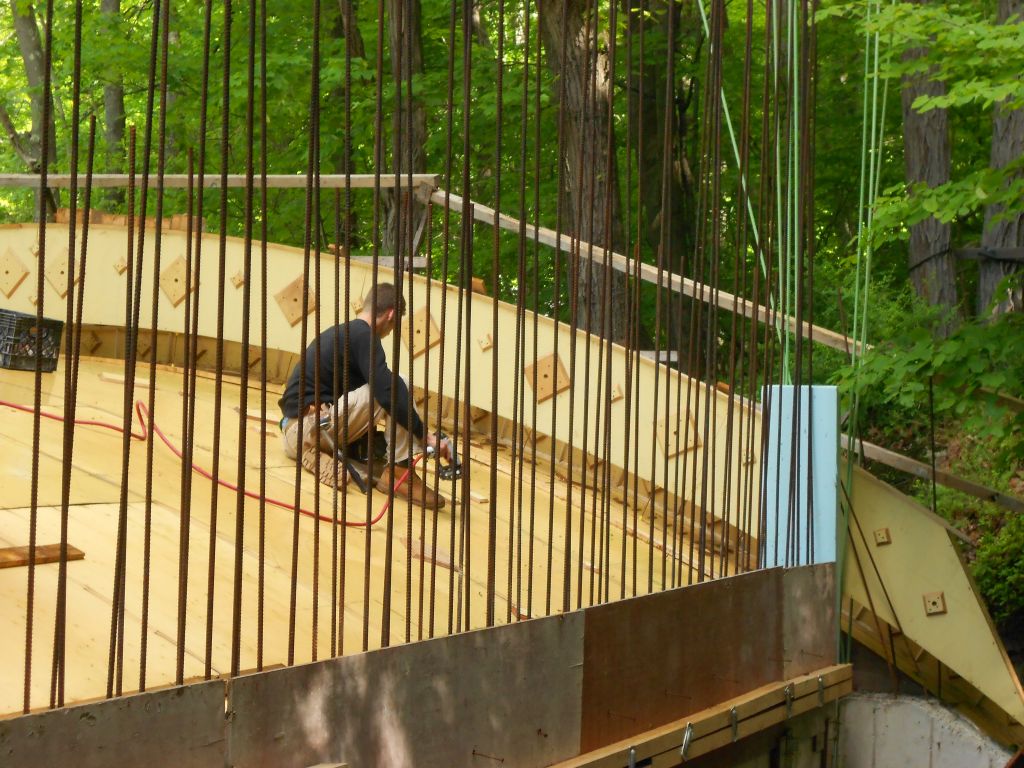
Jude [utting the snap ties through from the outside of the wall.
Jude and RJ putting the interior walers on.
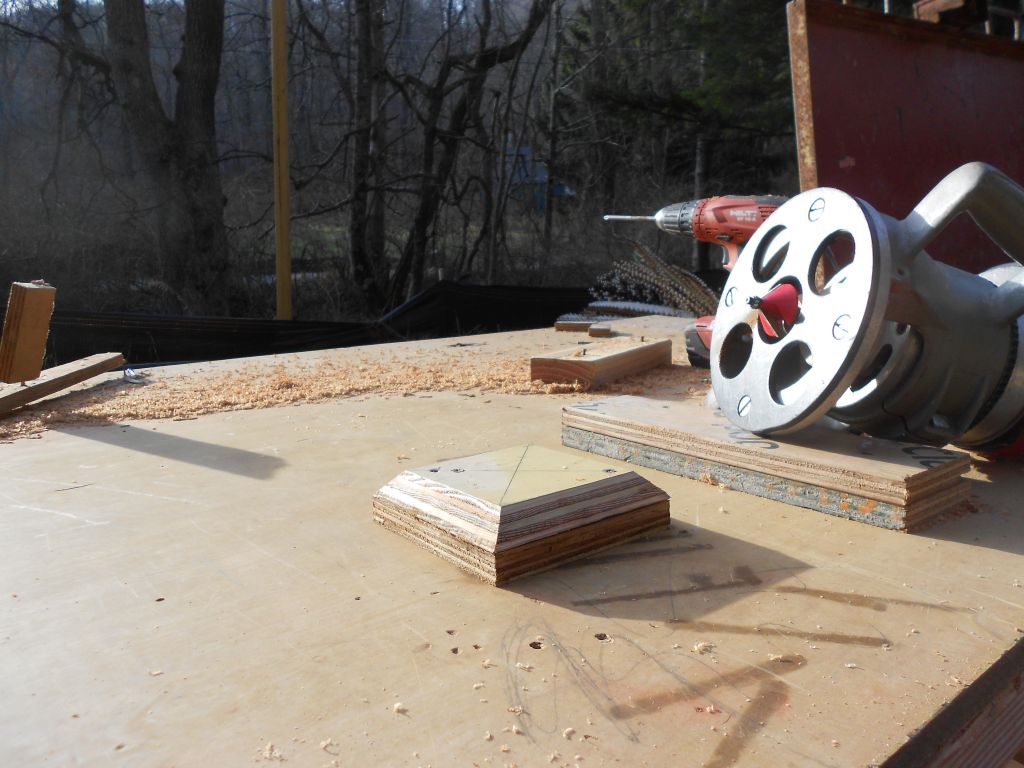
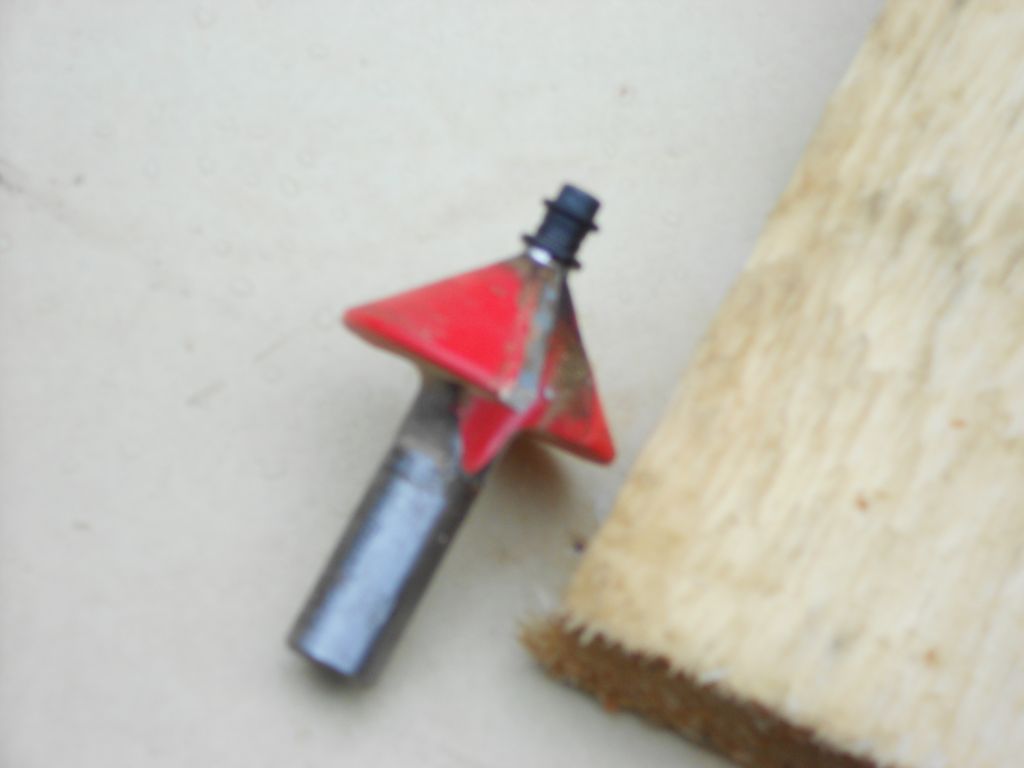
45 degree router bit with a square detail block scewed to another block cut the same size.
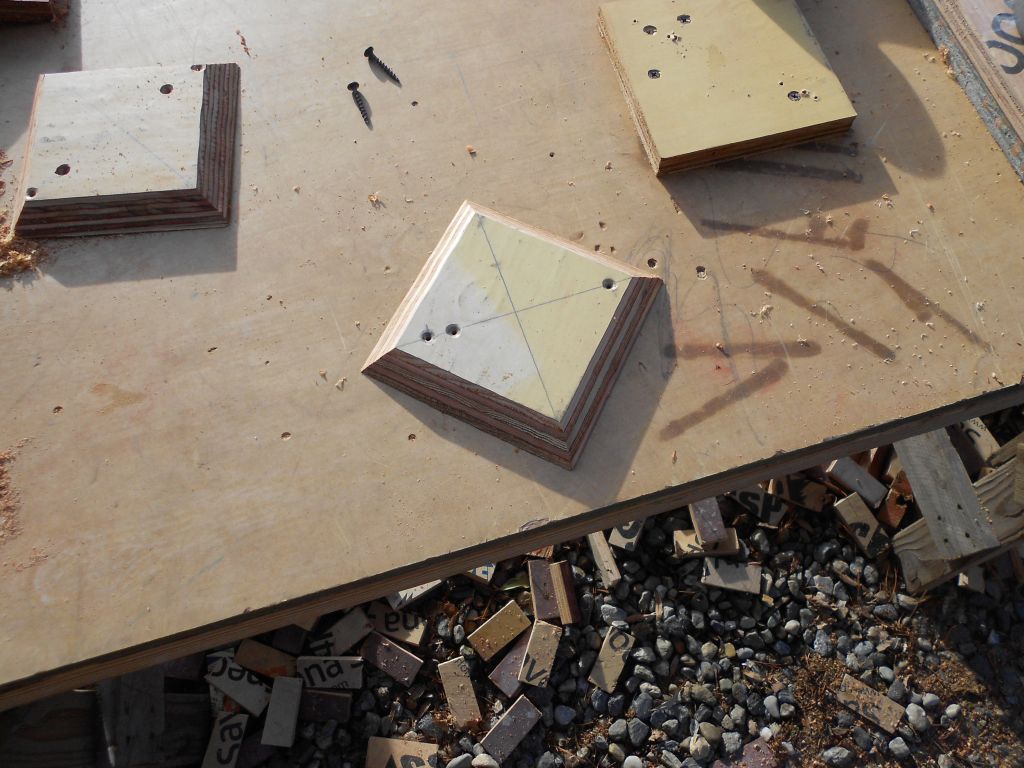
Finished detail block.Perfectly fortyfived all the way around. No headaches.
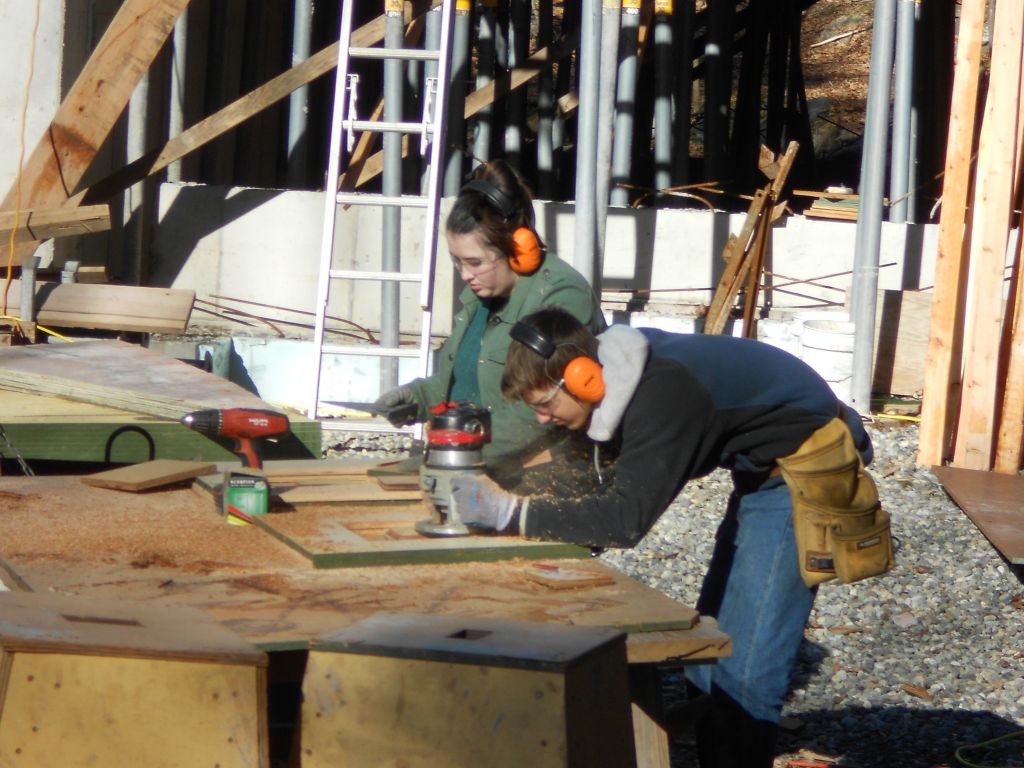
Neighbor friend working the router.
Waler and snap tie forming system.
Terence working on the deck.
Jude and Kevin closing up the west wall.
Terence and Julia working the router table.
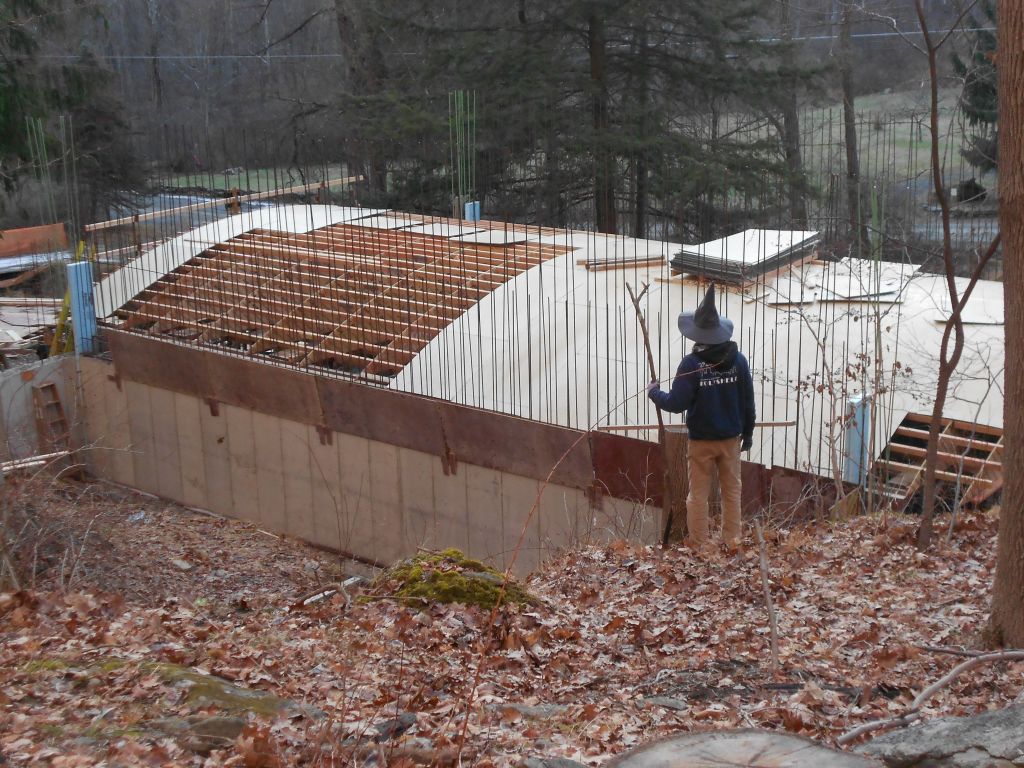
The watcher in the woods?
Framing at the end of the day Saturday.
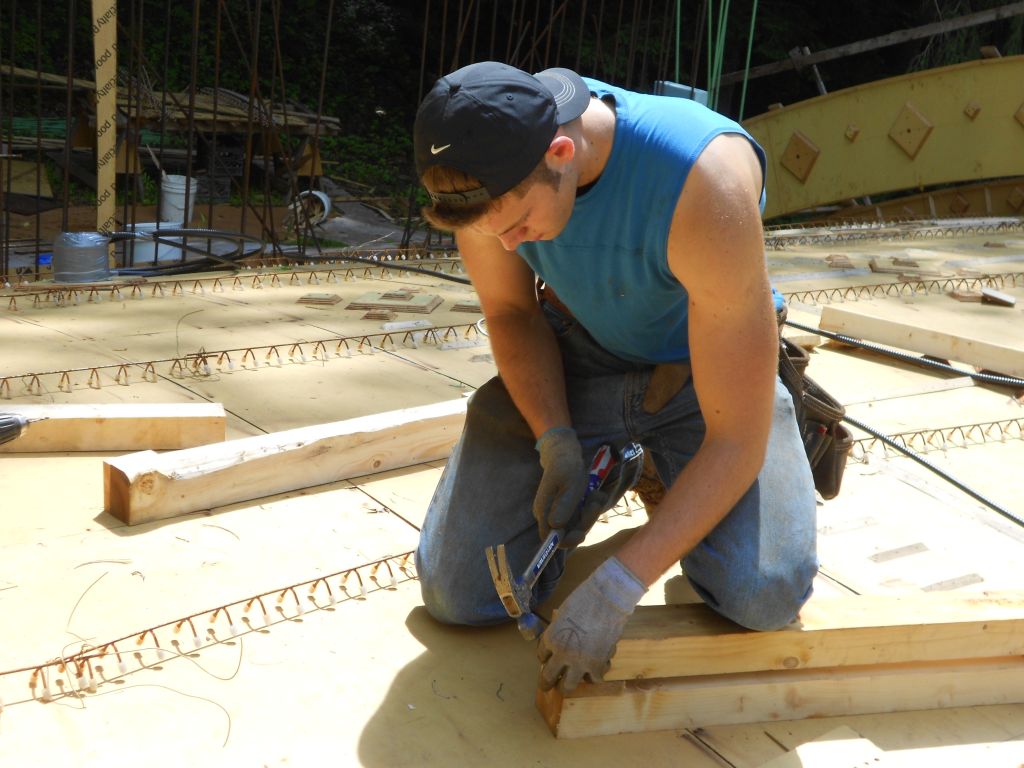
Terence cleating the 2x4s together.
De-icing the roof deck and scaffold.. Terence,Jude,and Kevin.
Kevin and Jude staring the east wall close up.
Top waler installed on West wall.
New Year’s Eve: Ethan and Egzon decking the roof.
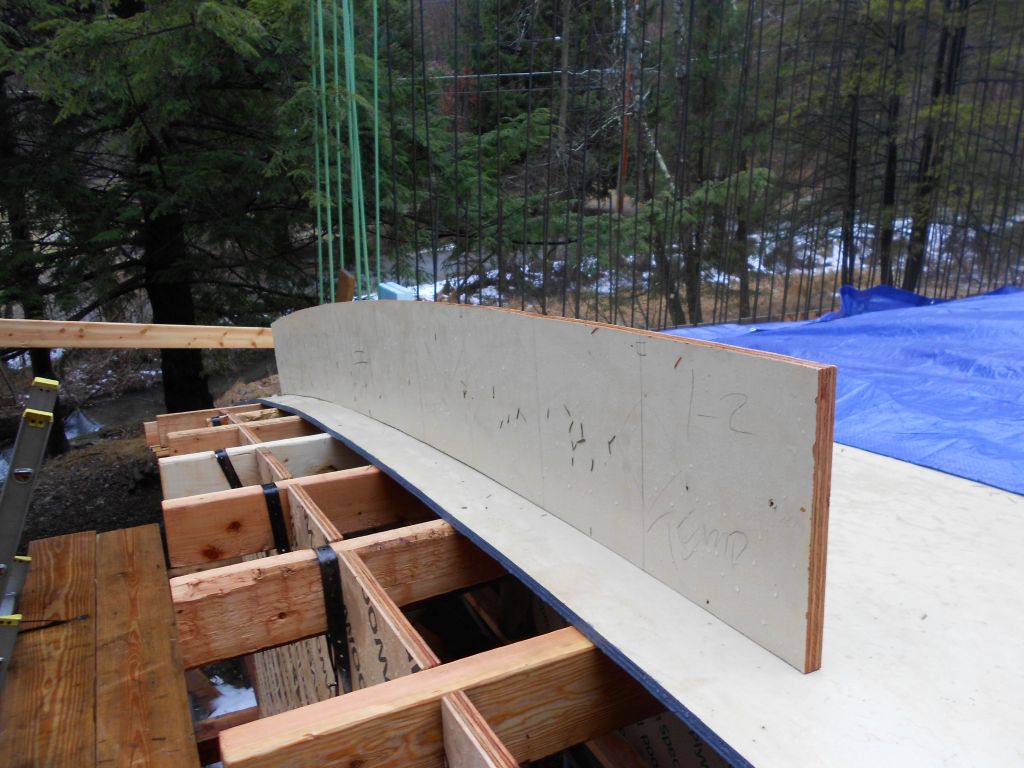
Spandrel template cut out.
Almost done. Corner spandrel taking shape.
First piece installed
Add the plywood spreaders nest.
Preparing to cut the spandrel template. Overlap the pieces.
Check to see if the spandrel fits properly.
Pumpkin Depot
Veiw of the Beach
Southeast corner : Protction in and 2×4 framing installed.
One step closer.
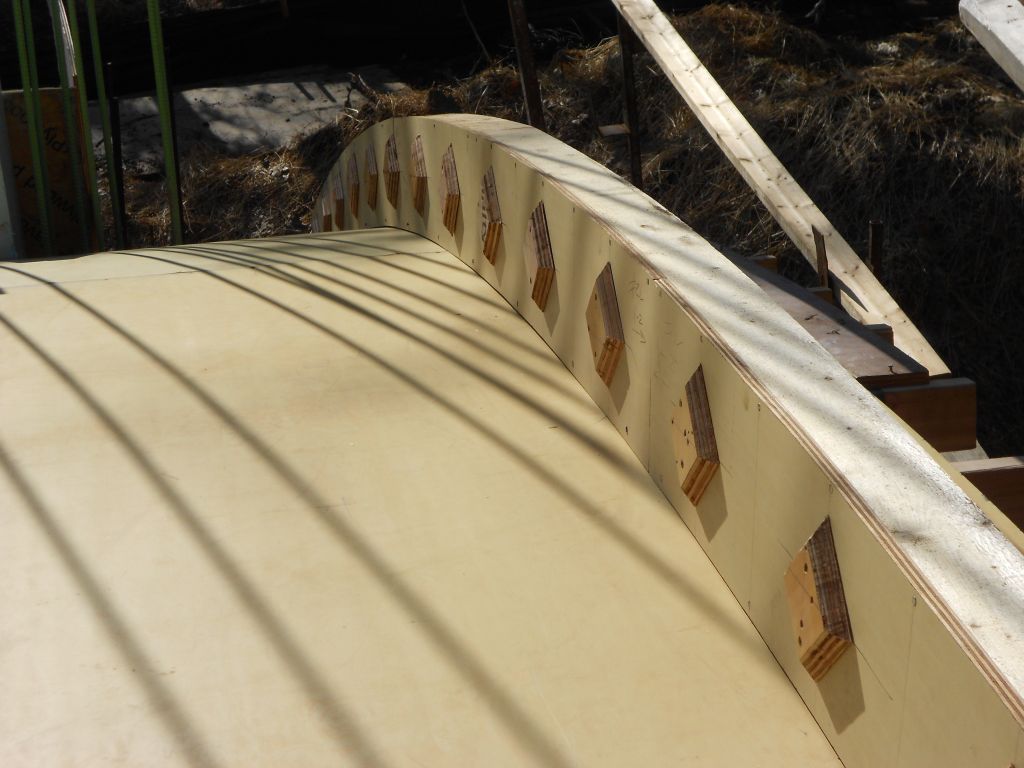
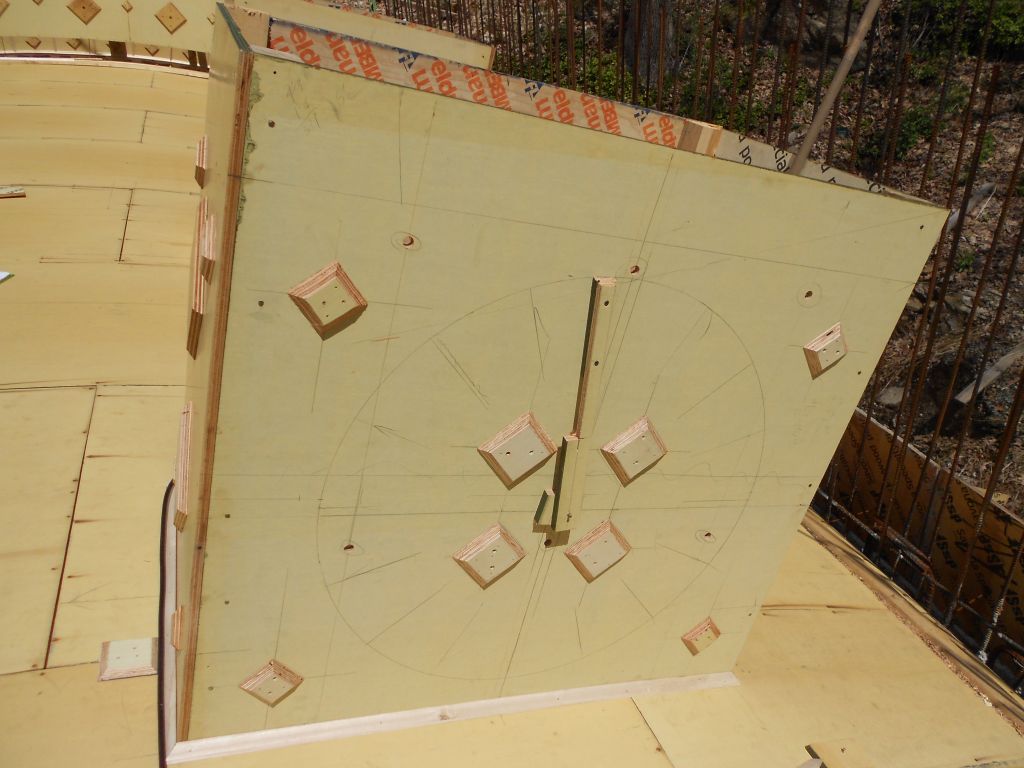
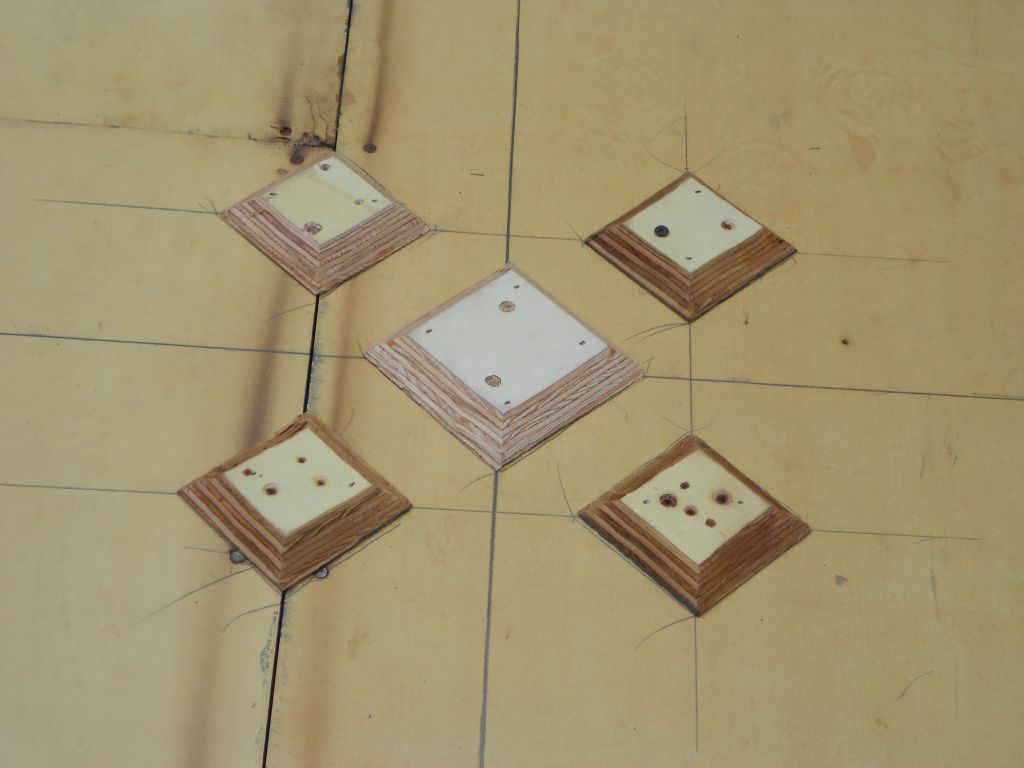
Detail blocks with 1’x1′ skew back.
Spandrel with 1×4 header nailed on.
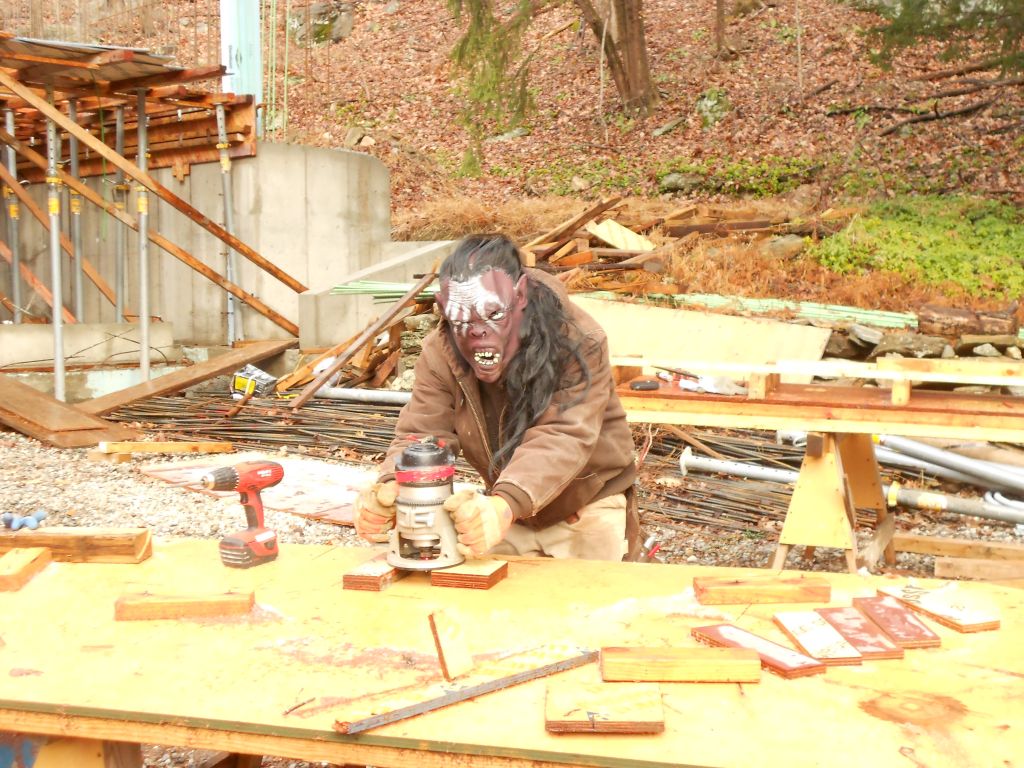
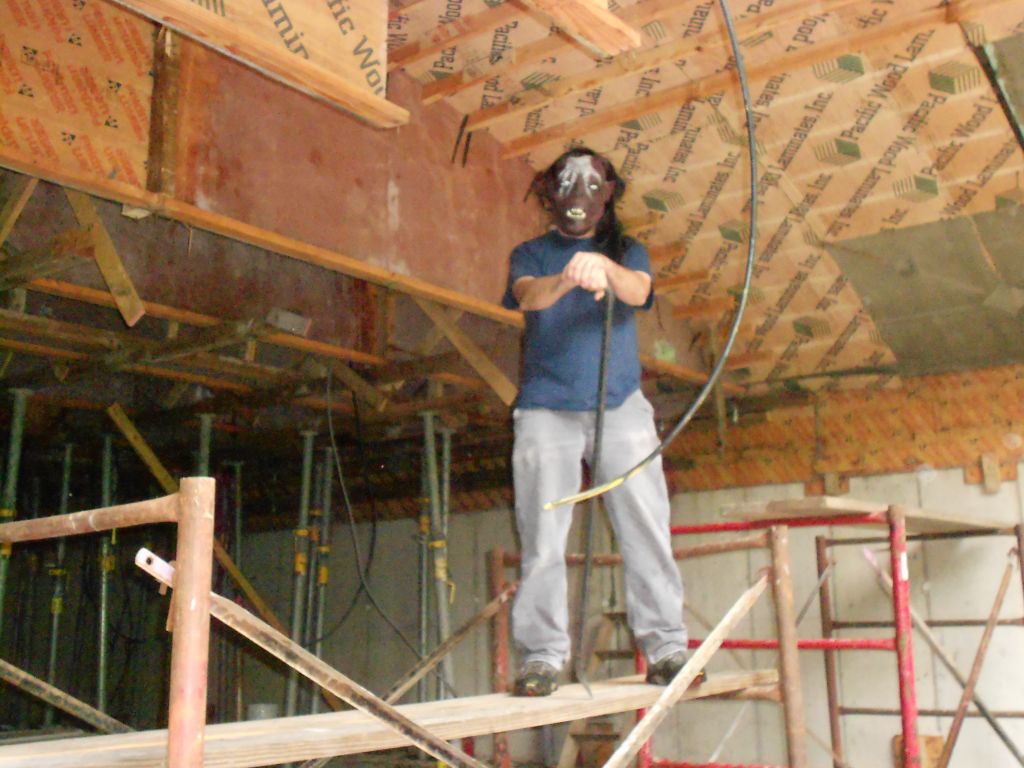
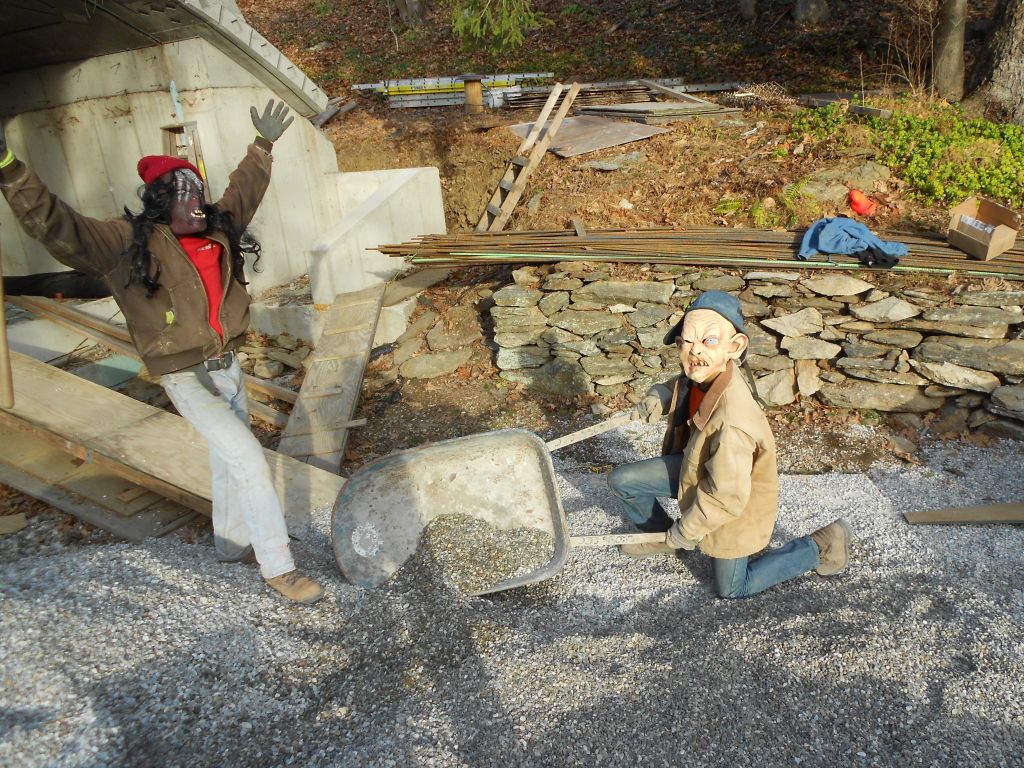
In the Dungeons of Barad-dur. Slaving for Sauron.
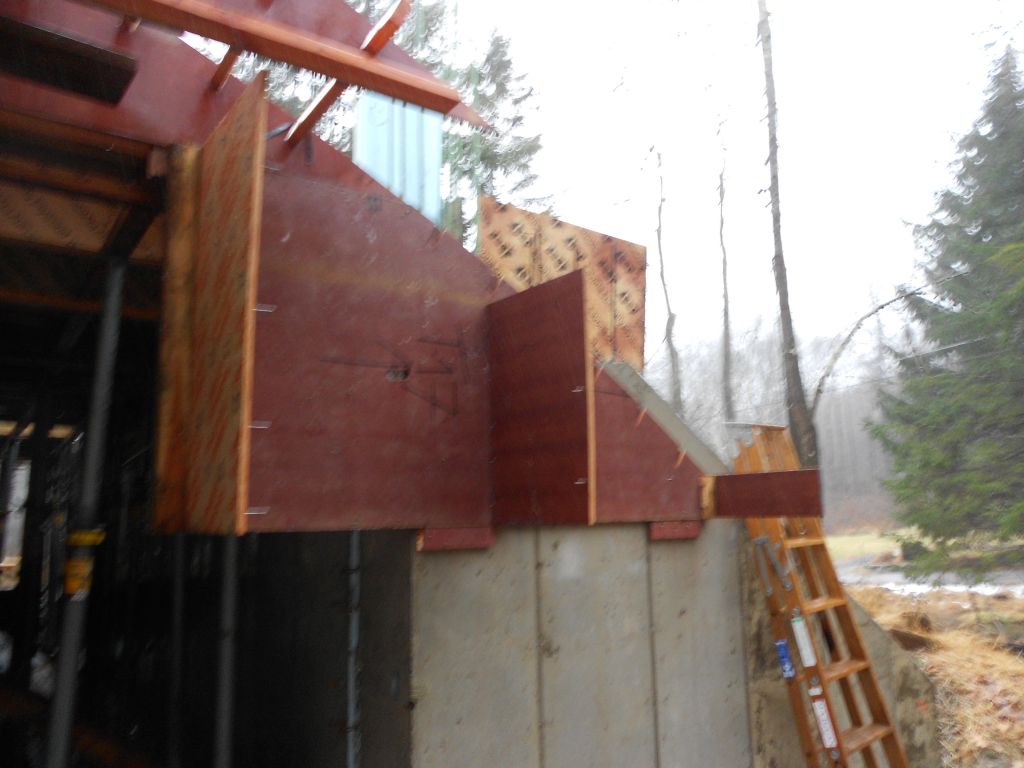
Retaining wall curb close up as it goes over the wall line.
Tapered slab cut out on close up face of retaining wall curb.
Retaining wall curb with 1×4’s installed.
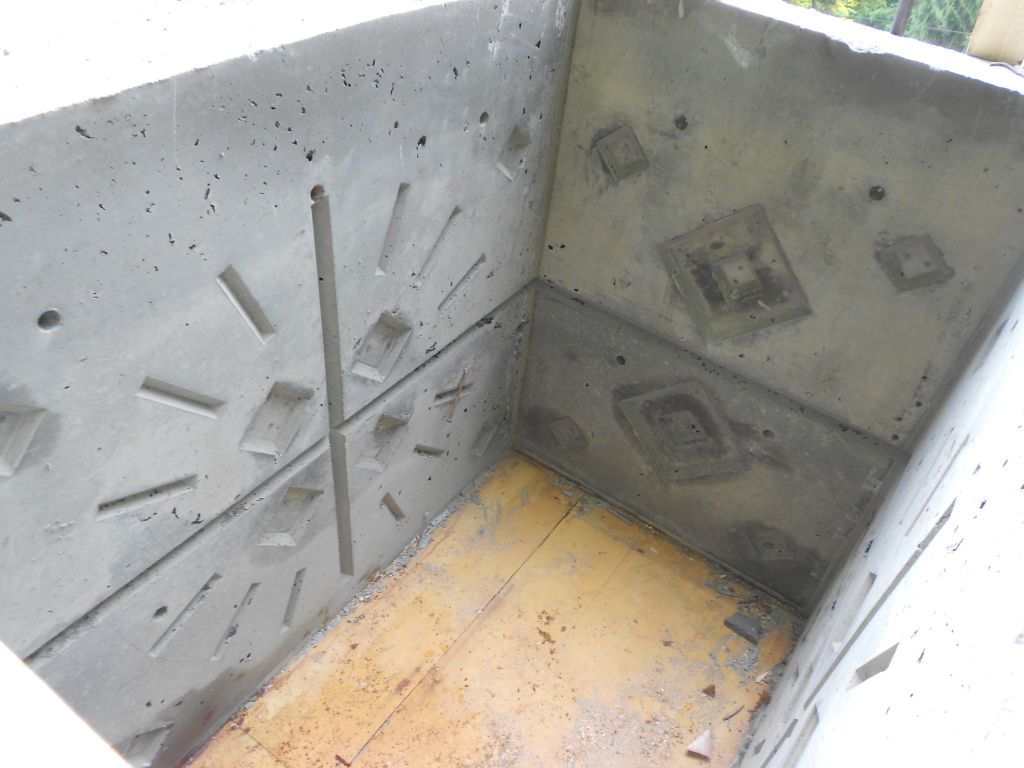
Curb viewed from the inside.
First piece of curb installed.
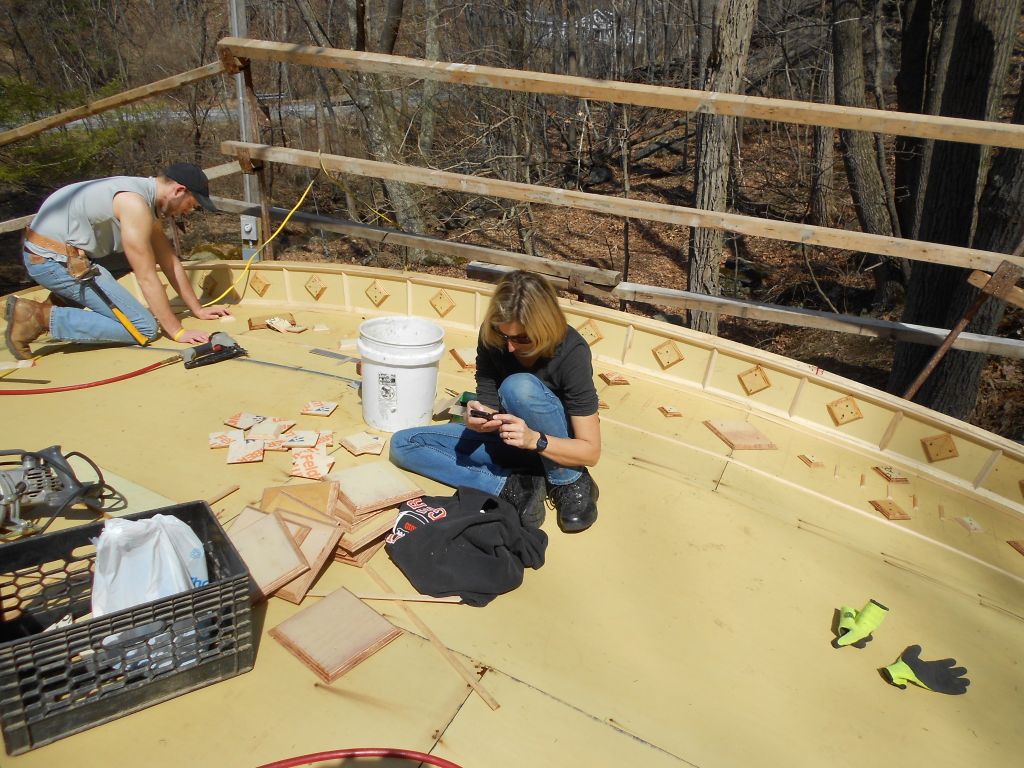
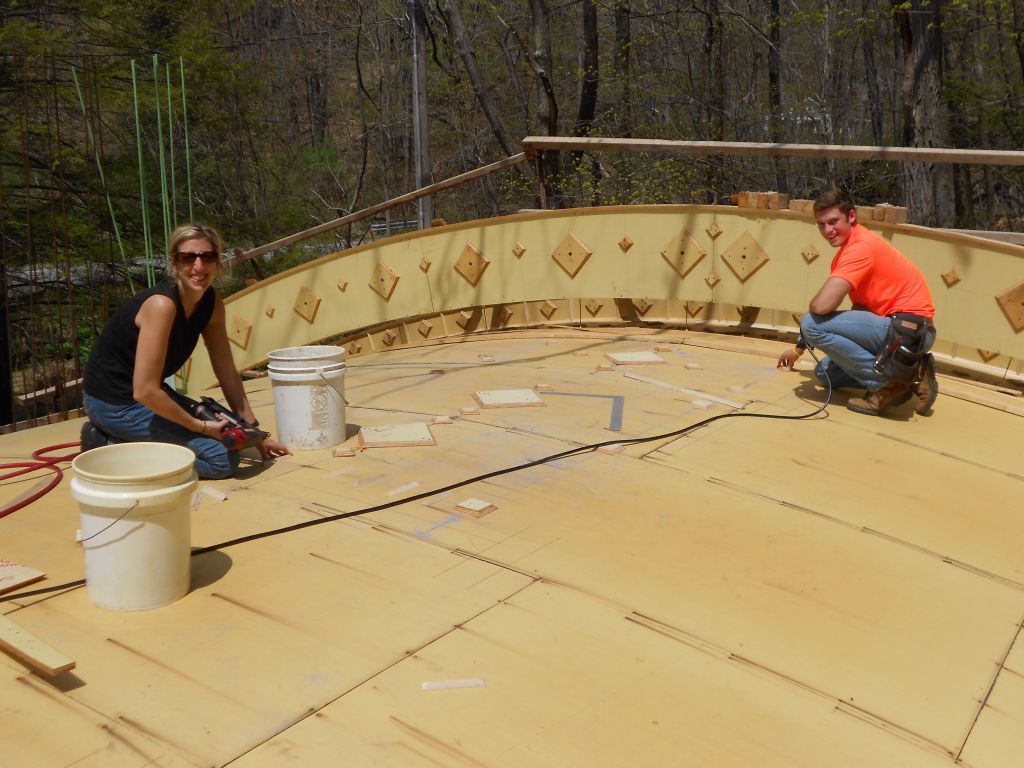
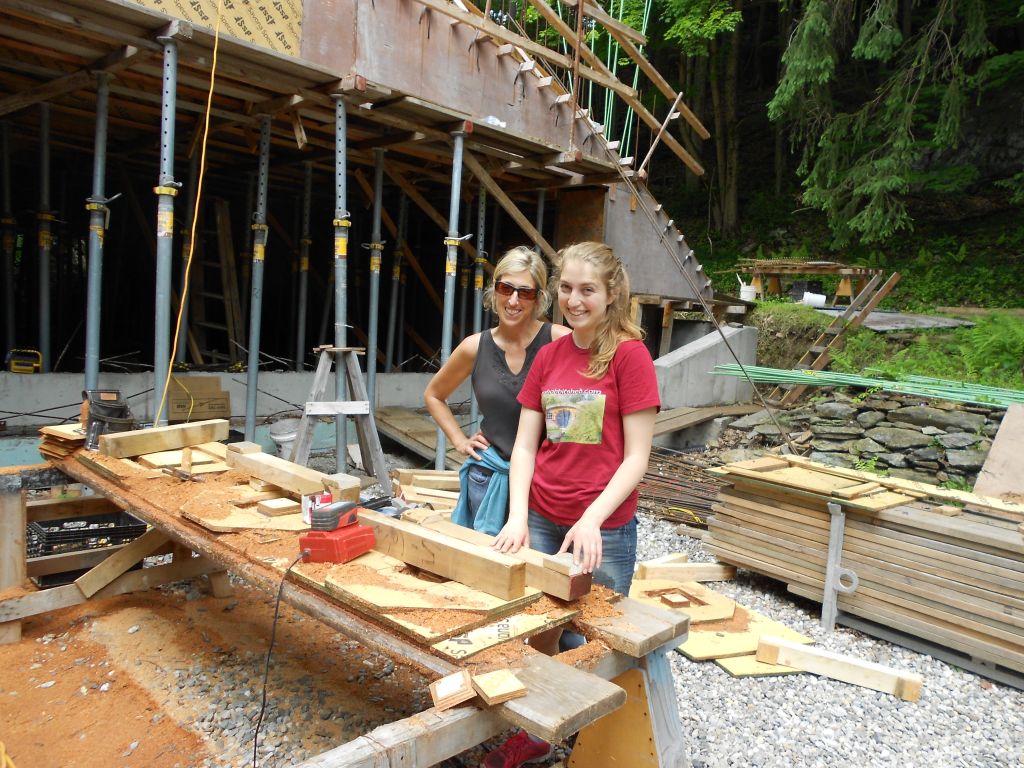
The editor’s getting quite a bit done here isn’t she!!!!!
The Traveling Company picks up a new member.
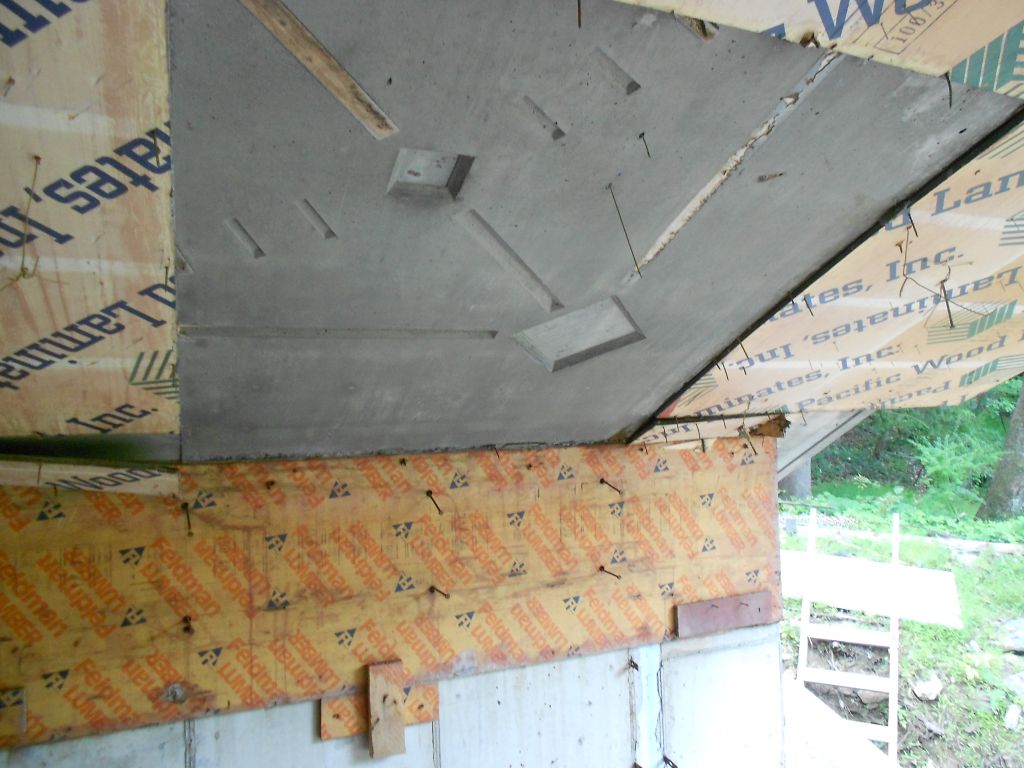
Soffit details installed
Retaining Curb from the inside.
Retaining curb from the outside.
Mike with the crew after a 500 dollar lunch,
Large pair of rabbit type tracks left at this location. ?????
Inside waler installed in the skylight..
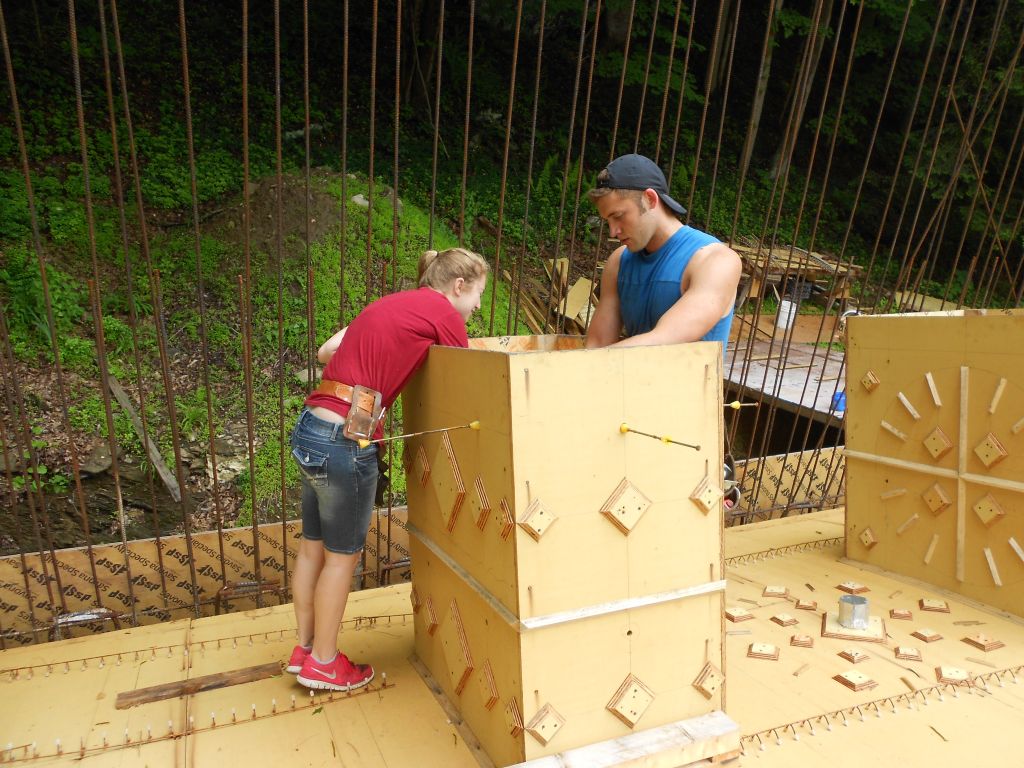
Skylight stand up boxes installed.
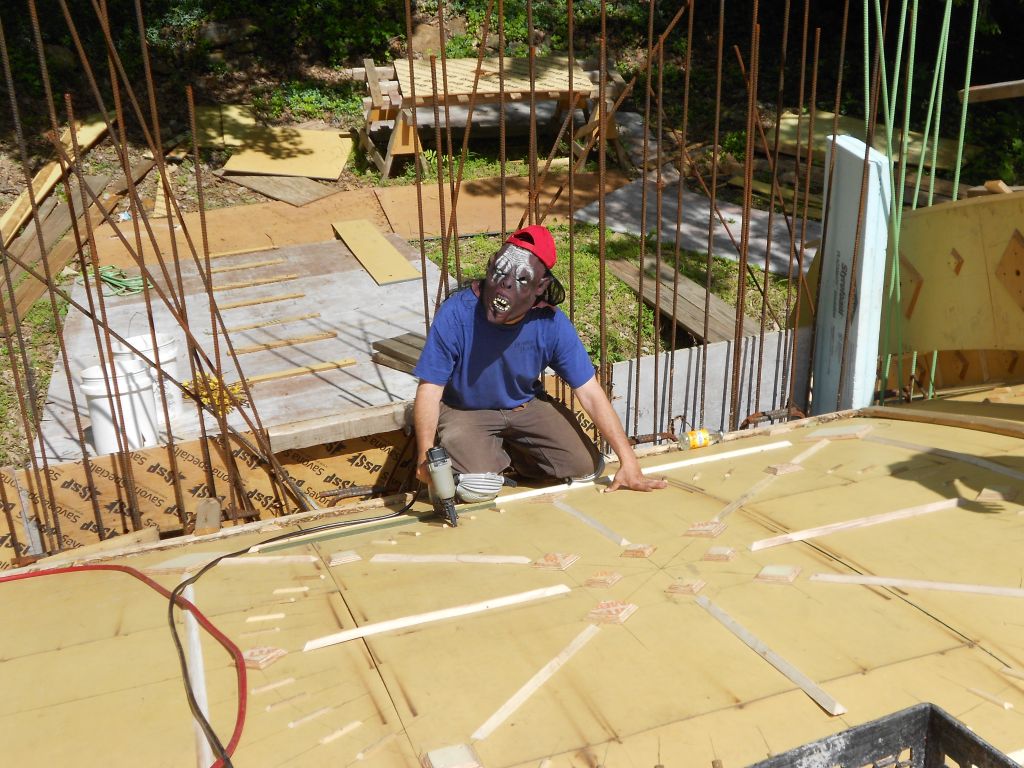
What was that!!!!!!!
She’s got blistas on her fingers!!!!!!
Jo and Terence working away!
Circle layout tool.
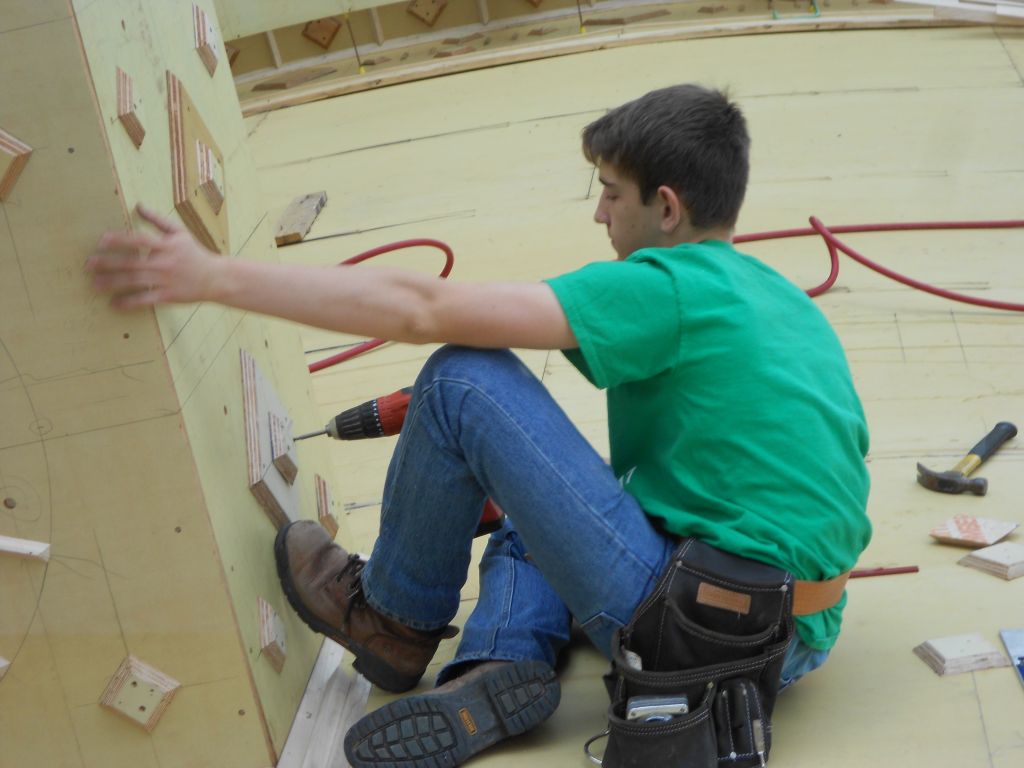
Terence screwing in the detail blocks.
The editor and Jude installing the master bath details.
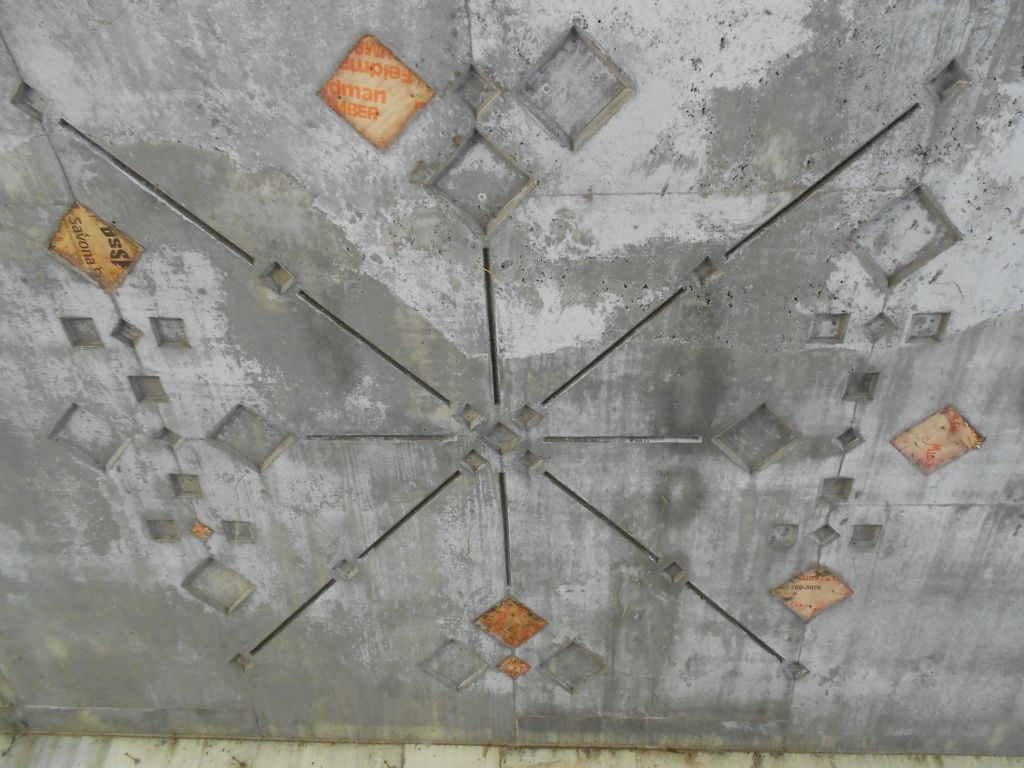
Master bath ceiling details.
High Hat detailing for house
Ethan working the master bedroom.
Router Table.
Neighbor Bob working on the trim.
Ethan’s blood soaked hands after cutting them on a hi-hat.
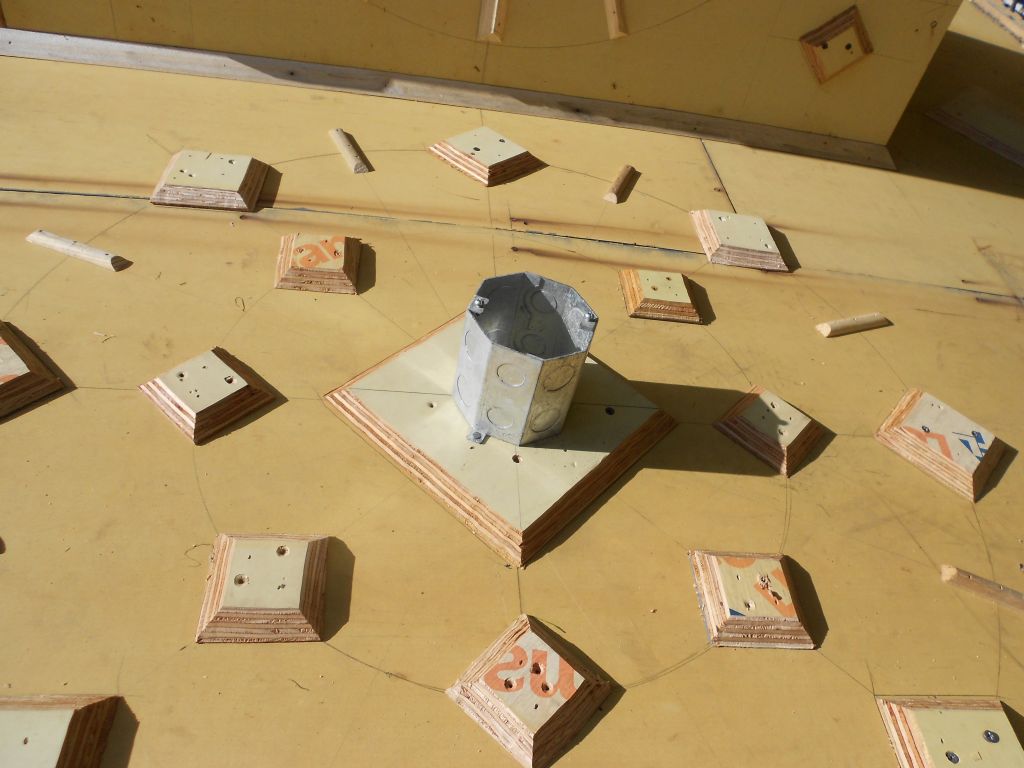
Hanging fixtures get an octagon box.
Different hi-hats will be used at the heavy sloped areas.
Georgia and Jude working on the skylight walers.
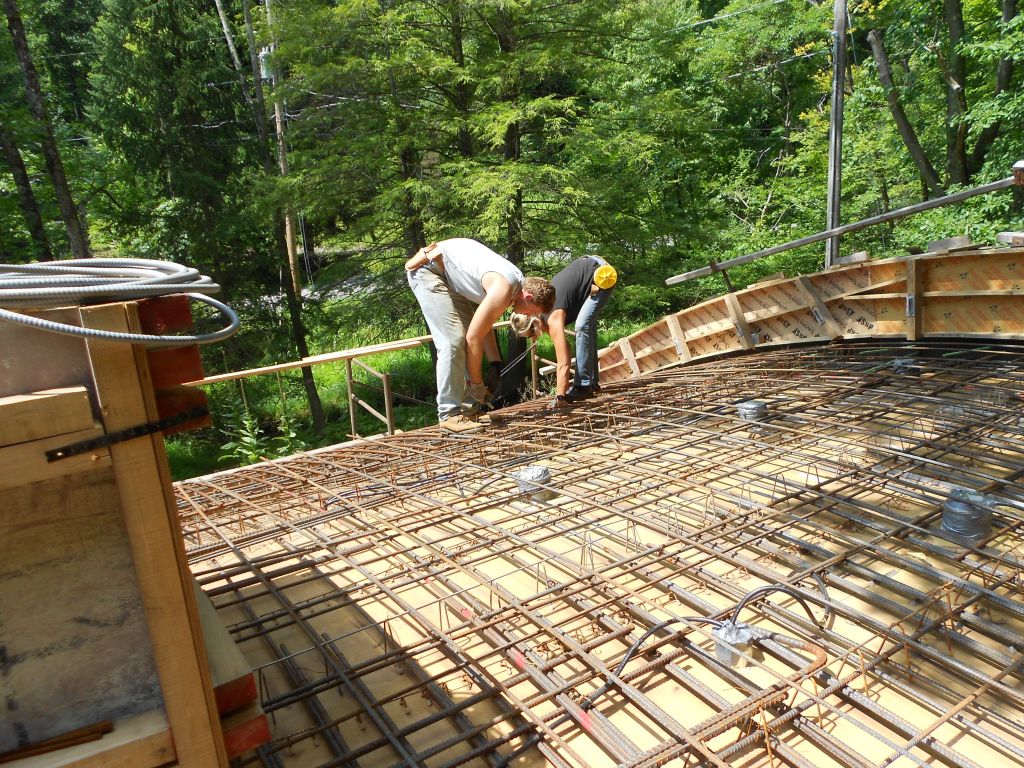
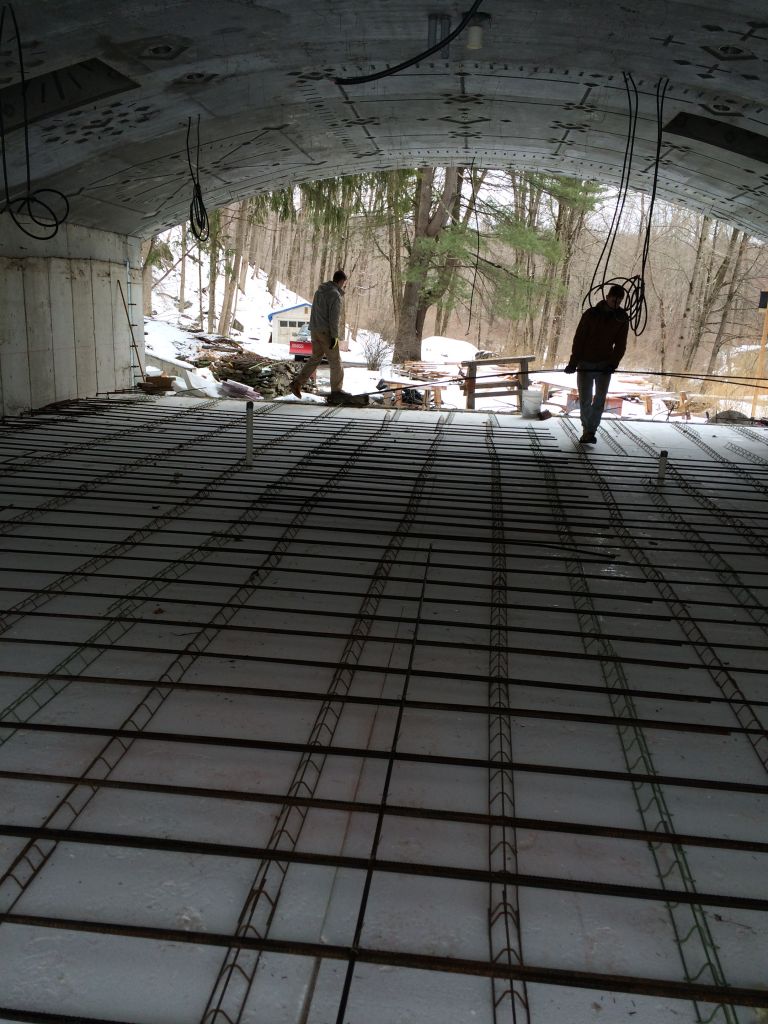
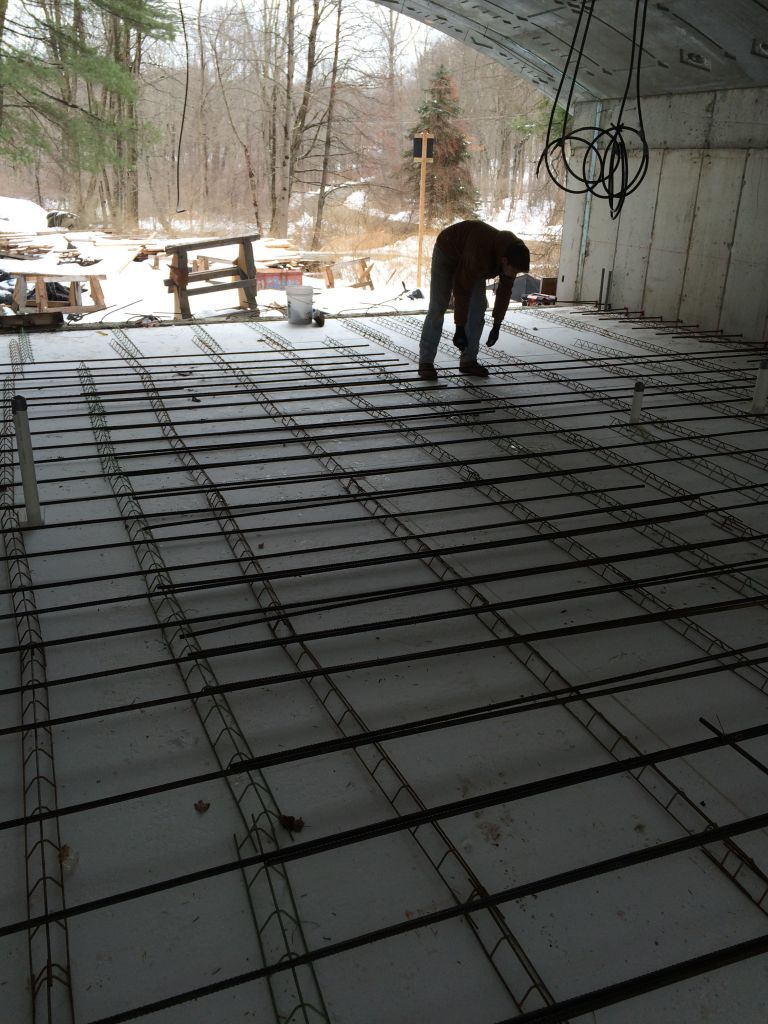
Zack and Ethan installing the bottom mat.
Jude got stuck in the skylight.
Waler detail. They should be working not posing.
Zack using the hickey to bend the rebar into the slab.
Vertical bent down into first way bottoms.
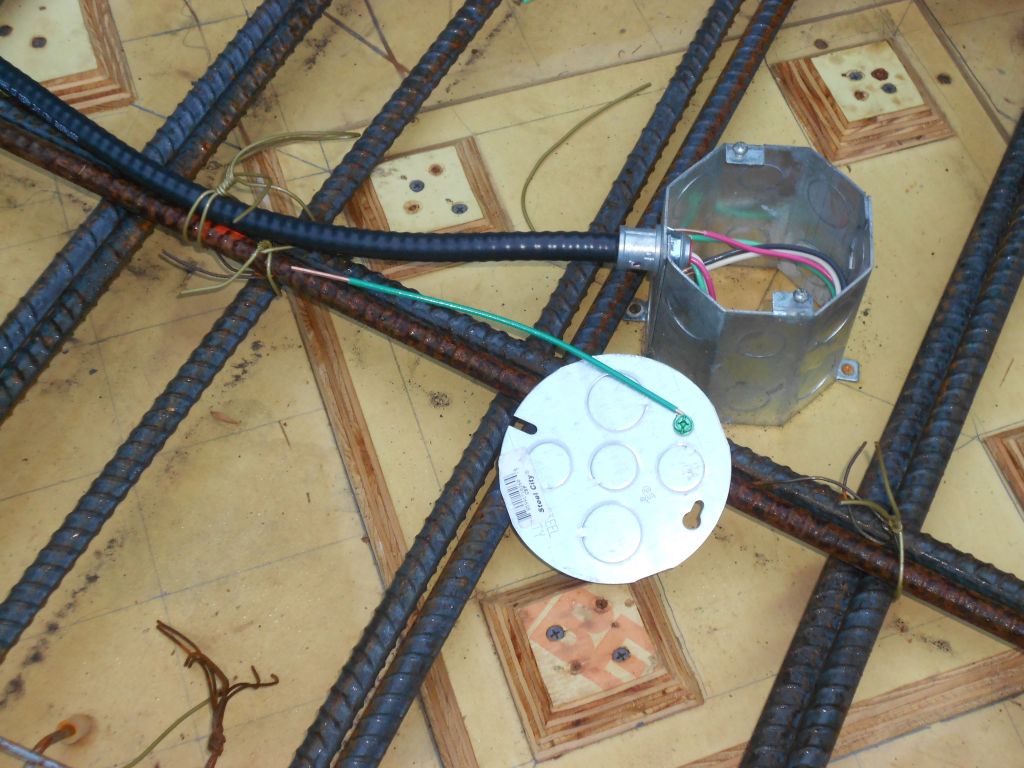
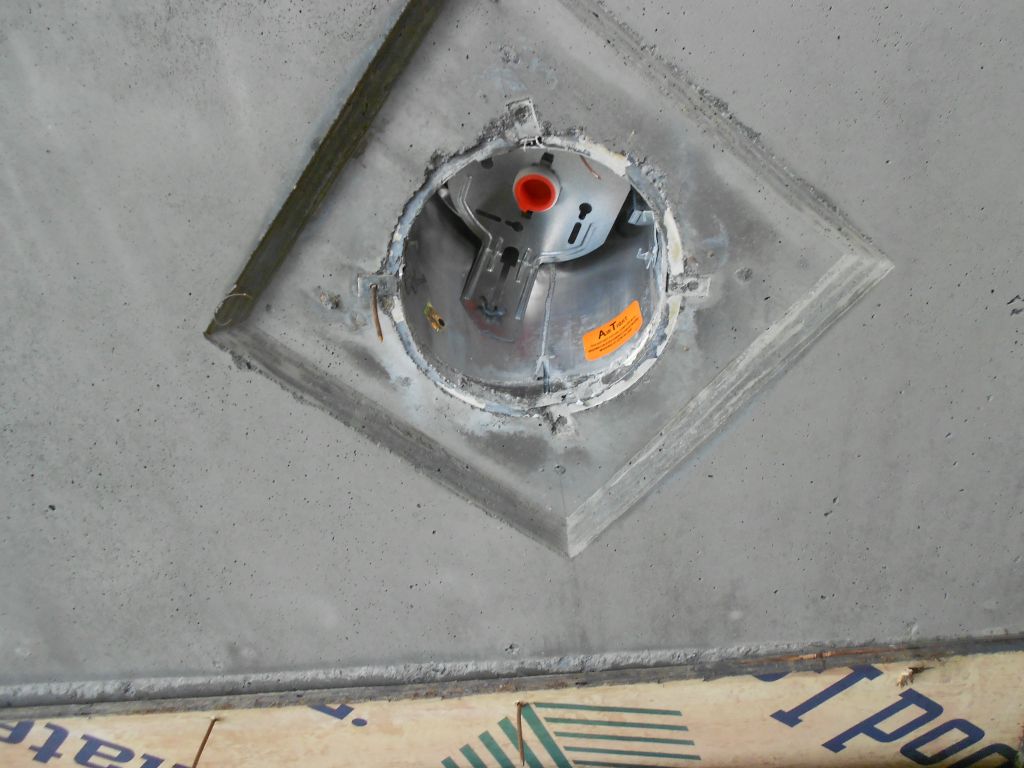
Octagon box with grounding wire attached to the cover.
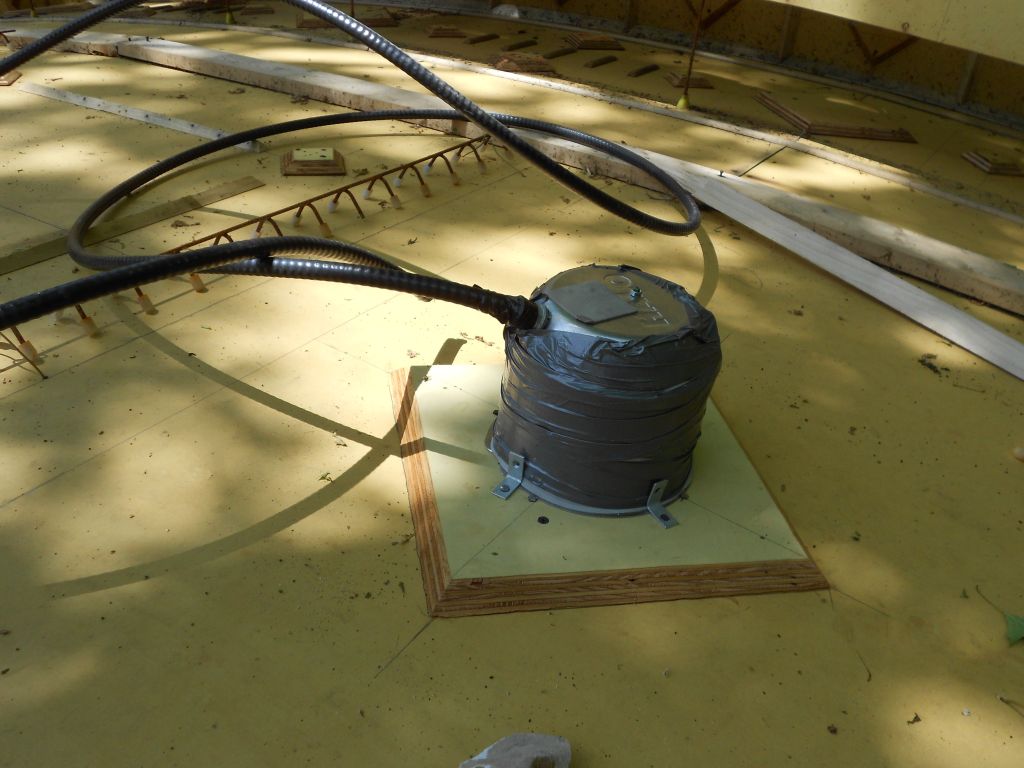
HRV sleeve, Plumbing vent stack, ductless mini split, and future solar.
Skylight rebar in place.
Terence Installing the skylight walers.
Putting the frame together. Paul and Terence.
Paul and Terence at the end of the day.
Checking the high chairs.
Tapering the Styrofoam for Thermal Bridge Free construction.
Styrofoam used for thermal break.
Jude installing the walers on a skylight.
Starter nails to keep styrofoam in the right place.
Terence installing the foamglass.
Terence scribing the foamglass.
Retaining wall curb installed.
Spandrel tie back steel.
What’s this for Pa?
It really is back breaking work.
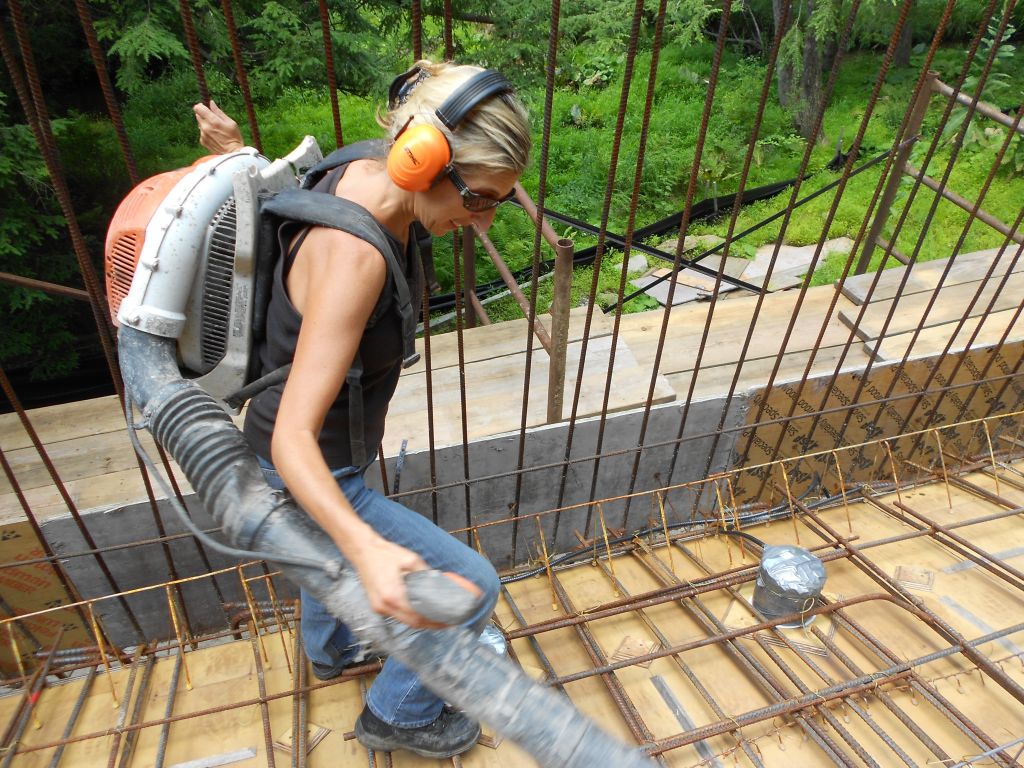
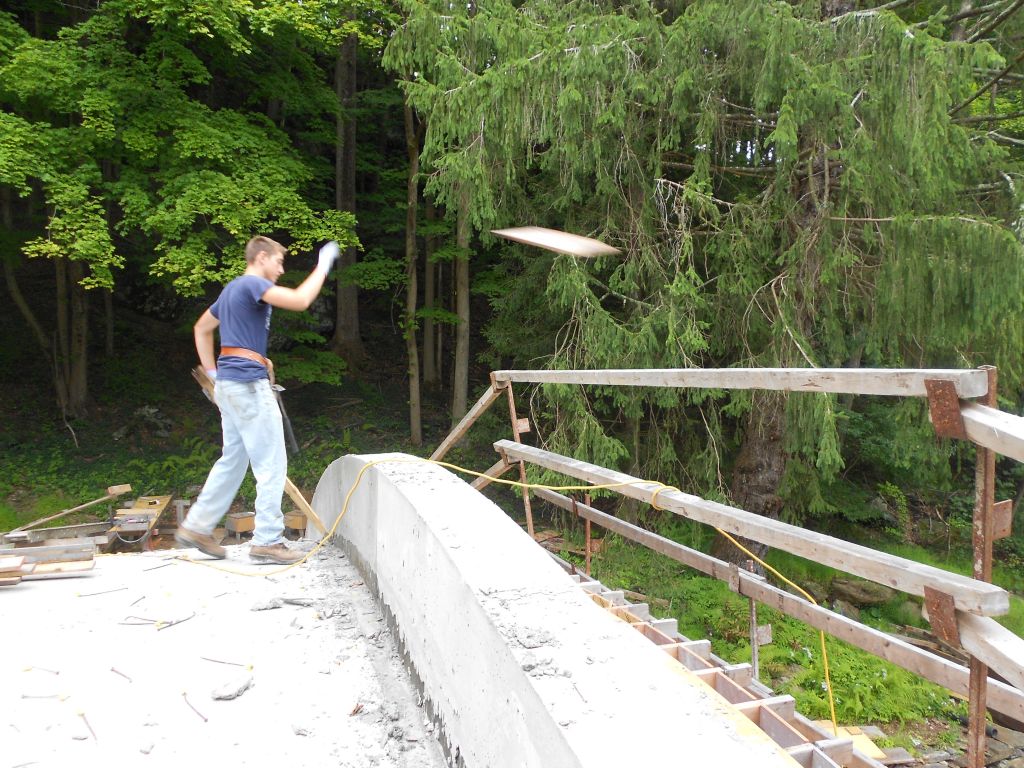
Editor clearing the deck!
Spandrel tie back steel being installed at 24 inches on center.
Bob and Steve wanted their picture taken. I relented.
Addition rebar grid over every hi-hat.
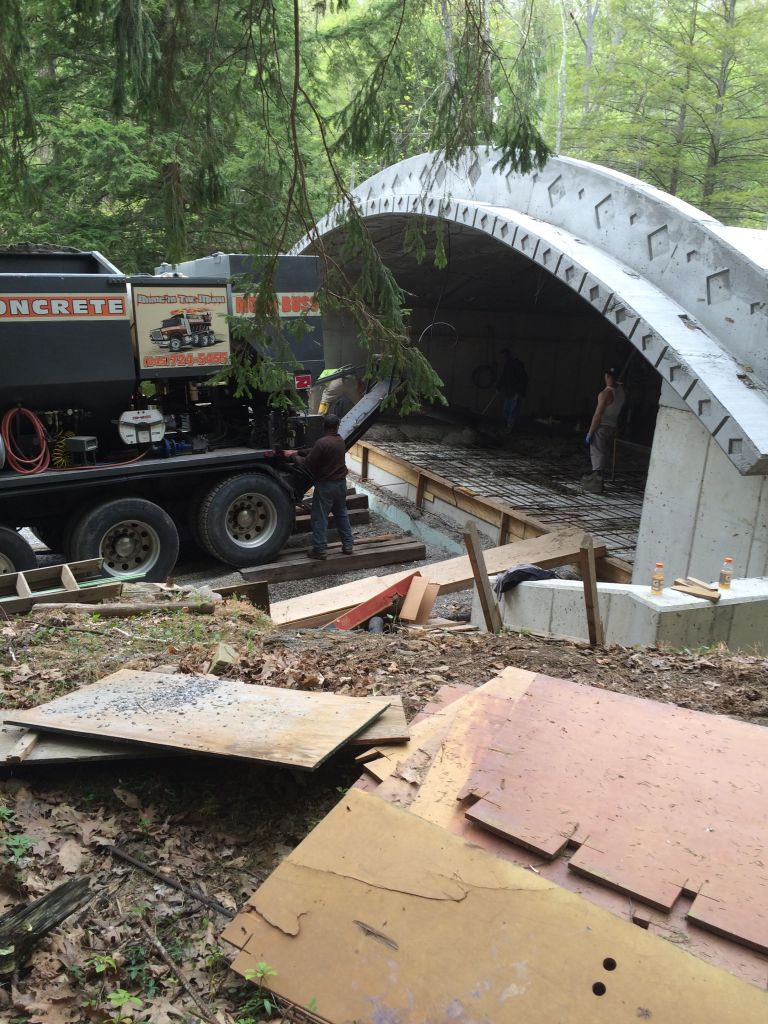
First truck of the day!
Sealing the bottom of the skylight. Aka “choking” the wall.
First truck in.
Setting up to top off the skylight.
Walking off the deck.
Finishing up.
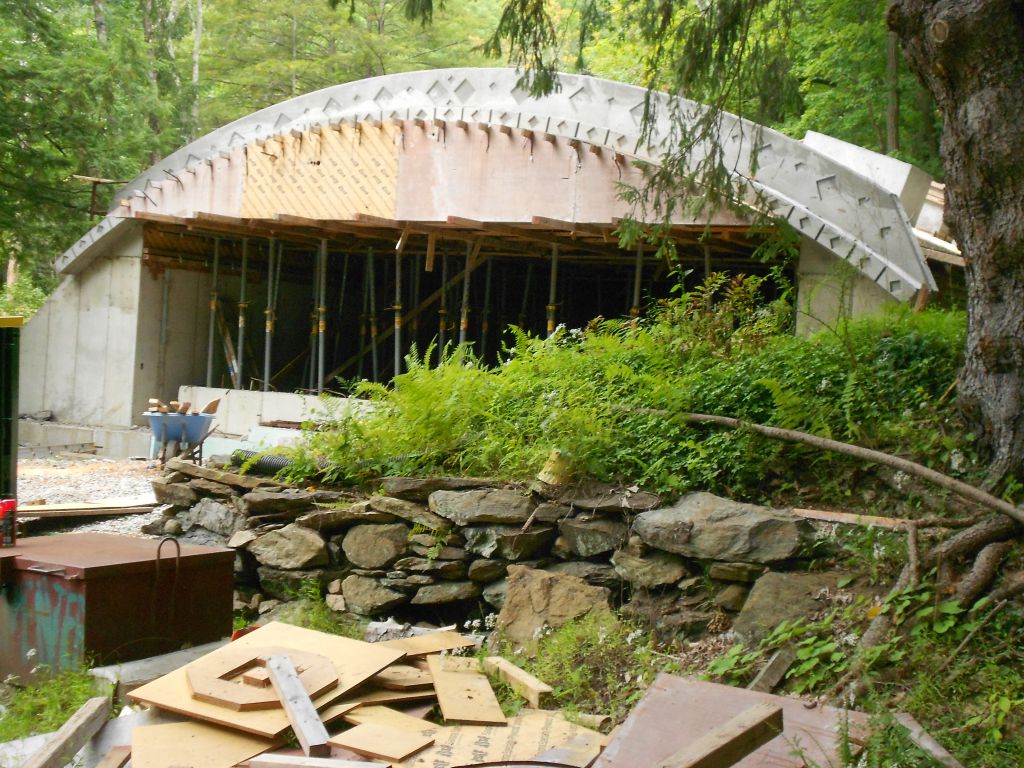
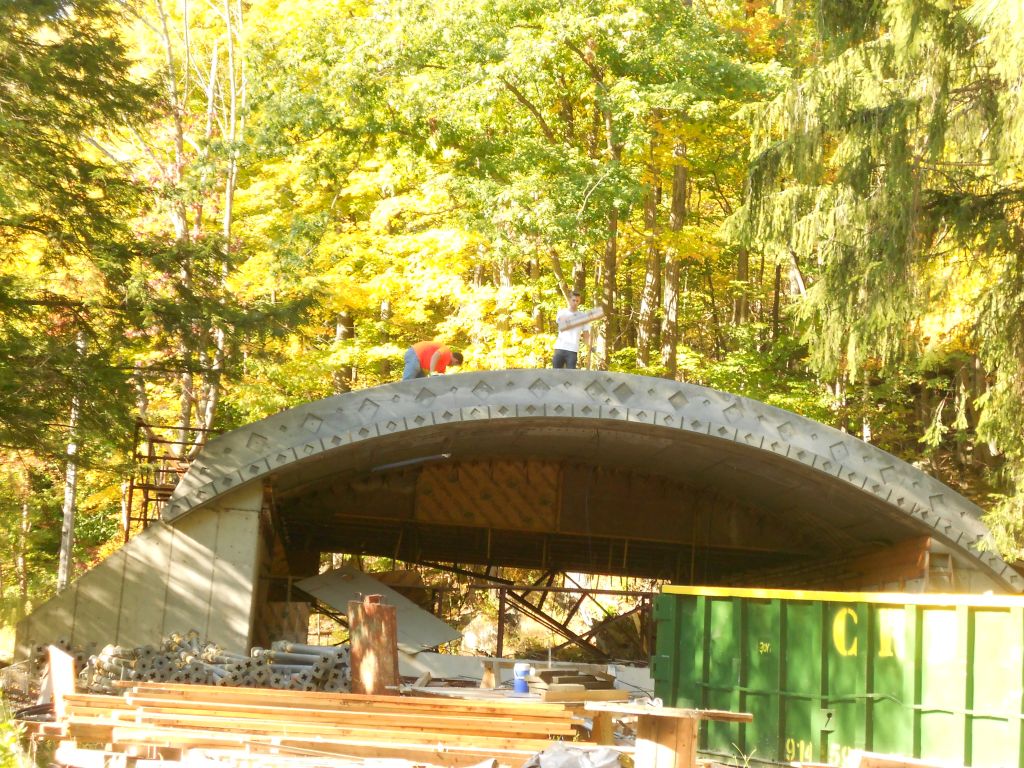
The Finished Product.
Another angle.
Kitchen Skylight details.
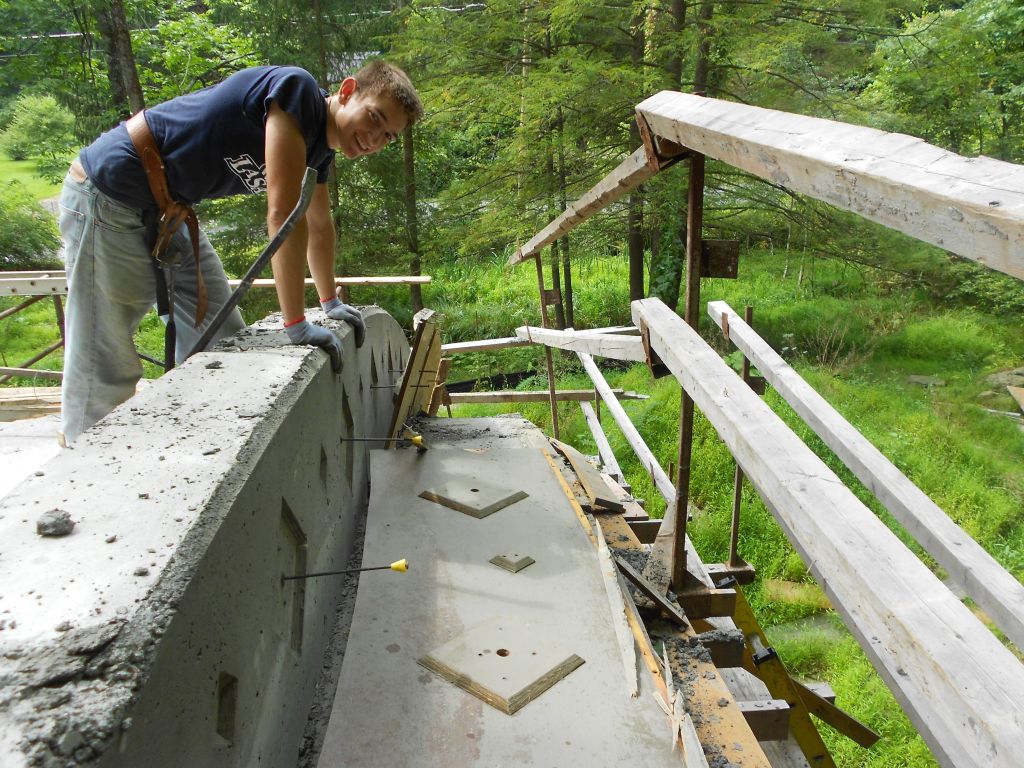
Terence eyeing up the North side detail work.
terence throwing a sheet of plywood into the dumpster.
East corner stripped.
South side at the end of the day Saturday/
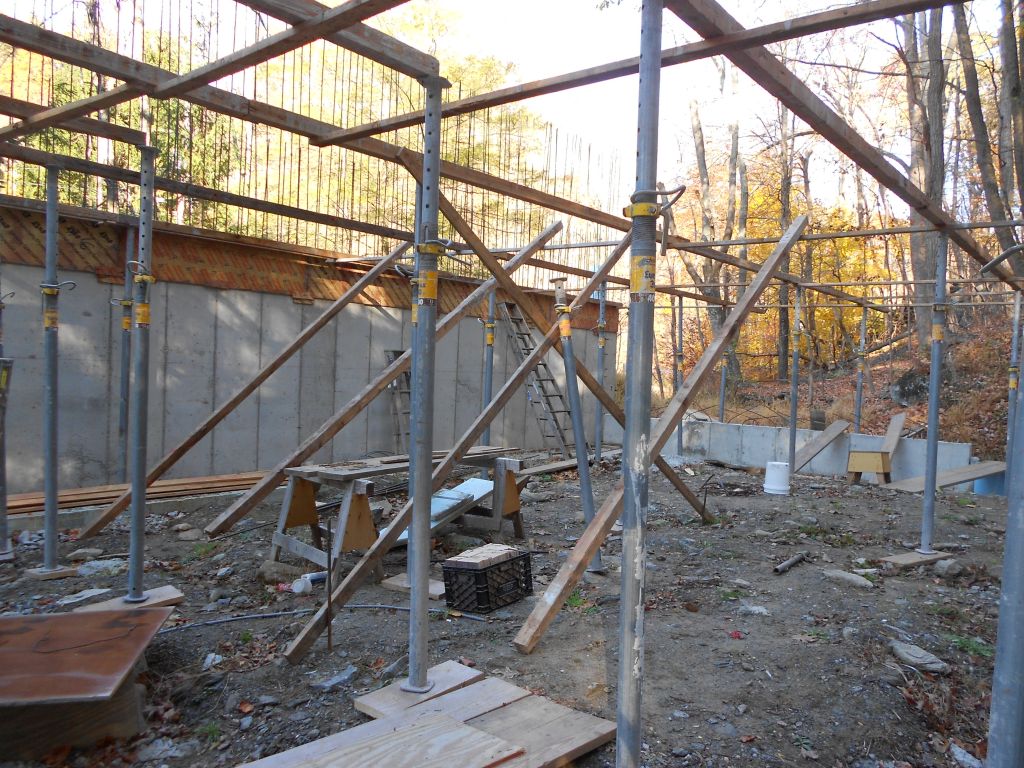
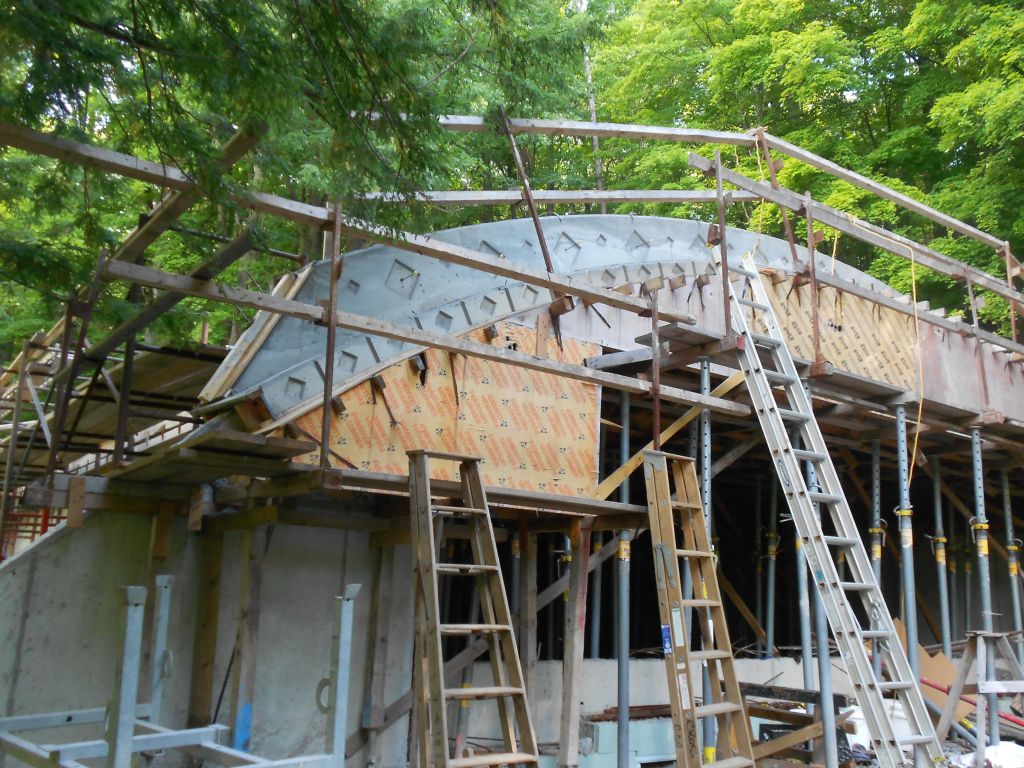
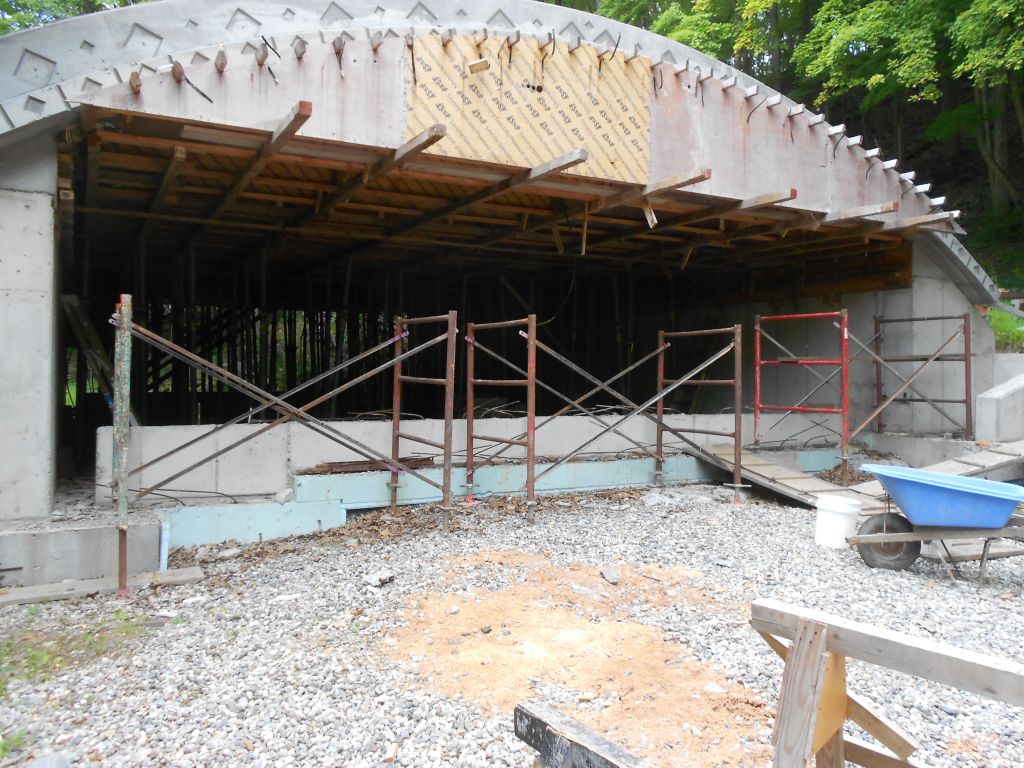
Scaffold setup before removal of forms.
Work square. Get a bay of radius plywood down.
Strip the 12 foot 2x4s off and then go for plywood.
Bob taking a breather.
Kevin and Tayklor at the end of the day. Thanks guys!
First hi-hat uncovered.
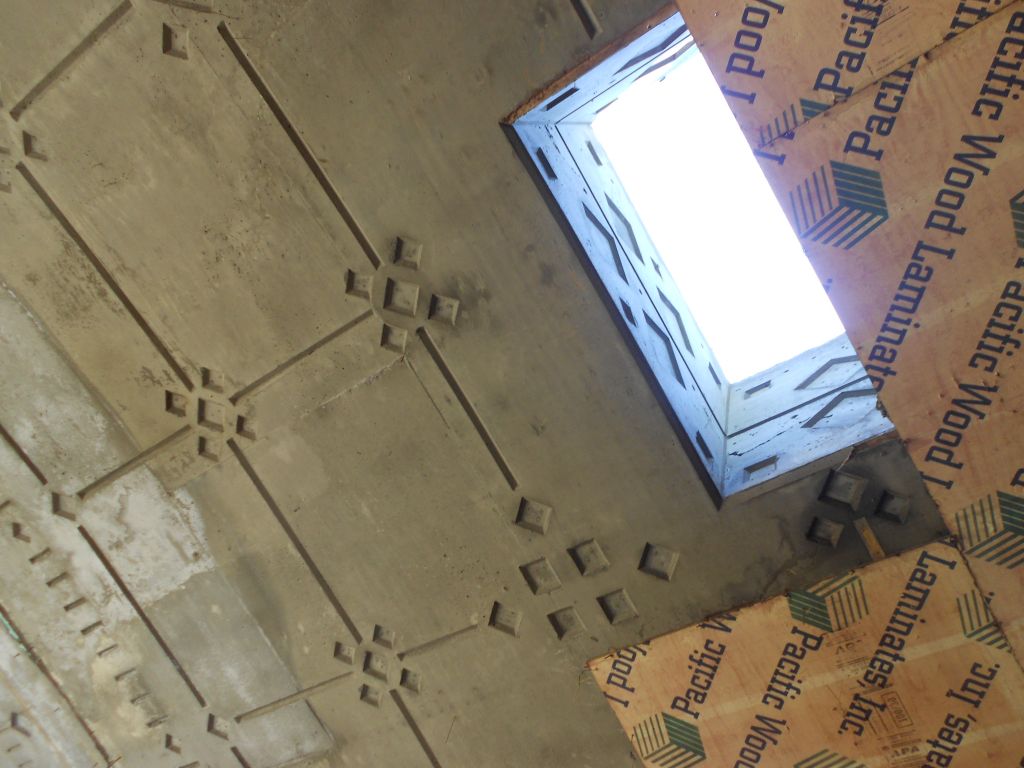
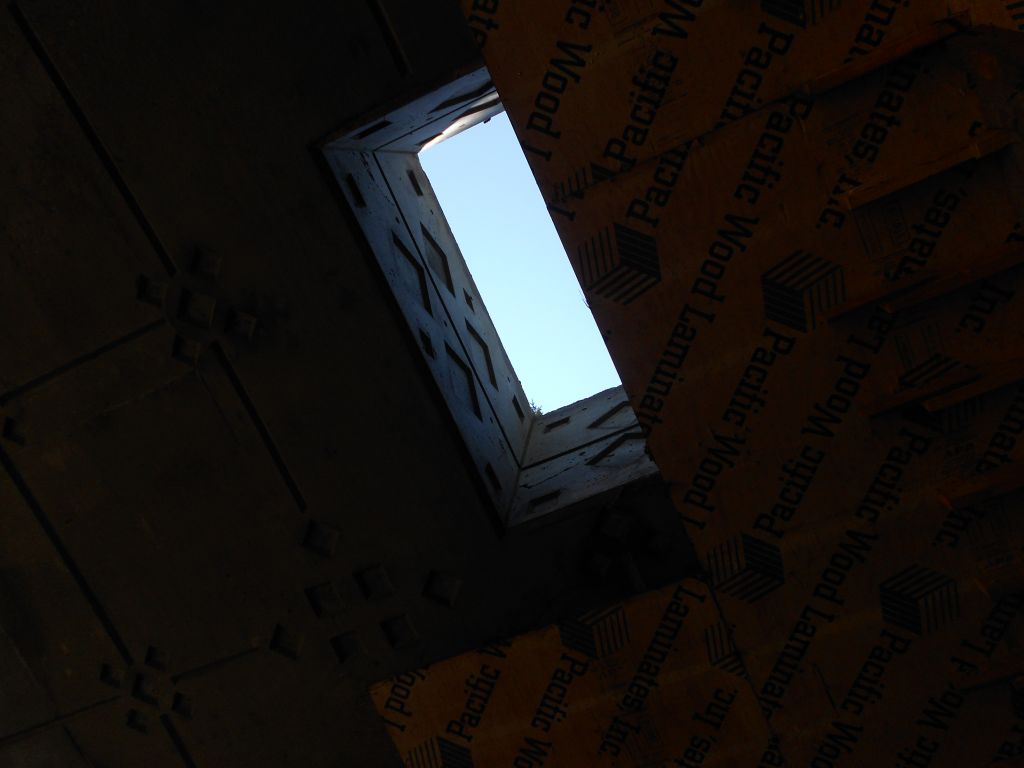
Living room skylight makes an appearance.
Jude and Ethan on clean up patrol.
Room wit a view!
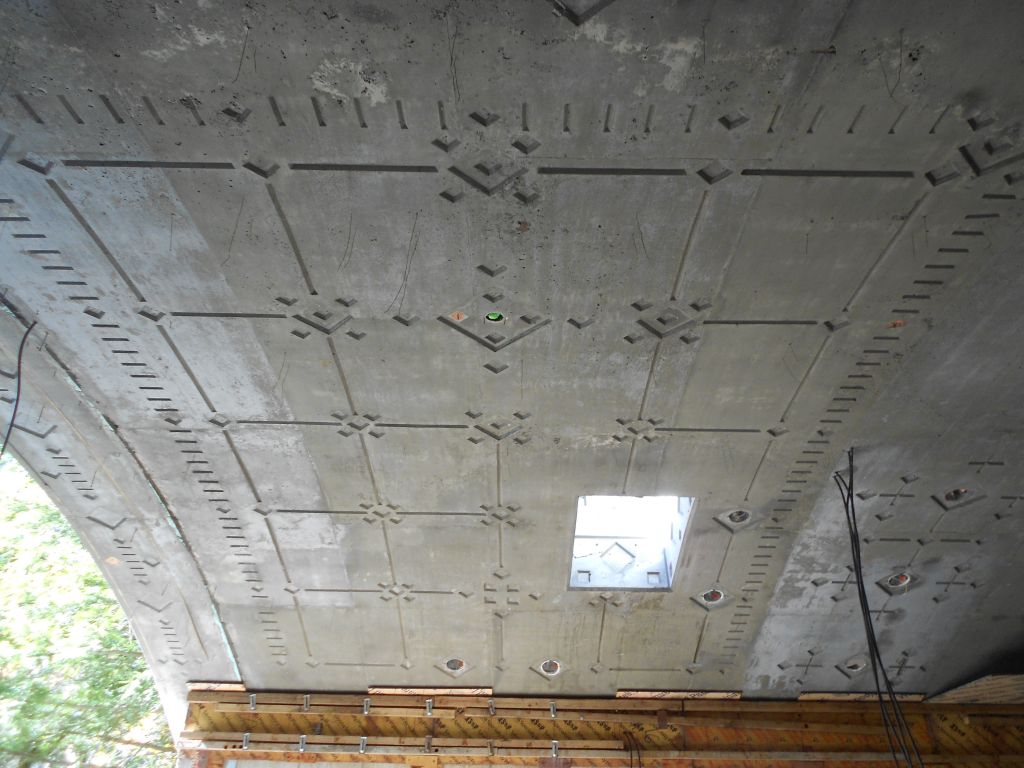
Now that’s a living room ceiling!
Master bed ceiling.
2×4 with legs set against wall.
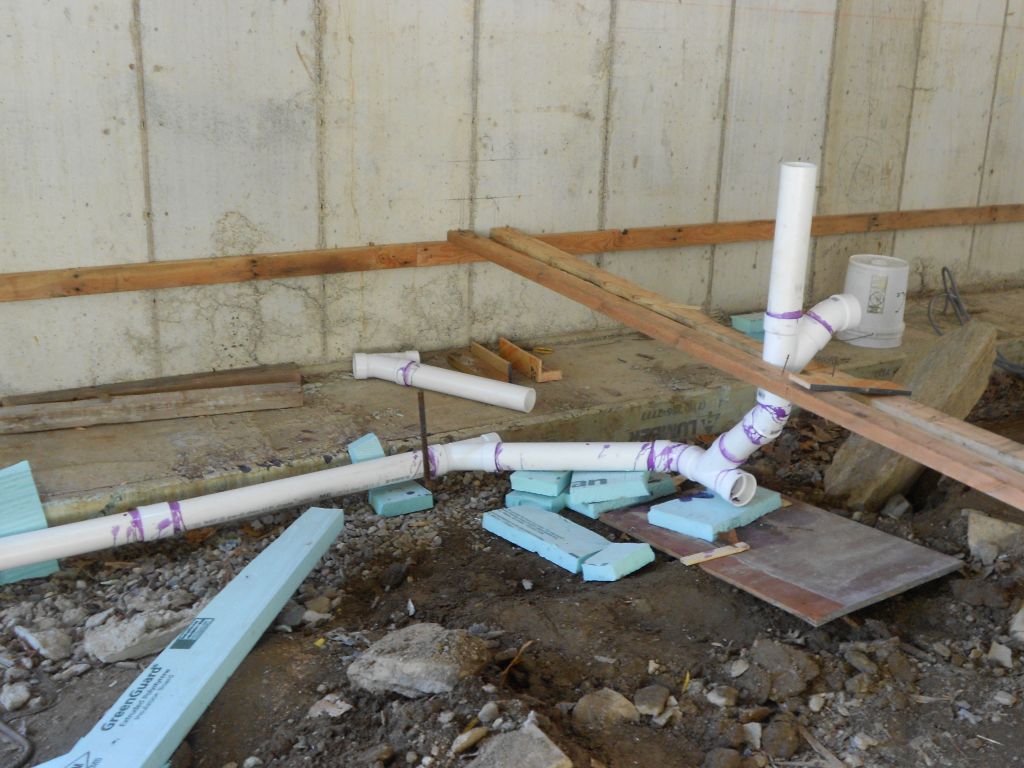
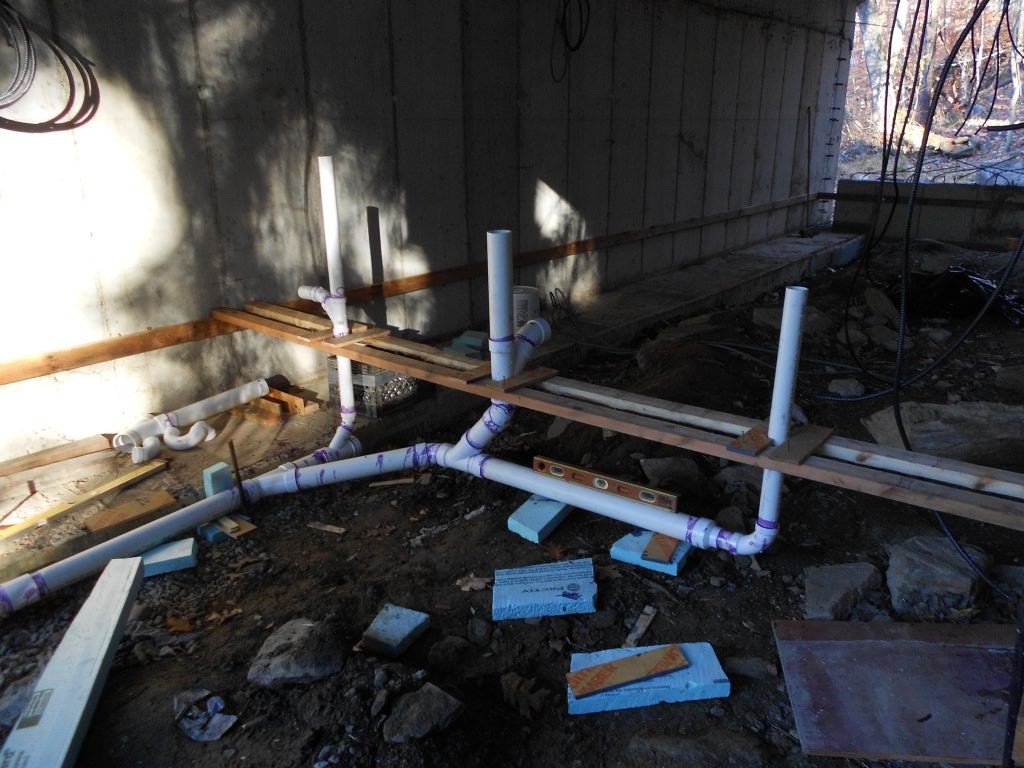
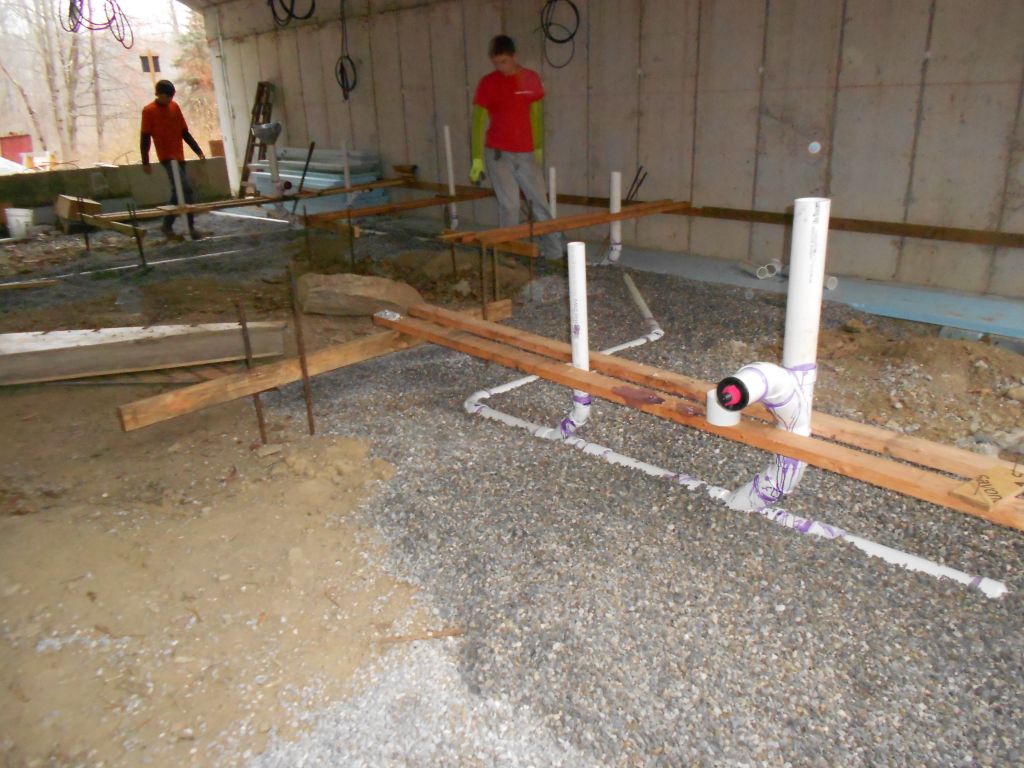
First plumbing wall located.
First bath toilet roughing.
First bath roughed in. From left to right. Shower, toilet , sink.
Last bath roughing going in.
The Three Stooges: Paul, Terence, Peter.
Visitors helping?
Pipe supported by the stone. Note the plug in the toilet drain.
Insulating the top of footing and to the underside of the 2×4 shown.
Up and over the ramp. Mr. Serious Excavator Guy.
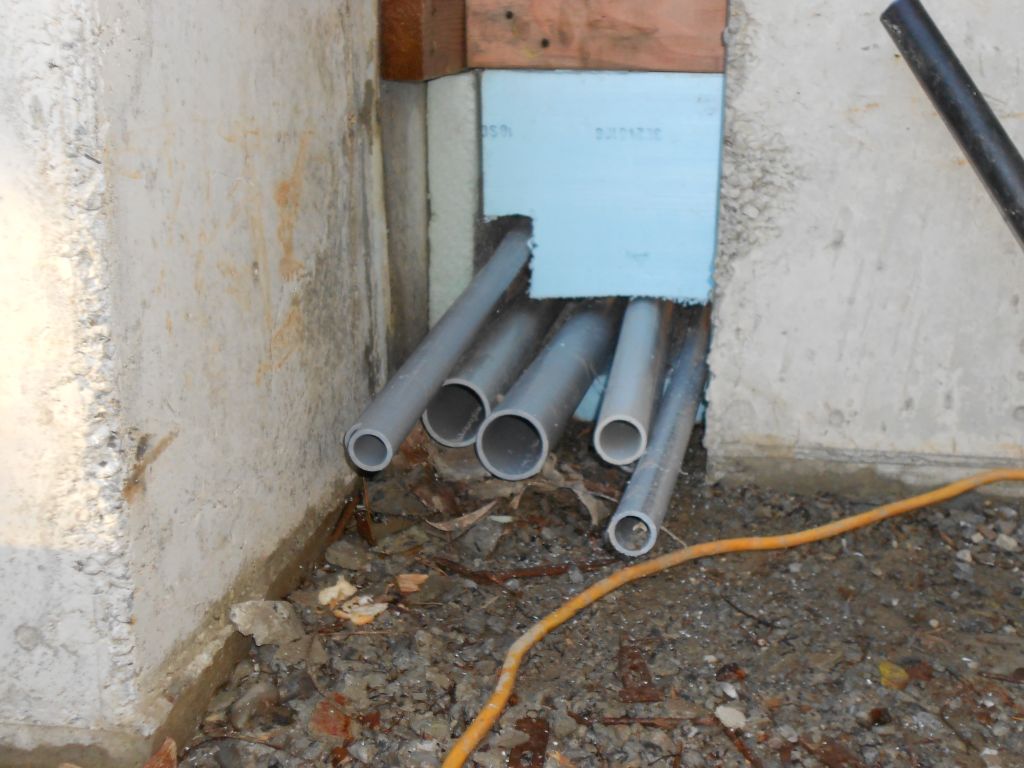
Southern conduit bank.
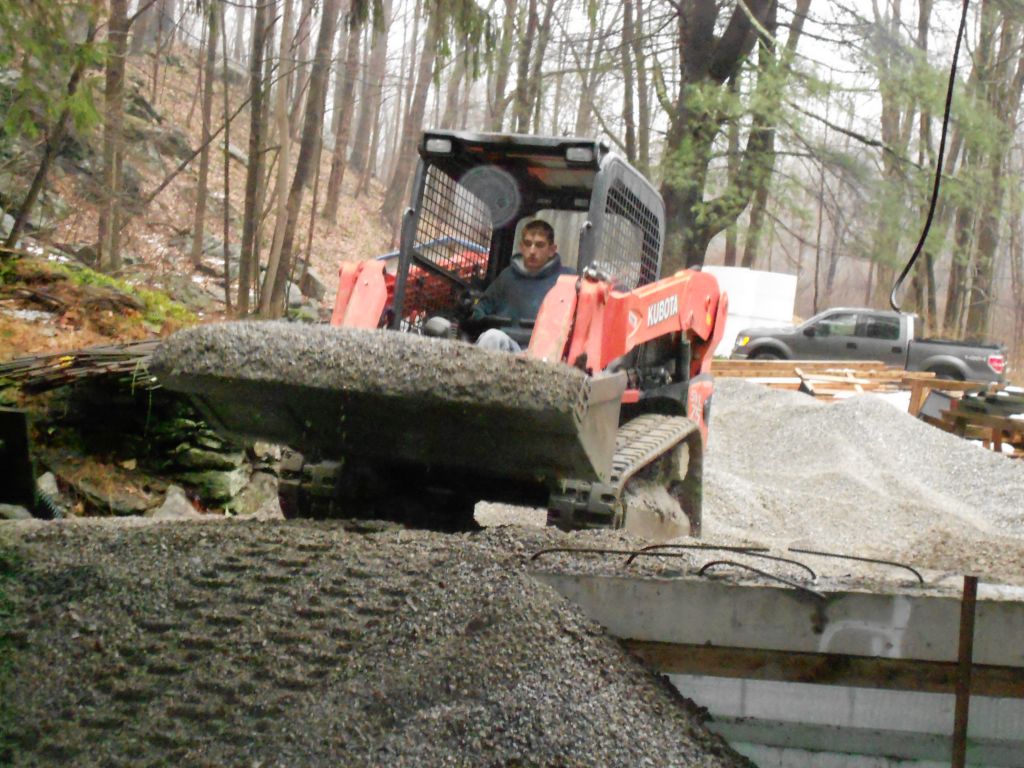
Mr Skid Steer
Underslab styrofoam delivered.
Ethan putting in the insulation.
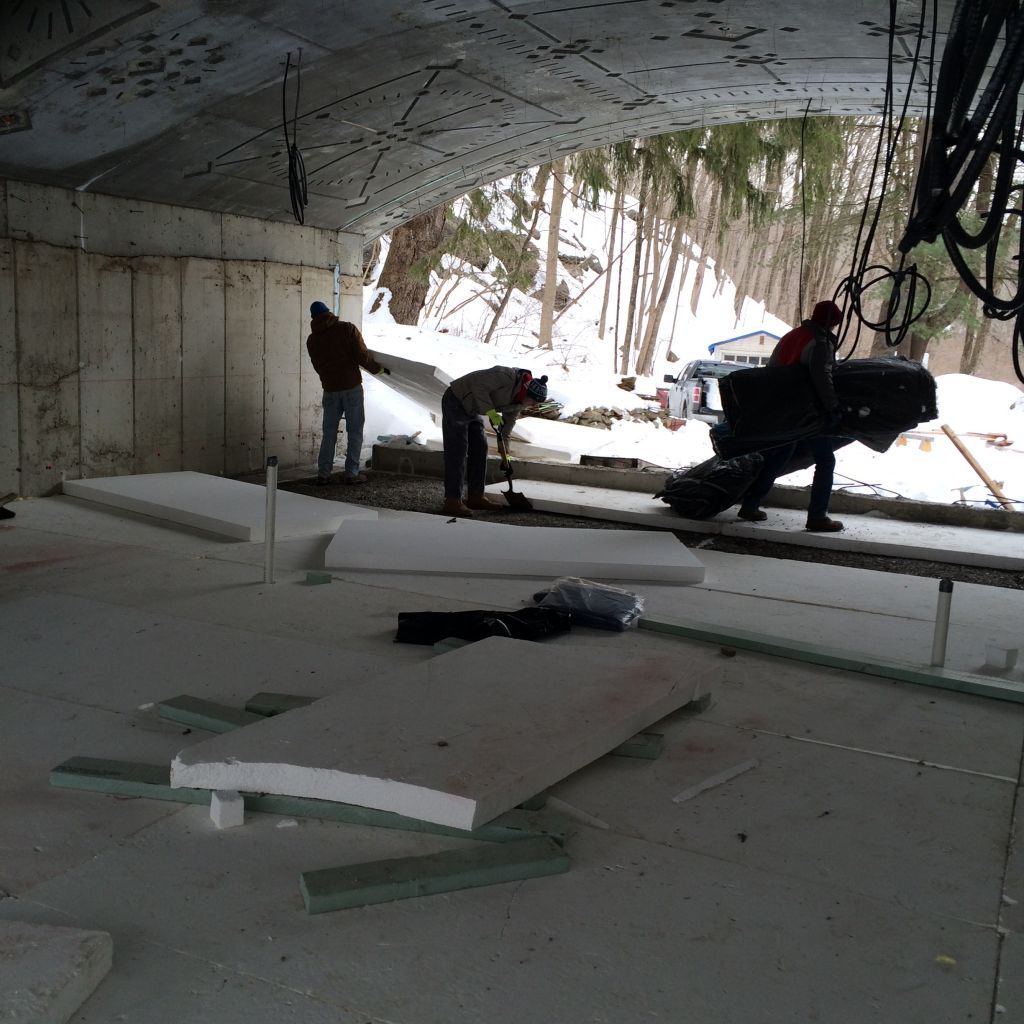
First layer of insulation installed temporarily.
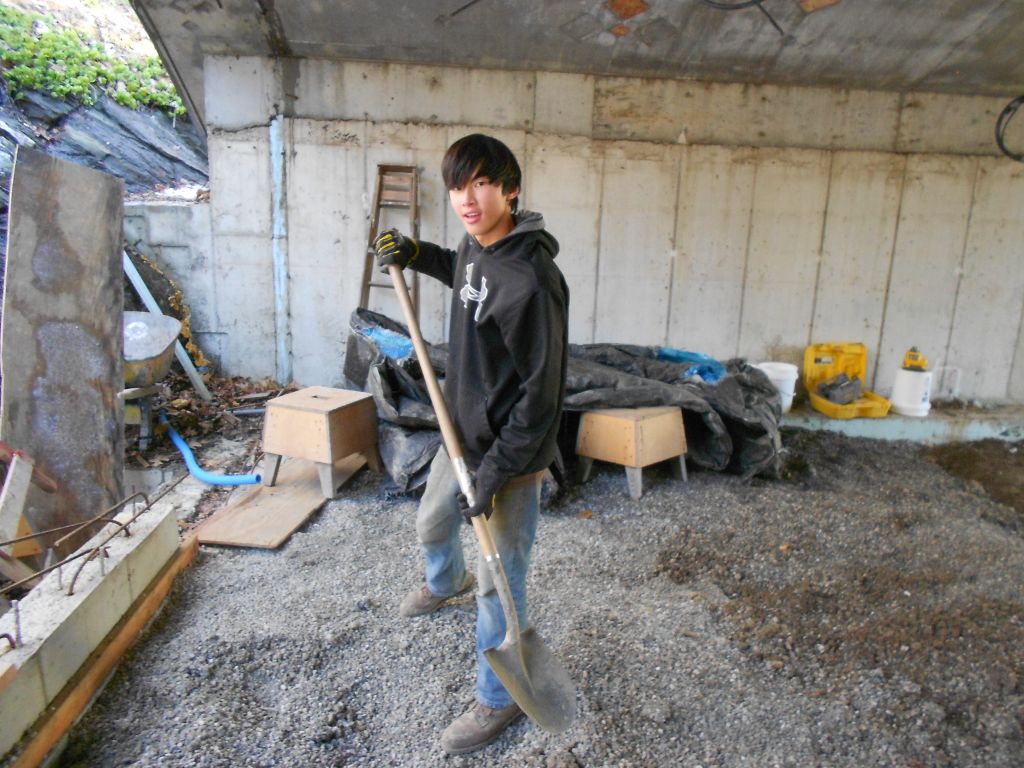
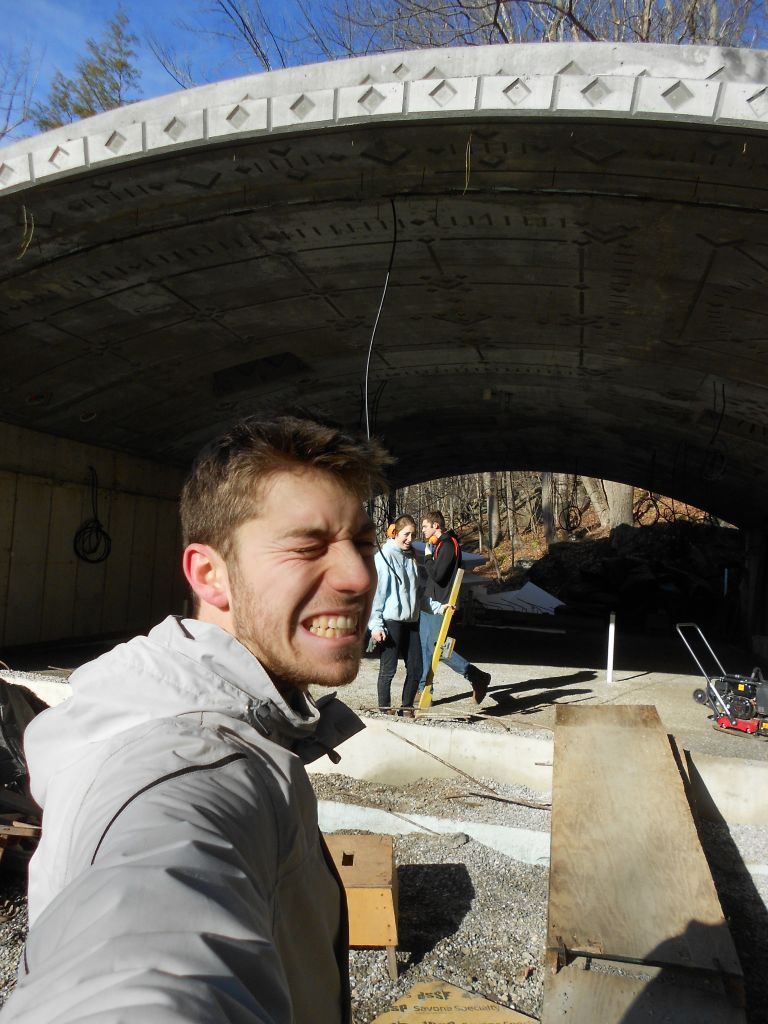
First hobbit Hollow selfie!
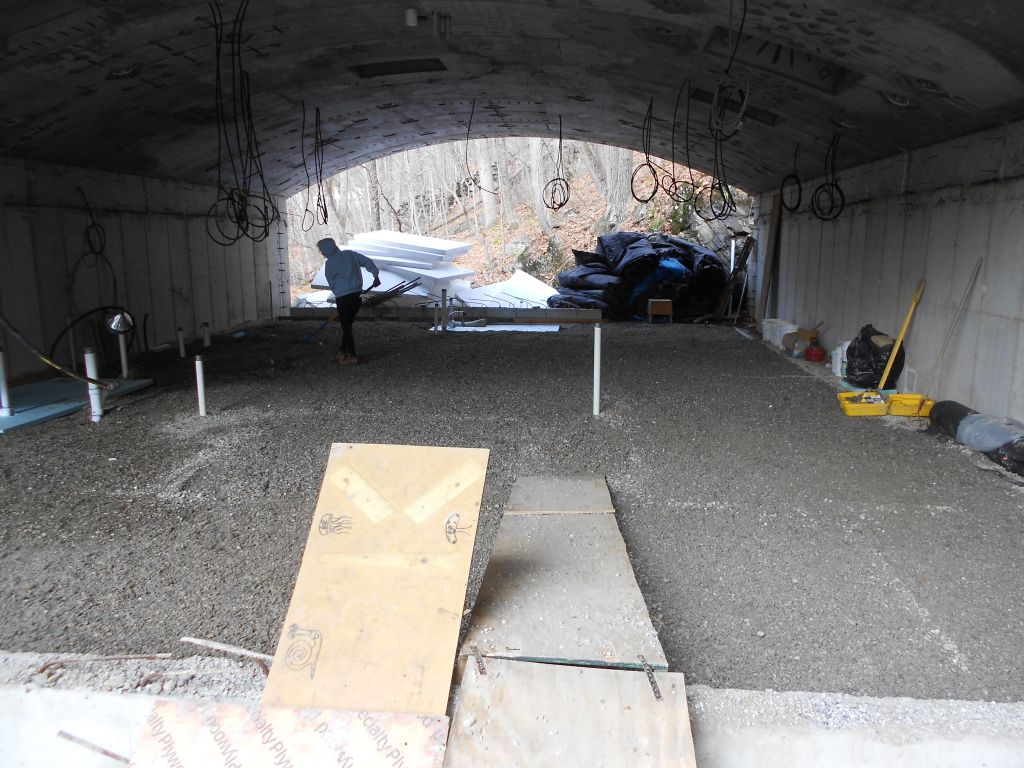
Styrofoam removal Saturday morning.
Terence and Peter fine tuning the gravel.
Ethan and Terence backfilling the shower stall styrofoam.
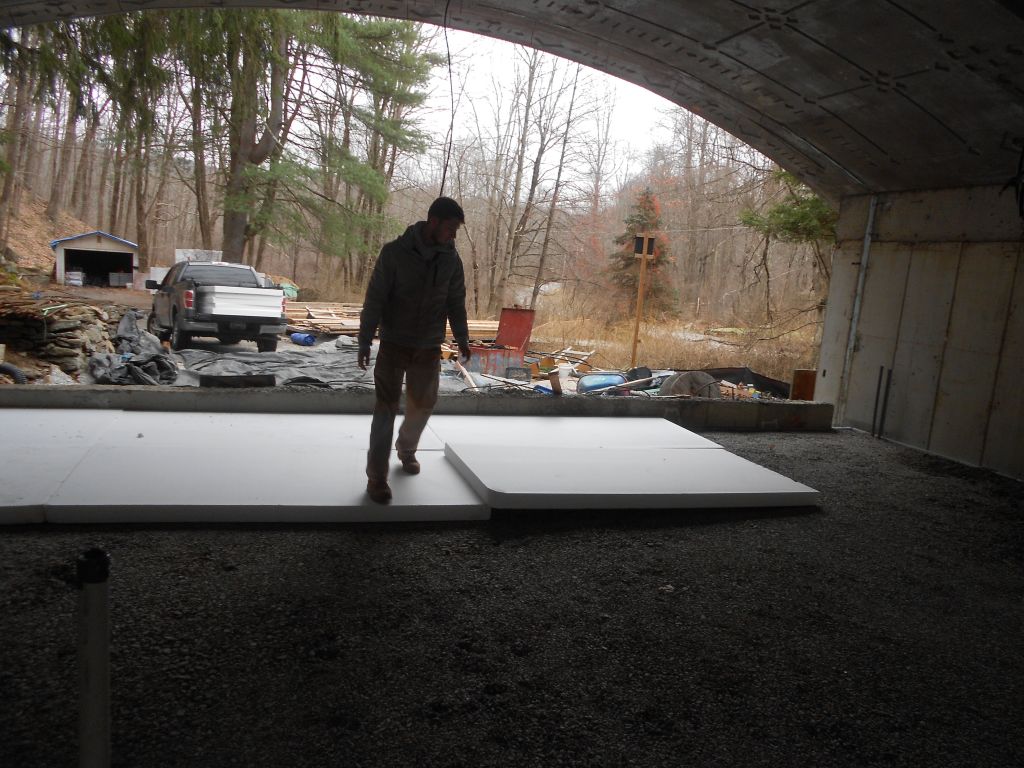
First 4 inch layer of styrofoam installed.
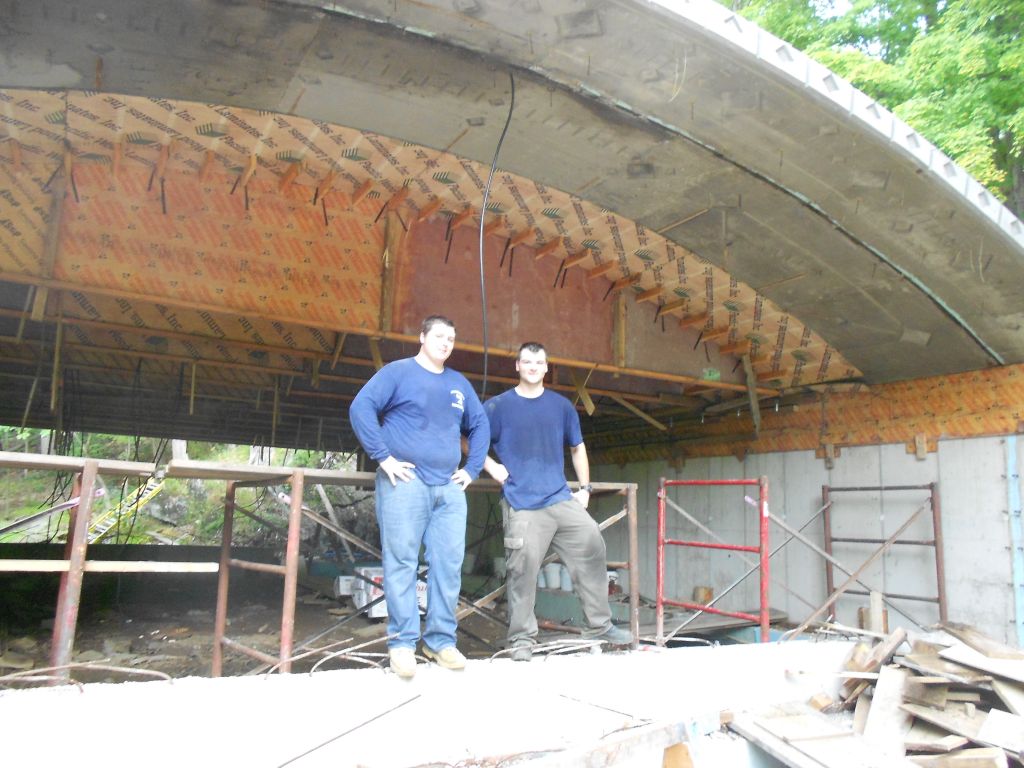
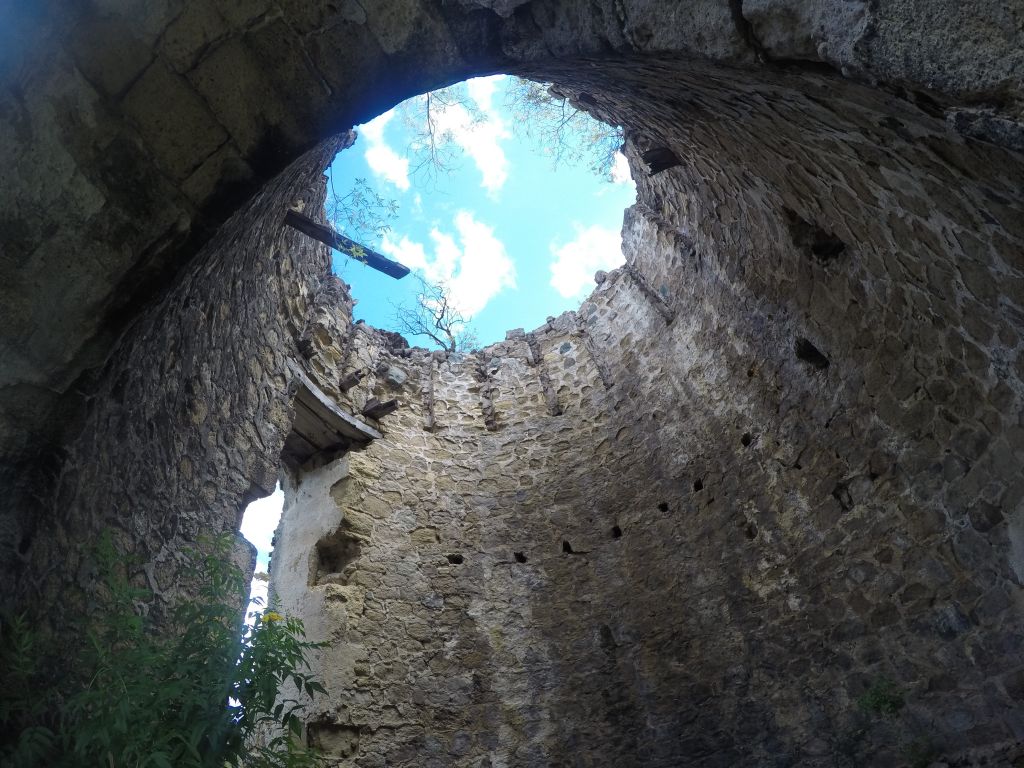
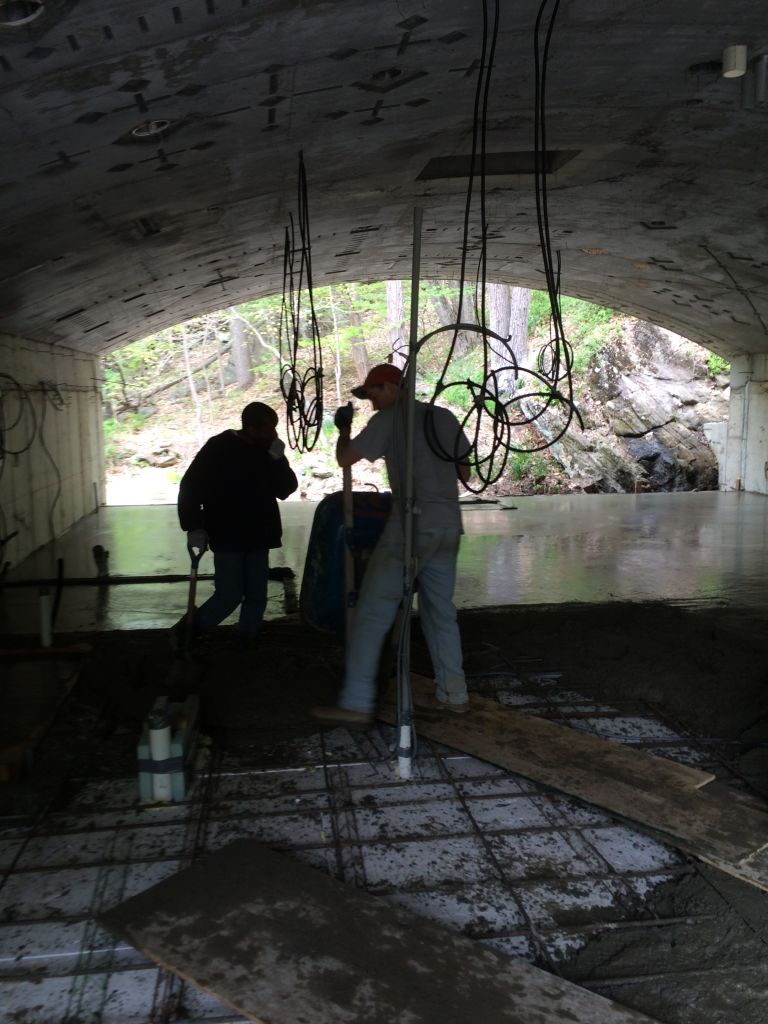
Looking up through the roof.
Men of Bree preping the styrofoam slab for the vapor barrier.
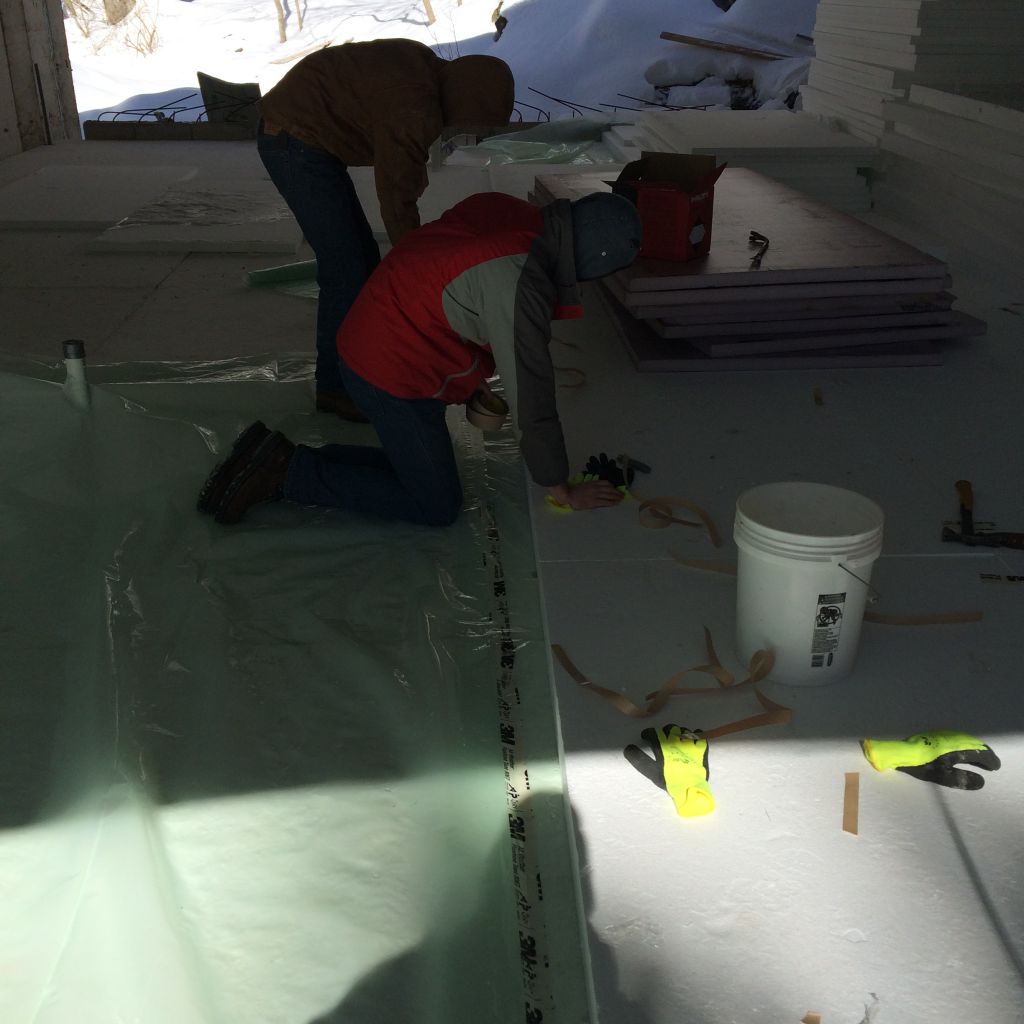
Sealing the air barrier to the wall.
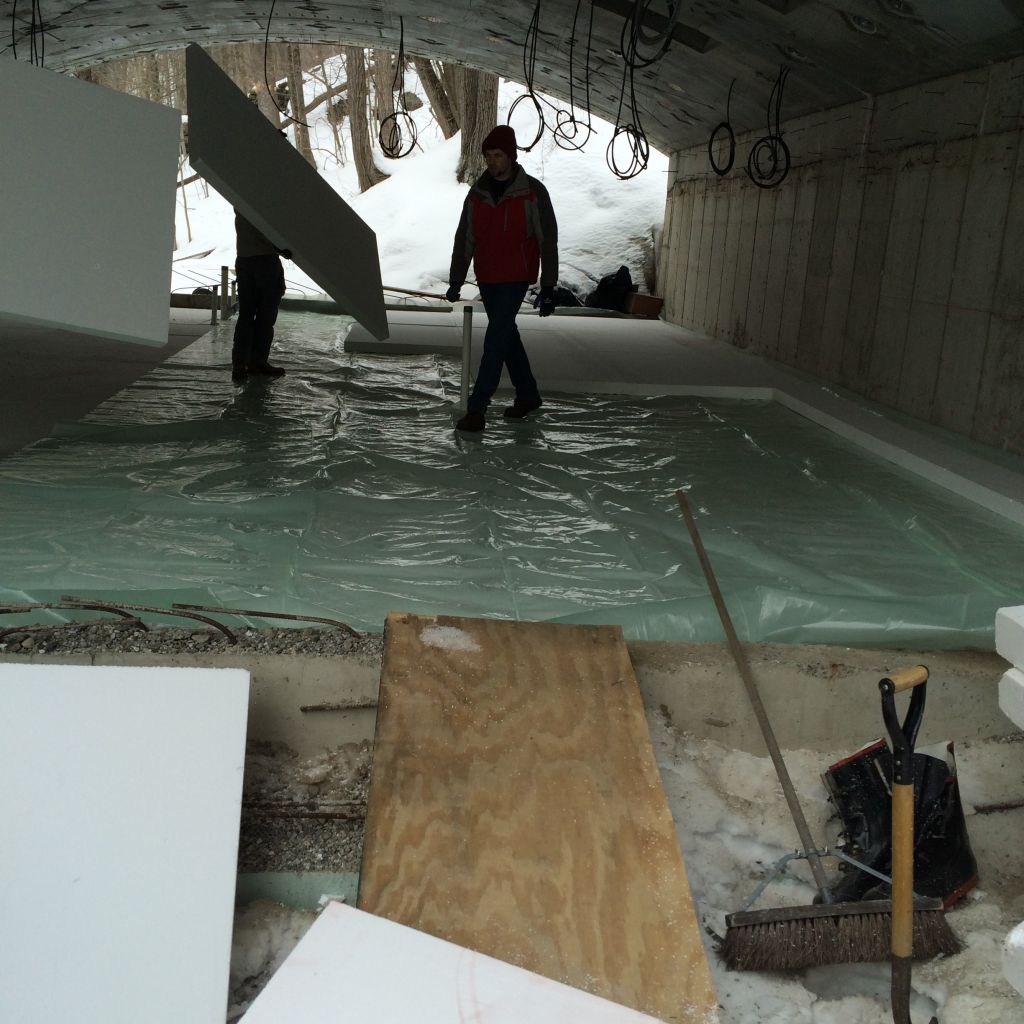
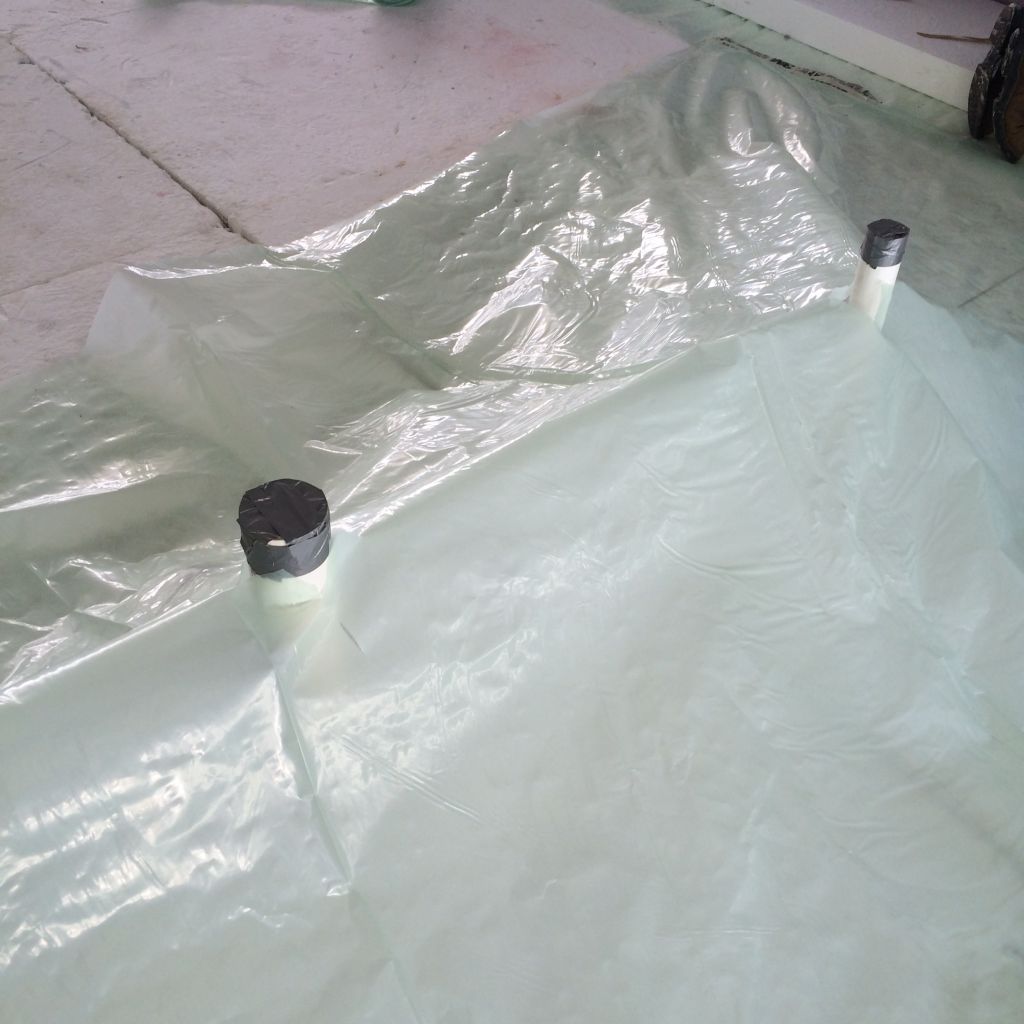
Laying the poly over the pipes.
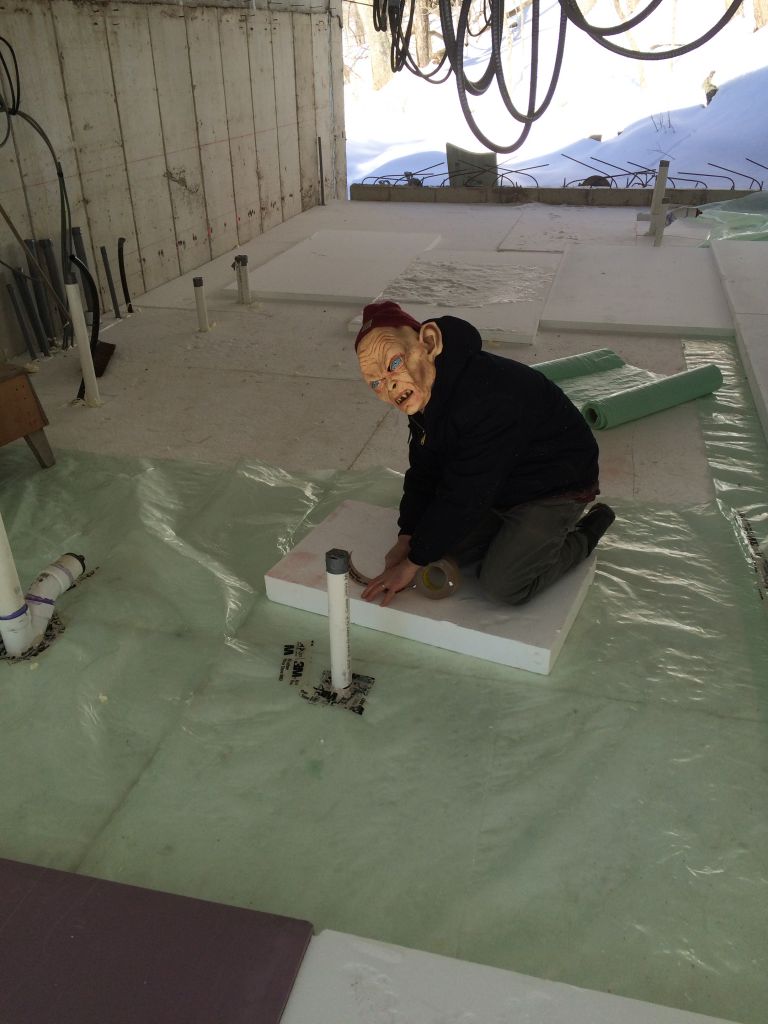
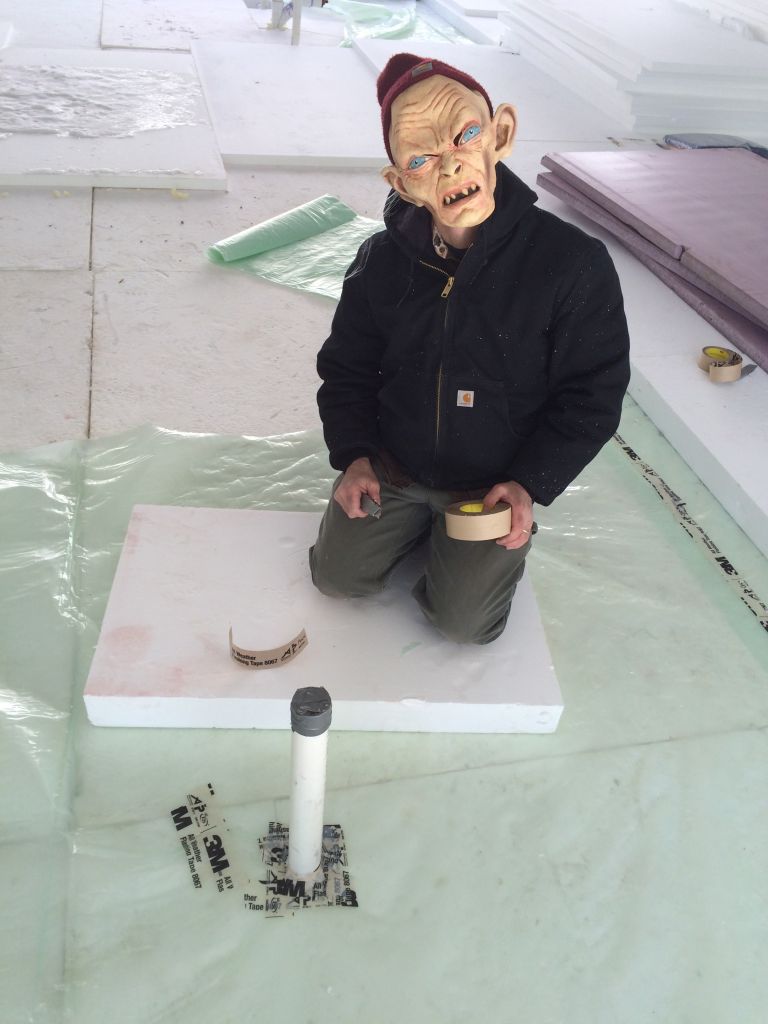
Steve demonstrating proper pipe air sealing techniques.
Jude and Terence connecting two air barrier pieces together.
Insulating around the pipes.
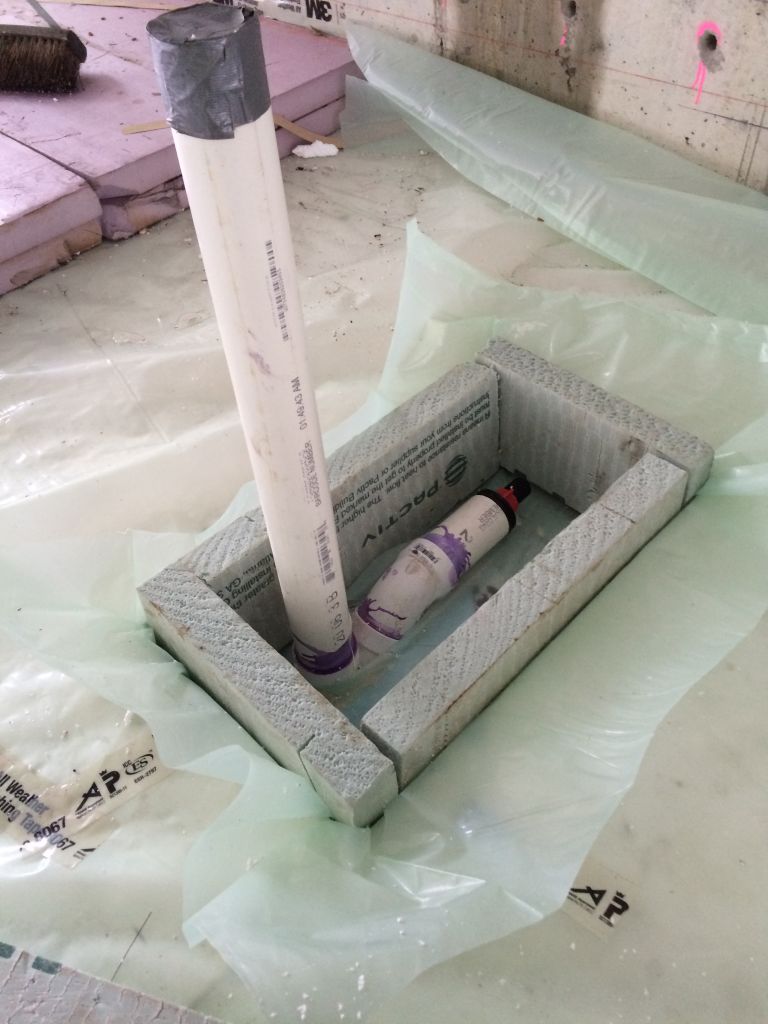
Second shower stall air sealing technique. With styrofoam cut back properly.
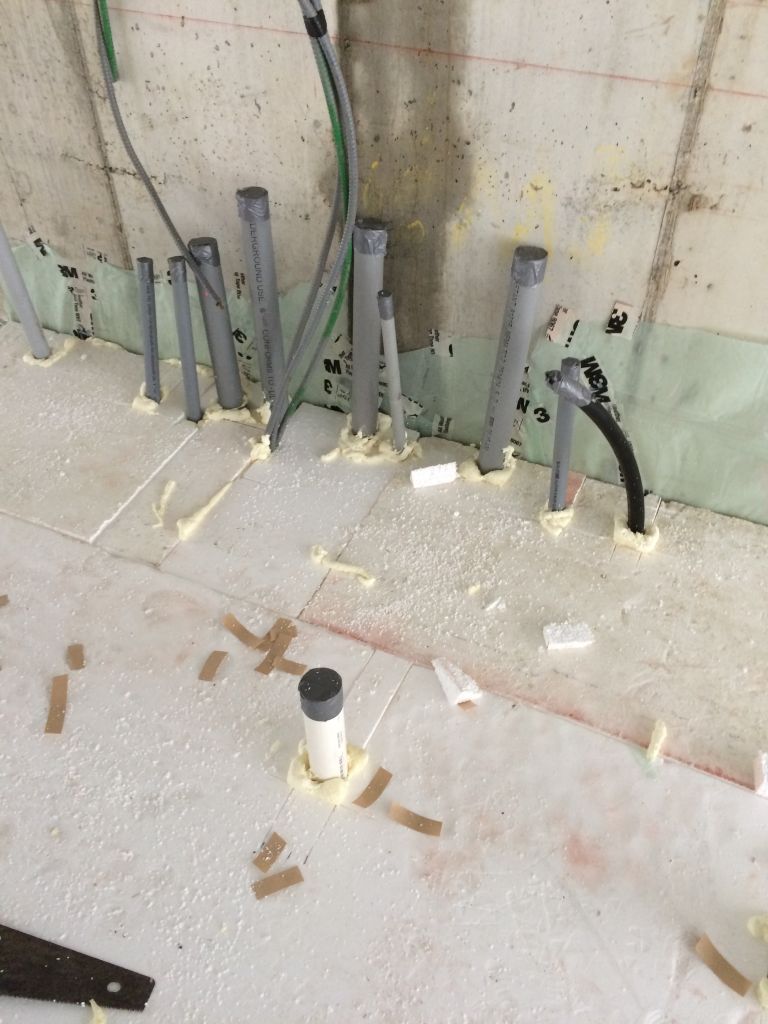
Ethan air sealing around all the pipes at the electrical panel area.
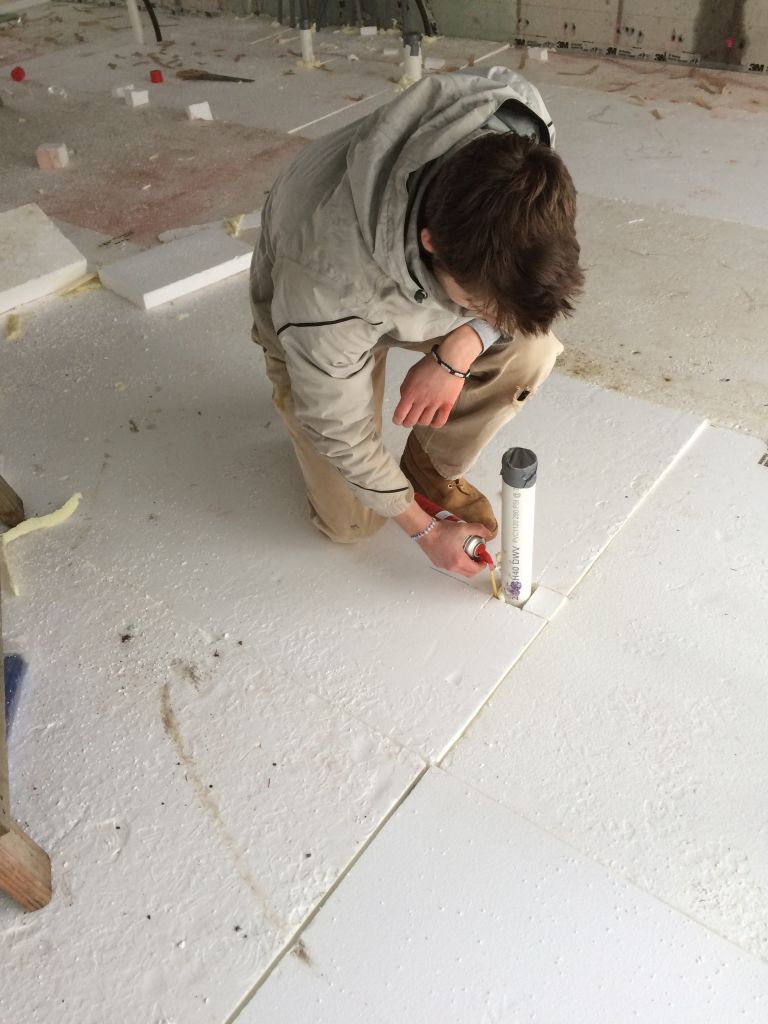
Ethan spray foaming around the pipes.
Overspray all the gape and cut off the excess later.
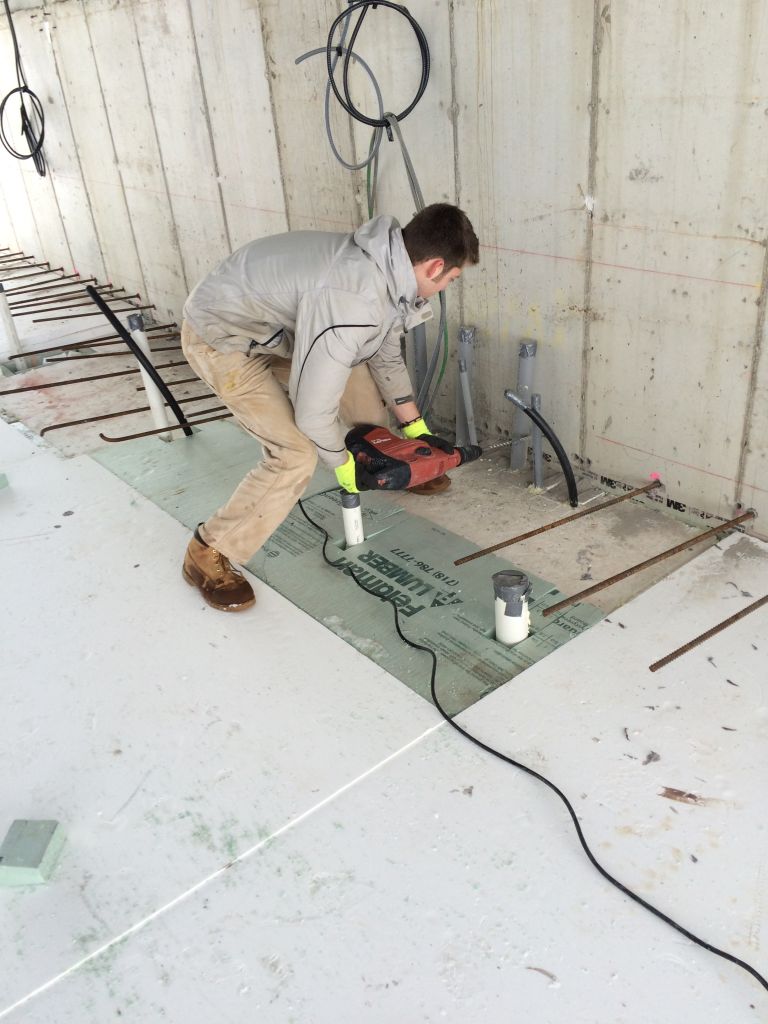
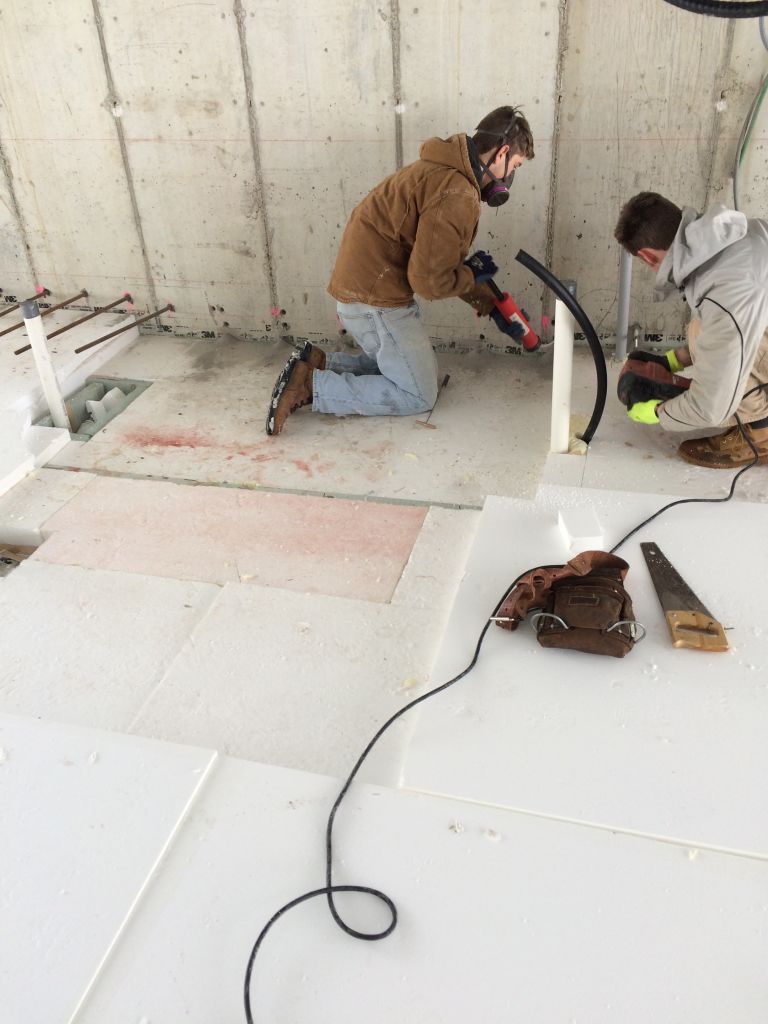
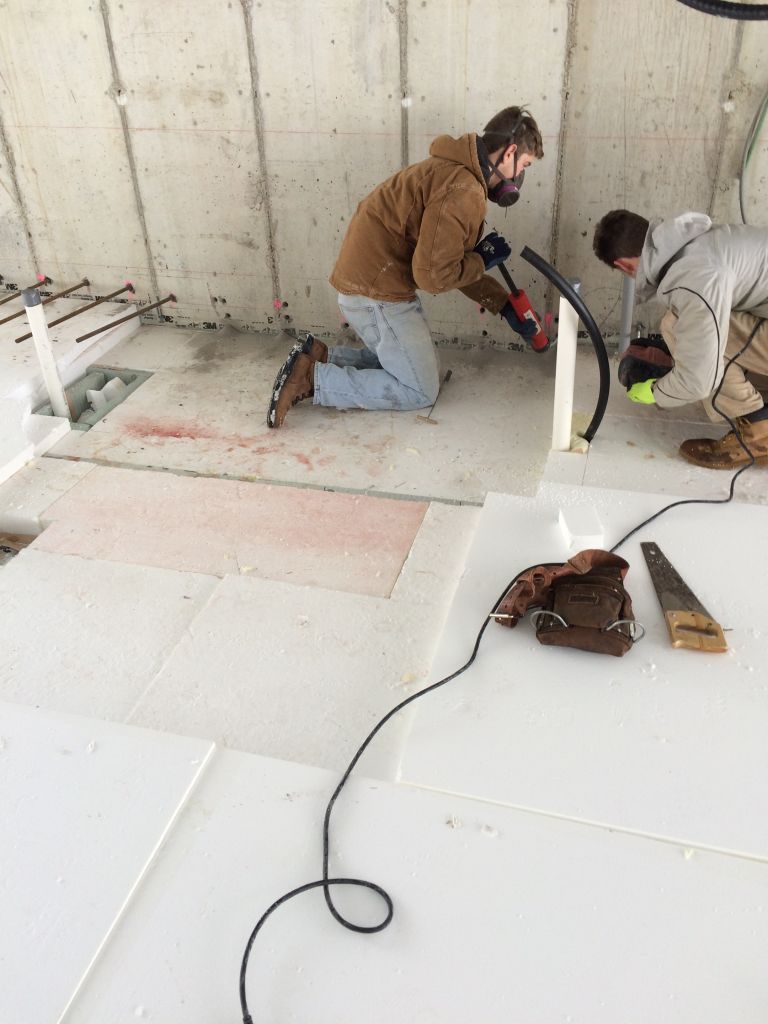
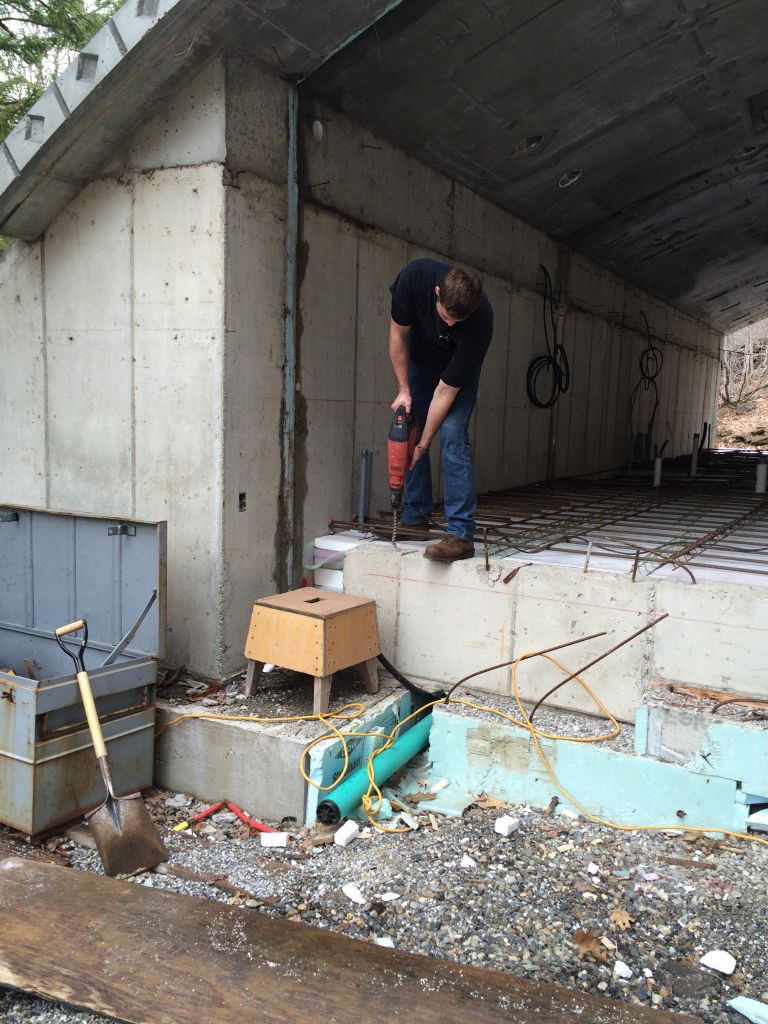
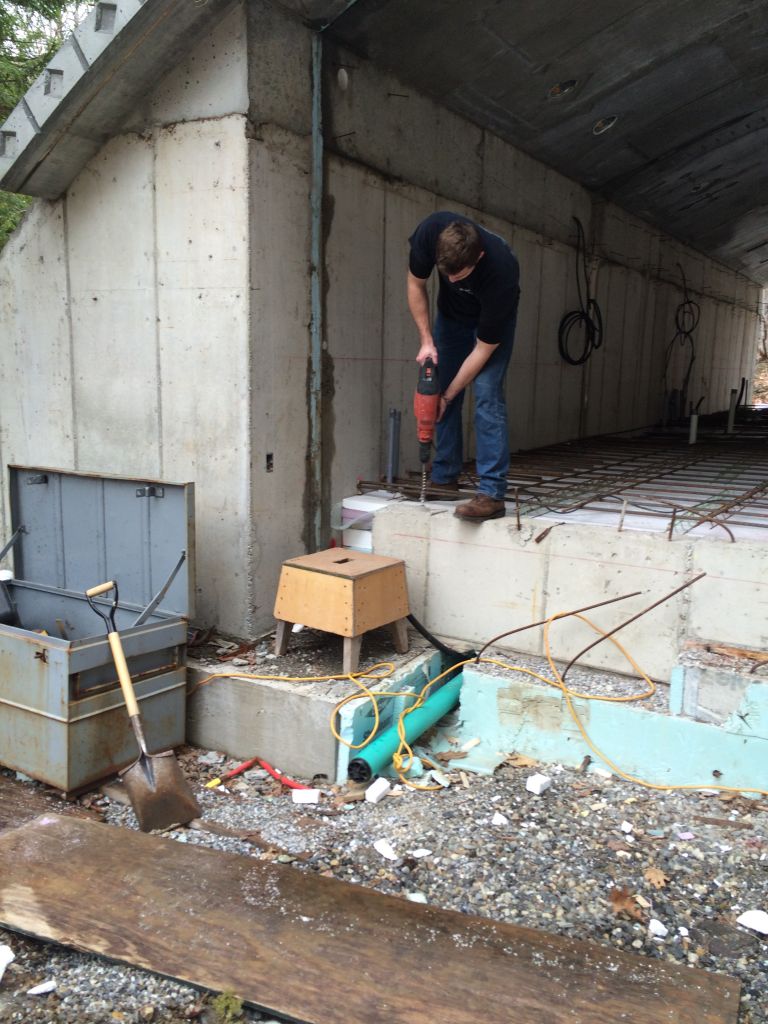
Ethan using the Hilti drill.
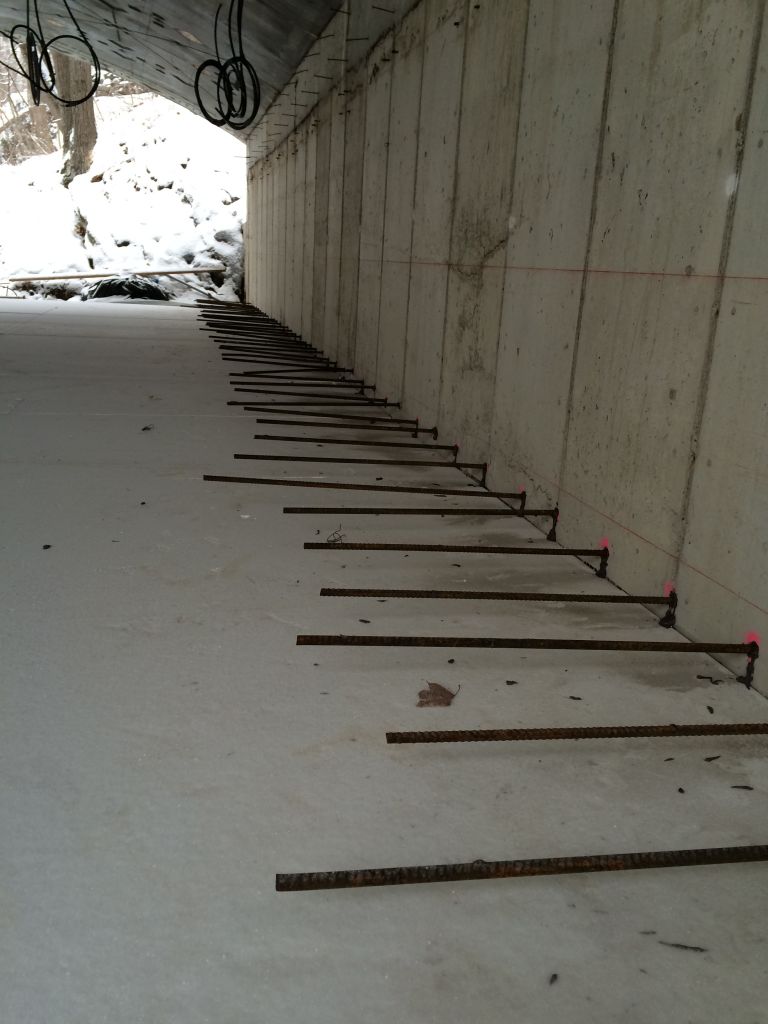
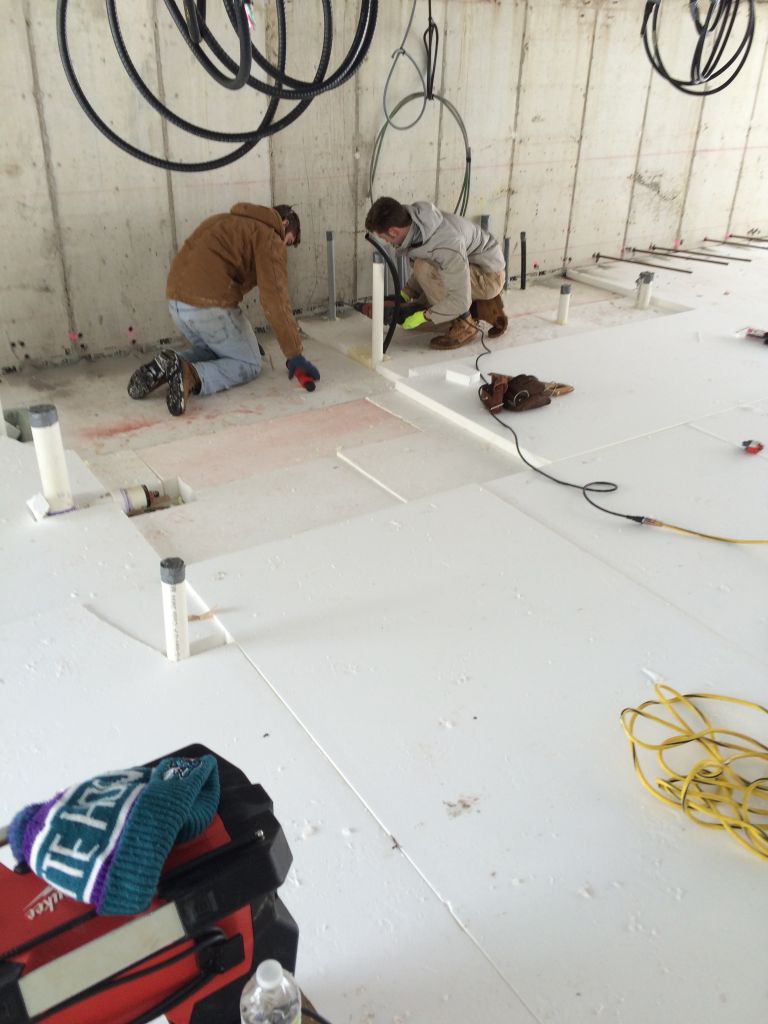
Rebar epoxied into the wall at the center of the slab.
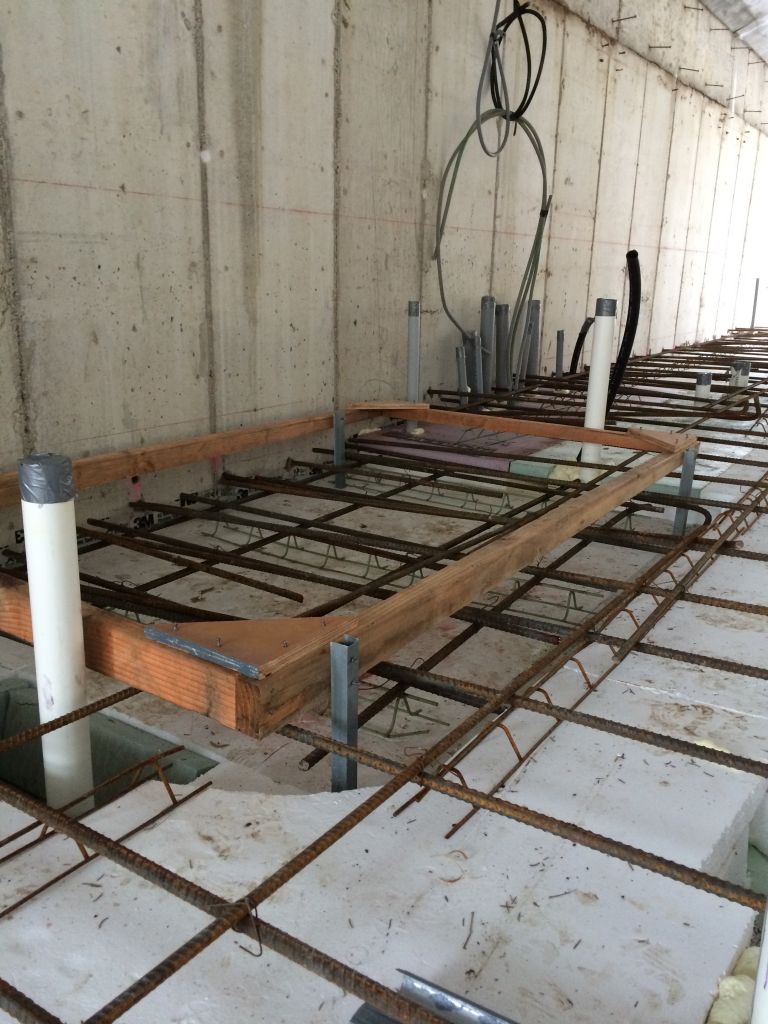
Laying out the slab chairs for the rebar mat.
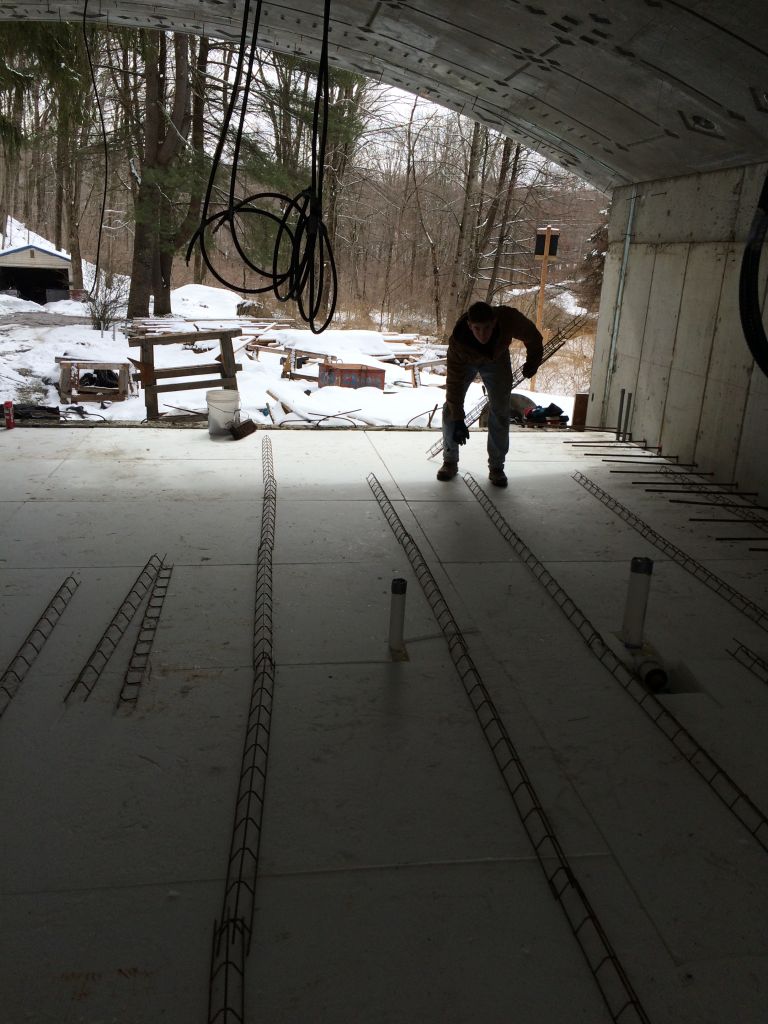
Laying out the rebar.
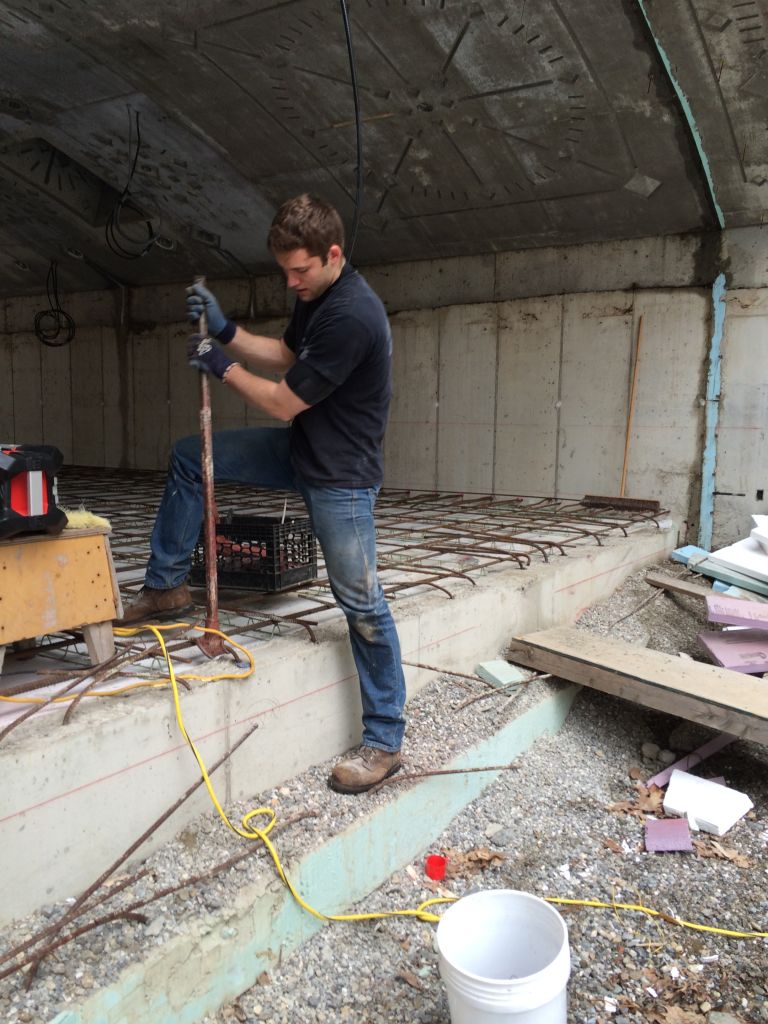
Jude bending the knee wall bars back into the slab.
Shower stall formwork rough installation complete.
Front slab edge form with supports.
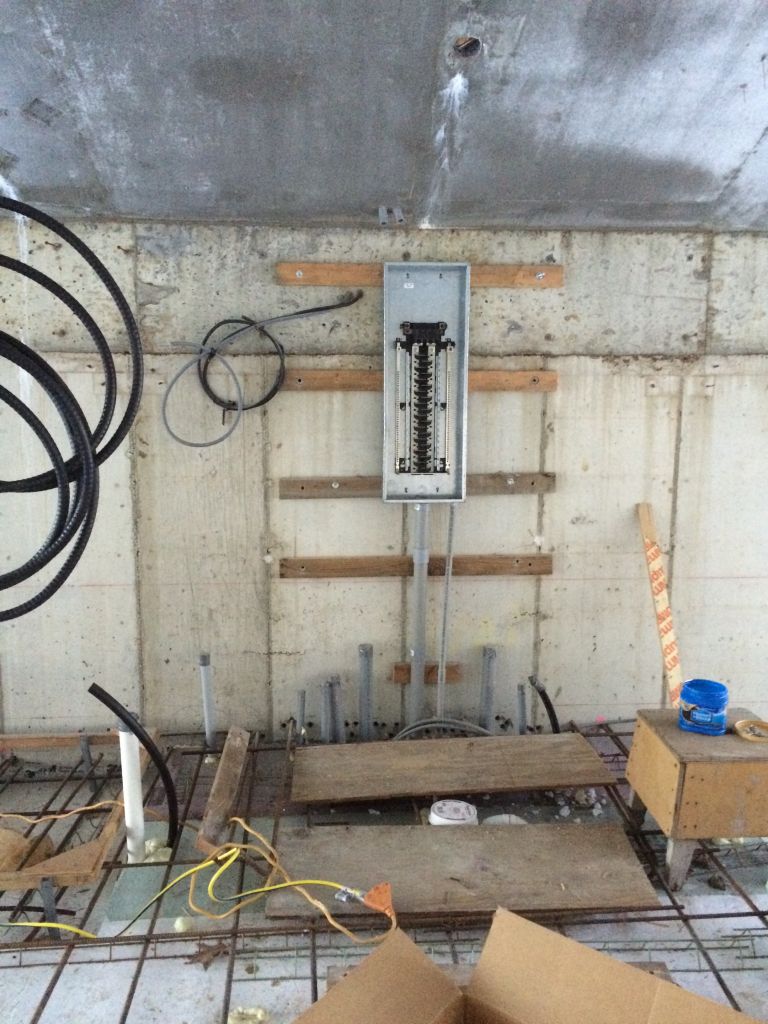
200 amp panel box with 40 breaker locations..
Terence getting the hang of it. Only lost one wheel barrow.
The pullup crew. Jeff Sean and TJ.
The finished product.
Panel box before the pour. a spaghetti western if ever there was one.
Getting going. Jeff and Sean.
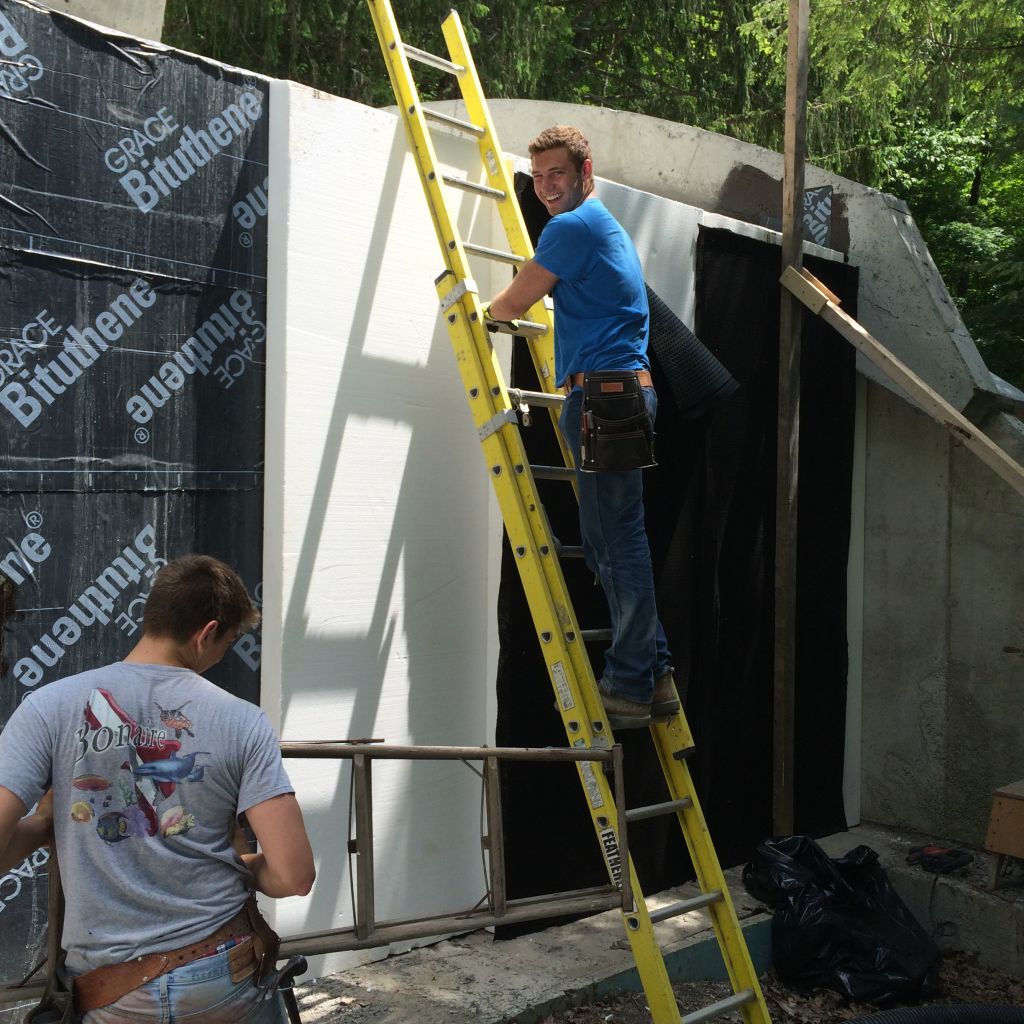
Styrofoam delivered.
Ethan priming for the waterproofing.
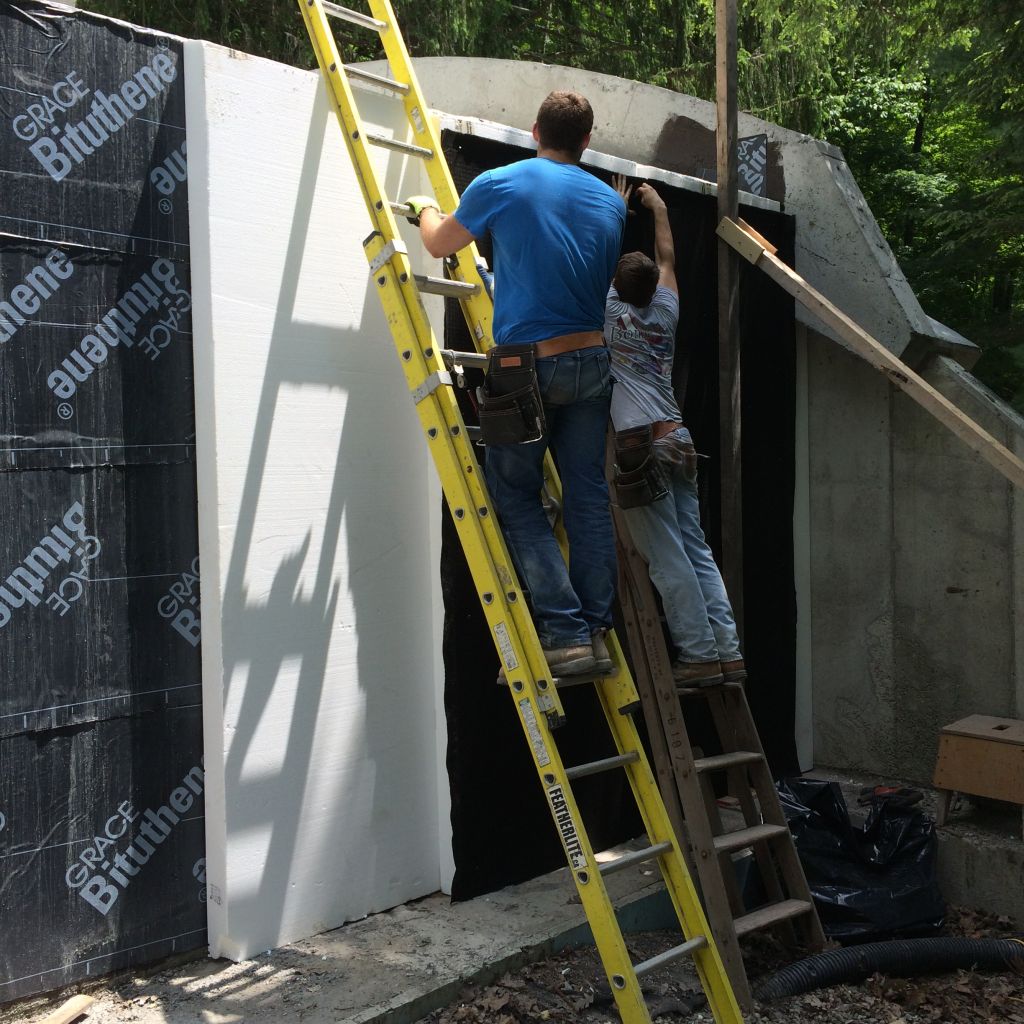
West wall waterproofing.
securing the top of the styrofoam.
Area for the stone ledge prepped and ready to go.