Hello again friends of Middle Earth! Welcome back to the continuing saga of Hobbit Hollow. We’re going to have to keep this brief people we’ve had a busy weekend.
Just a quick story before we begin.
So daughter Georgia is over across the pond in the sunny land of Spain. We Skyped her on Saturday which is really fun. she moved into a new apartment the other day and she was Skyping from her bedroom. I noticed some pictures on the wall and asked her what they all were. Georgia then proceeded to get up with her computer and show us the pictures on the wall. You know they’re like pictures of family and friends, that sort of thing. She brings the computer closer to the pictures and says, “There you are Dad. Well….It’s not really you, it’s just a picture of your nose.” Sure enough there’s a picture of the Manhattan skyline with this nose sticking out on the side of the picture. I didn’t know my nose was so big. I mean I guess it’s just the fact that there was no way to get a sense of scale if you know what I mean. I mean with no face attached you really can’t tell if a nose is big or small can you? Right?
So it makes a father’s heart warm knowing that his daughter wakes in the morning in a foreign land and says hello to his nose.
So I got that going for me in some sort of way.
Okay enough about noses. Let’s get back into Hobbit houses.
I really don’t think my nose is that big though. I mean as a kid nobody ever made fun of my nose. You know what I’m saying?
So Bob did me a favor last Monday and took care of switching out the ground wire for the panel box along with securing some of the heavy copper wires in the box as well. He took a selfie after he finished so I told him I would put it in.

The guy definitely knows what he’s doing as far as wiring is concerned.
Well we’ve reached a crossroads over at Hobbit Hollow in a way. I’ve made the decision to try and secure the outside of the house. That means skylight action. I’ve ordered them and I’m hoping to have them in hand within a week or two.
So what does that mean?
What it means is we have to seriously prep the openings to receive the skylights. What I have to do is create a frame to attached the skylight to and to nail roofing shingles to. Let me show you.
I’m just going to run through a series of pictures here.

I had forgotten how much light the skylights are going to let into the house.

That’s the kitchen skylight.

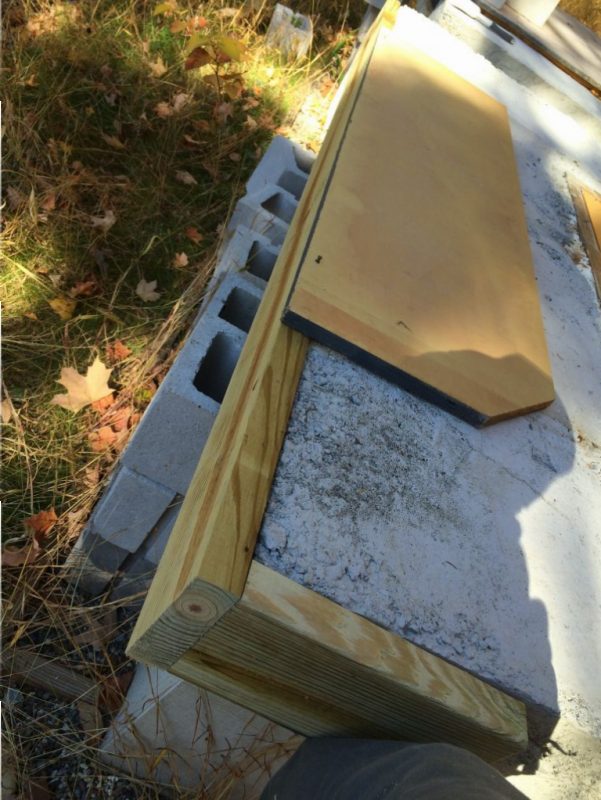
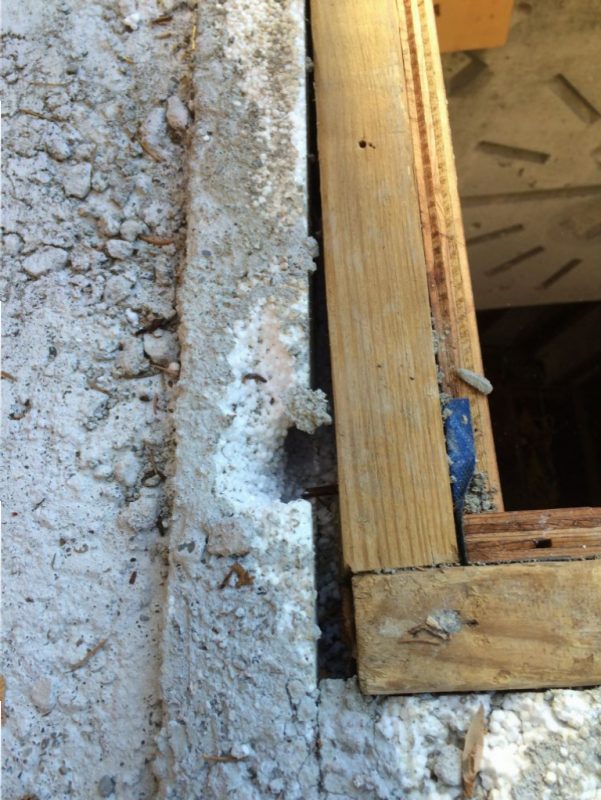
I used pressure treated 2×6’s to wrap the exterior edge of the skylight. I nailed a piece of plywood to the top of the 2×6 so I could get a good measurement on the first piece. This helped to hold it in place so I could use a block to mark the cut line I wanted. The concrete is far from perfect here so I scribed and cut things to fit.

I used tap con screws to hold the 2×6 in place. 3 1/4 long.

After that it was just a matter of placing the 3/4 pressure treated CDX plywood over the skylight, marking it and cutting it to fit.

One down four to go people. It went pretty well though. I think I could do a skylight in two hours.
It’s supposed to get into the eighties this week. Unbelieveable.
Have a good one!
Jim
Just an afterthought: I’m really glad that nose didn’t have any visible nose hair. That would have been embarrassing.
My spousе and I stumbled over һere comіng from a different page and thought I may as ѡell
сheck things out. I like what I see ѕo i am just following you.
Look forward to looking at your web page again.